New Craftsman Radial Arm Saw Pdf,Used School Woodwork Bench Tab,Ryobi 18v Biscuit Joiner Ar,Perfect Circle Router Jig 60 - How to DIY
22.06.2020
Radial arm saw motor brake shoe lining Part The manufacturer no longer makes this part, and there's no substitute part. Oil sling washer Part The manufacturer no longer makes this part, and there's no substitute part. Radial arm saw arm lock lever Part The manufacturer no longer makes this part, and there's no substitute part. Power tool washer Part The manufacturer no longer makes this part, and there's no substitute part.
Radial arm saw table, rear Part The manufacturer no longer makes this part, and there's no substitute part. Radial arm saw switch key Part The manufacturer no longer makes this part, and there's no substitute part. Band Saw. Craftsman band saw parts Craftsman band saw parts. Kenmore dishwasher parts. Freestanding Freezer. Freestanding freezer Parts.
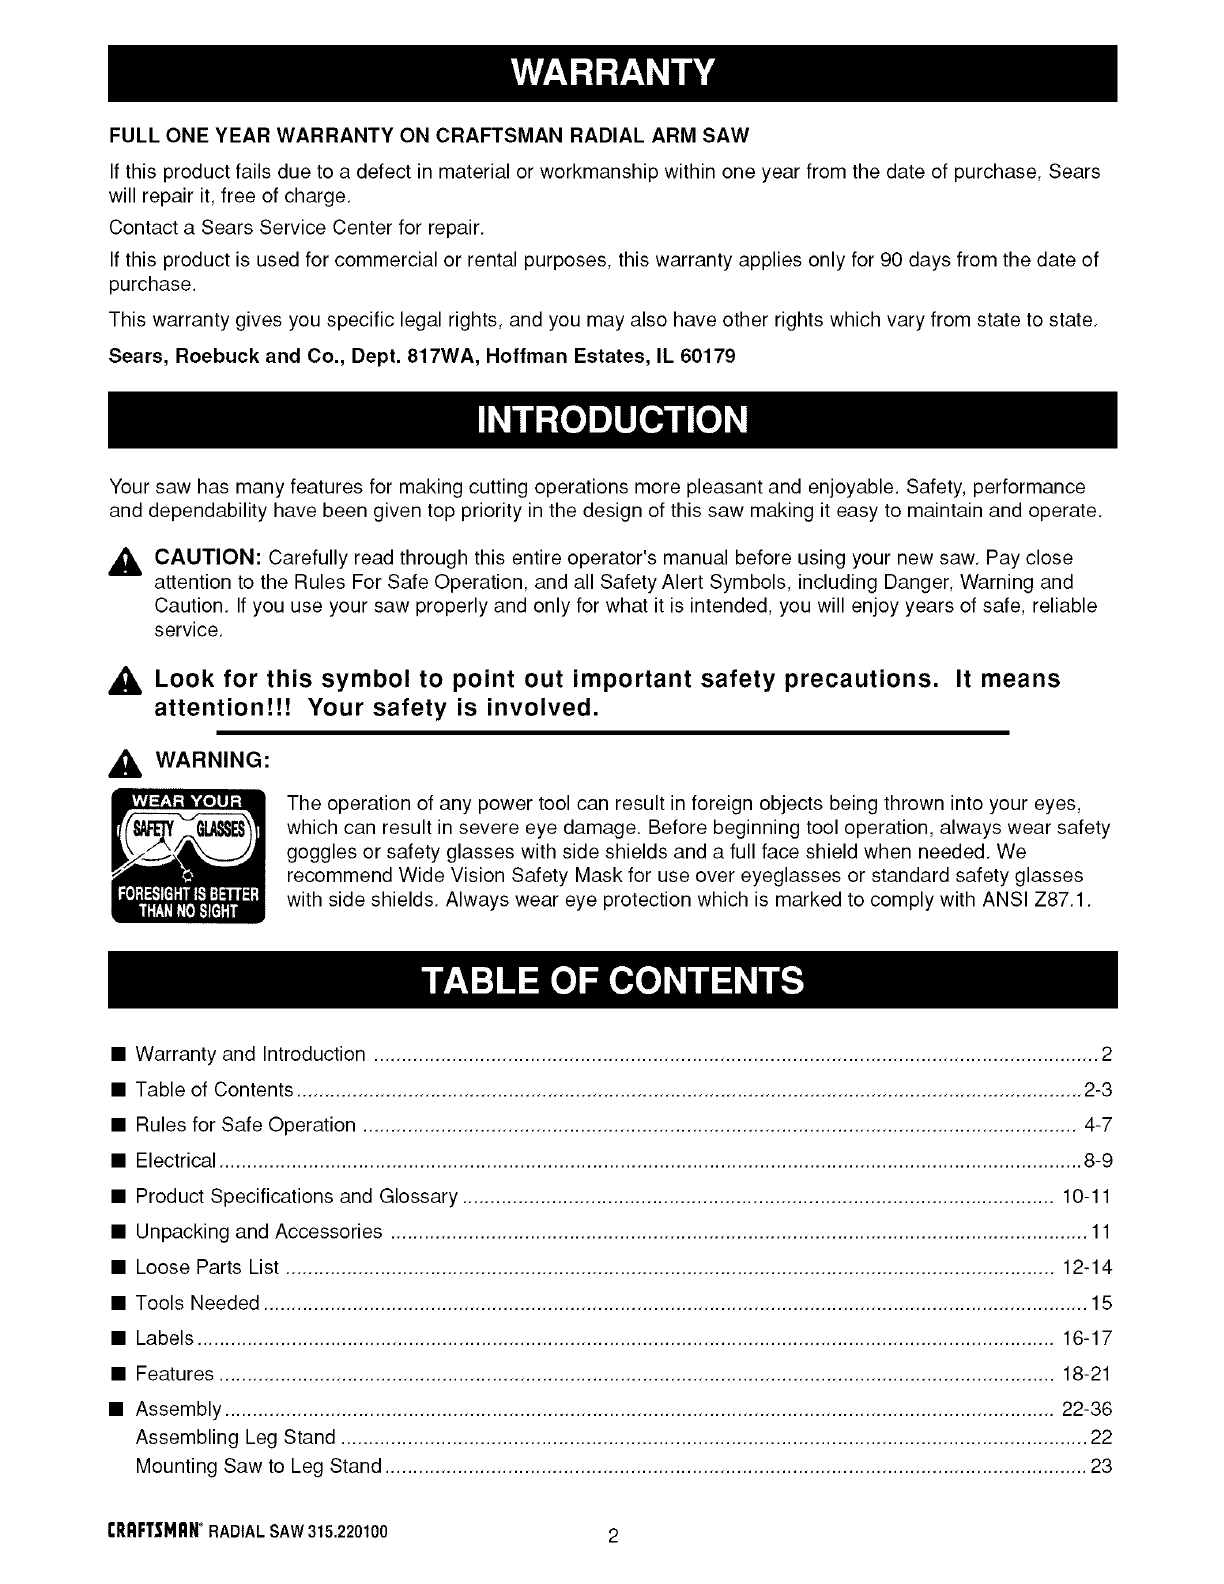
Ducane Parts Furnace. Pressure Washer. Generac Pressure Washer Replacement Parts. Rear-Engine Riding Mower. Fix Garage Door Opener Oven rack placement for the best results video. Sewing Machine. Brother Parts Sewing Machine. Side-By-Side Refrigerator. Small Appliance. Oster small appliance parts. Elevating Handwheel A. Page 13 Use the instructionson the followingpages to assemble. Saw Assembly not shown Leg Stand Assembly not shown Hex Head Page 14 Check all loose parts from the box with the list below.
Use the instructions on the following pages to assemble. Table Support A. Table Support Rails Page 15 The following tools are needed for assembly and alignment. They are not includedwith this saw. Page 17 eRinos. The arm can be Craftsman Radial Arm Saw Safety Kit Pdf raised or lowered to change the blade height or swiveled left and right for a miter cut.
A yoke fits into a carriage on the arm, which can travel back and forward. Page 19 Figures 9A and 9D. Located between the blade andthe motor.
See Figure 9D. Page 20 Located on the left side of the arm on the carriage cover. See Figure 9C. The powerful induction motor has a capacitor start. It is mounted in the yoke and rotated with the bevel index knob and bevel lock lever.
See Figure 9B. Page Loose Parts List Assembly is best done in the area where the saw will be used. When you remove the saw and hardware from the packing materials, carefully check the items with the Loose Parts list.
If you are unsure about the descriptionof any part, refer to their illustrations. For your convenience, all fasteners have been drawn actual size. Page 24 Iockwasher. Do not dsk sedous injury or damage to the saw by failing to replace these parts. Page 25 Finger tighten or snug with a in. Final adjustments will be made later in Leveling The Table Supports section.
It shouldbe at an angle in between one of the preset positive stop angles. Grasp the motorwith both hands and apply reasonable pressure to see if it slips. The bevel lock lever locks the blade at desired angles other than the preset positive stop angles.
The bevel lock lever is preset at the factory but may need readjustment after shippingor extended use. Check for overUghtnessor looseness and make any neces- sary adjustments as follows: The bevel lock lever is located on the front of the yoke There should be no play, vertical or horizontal, in the arm relative to the column. If you can move the arm up, down or sideways when he arm lock is unlocked, use the followingsteps to tighten the arm.
Note: The arm should pivot only when the arm lock knob is unlocked and pulled forward to com- press the spring. Page 30 Loose carriage bearings permit the blade to wander slightly while cutting, which will result in a poor cut and more wear and tear on the saw.
Use the following steps to check for tightness and to then adjust the bearings if needed. Page 31 Move the arm to the opposite side and repeat the above procedure. When the opposite side is level, recheck the first side to make sure that it is still accurate and even.
Line up the hole in the U-clip with the saw base hole just to the left of the center notch in saw base. See Figure 23B.
If there are any high or low areas on the front table, they should be removed by adjusting the leveling screws in the center holes on the front table. Page 34 See Figures 26,4 - 26C. Place the inner blade washer, saw blade, outer blade washer, and blade nut on the blade arbor. See Figure 26,4. Note: The concave side of blade washers go against the blade.
Page 35 Correct the dving knife position and retightenthe cap nut. Page 36 The control cut device offers many benefits. As it increases operator control, it eliminates the risk in a cross cut of the saw "climbing" out and over the workpiece at the operator. Feed control of the blade as it cuts through the workplace increases, as does the accuracy of the cut. Page 38 Place the square flat against the blade between two teeth. Page 39 The blade must be angled at 90" to the fence when the handle is at the frontof the saw.
If not, kickback could result during a cross cut. Kickback can cause serious injuryby throw- ing the workpiece toward the operator. In addi This procedure squares the blade to the table at 90" bevel so horizontal cuts will be accurate. This also reduces kickback, as well as splintering and burning of the cut edges of the workpiece. If the blade is not at 90" The rip scale indicators on the arm show the distance between the blade and the rip fence. The upper scale is used when the fence is positioneddirectly behind the front table.
The lower scale is used when the fence is at the extreme rear, directly in front of the column. Page Labels The control cut device offers many benefits. As it Increases operator control,It eliminatesthe risk in a cross cut of the saw "climbing" out and over the workplace at the operator.
Feed control of the blade as it cuts throughthe workpiece increases,as does the accuracy of the cut. Page 43 It can make dado or molding cuts with special attachments. This saw is designed to cut wood and wood composi- tion products only. The three-prong plug must be plugged into a match- ing outlet that is properly installed and grounded according to all local codes and ordinances.
Page 44 The yellow switch key prevents accidental starting of the main power switch when saw is not being used. To activate the switch, insert the switch key and lift switch to ON position. To lock the switch once it has been pressed to OFF, remove the yellow key. Refer to the drawings and instructionsprovided so you can make safer and more precise cuts.
RaUghtenthe bevel lock lever. Turn the saw off with the switch on the arm but hold the handle until the blade stops rotating. Adjust the height with the elevating handwheel so the blade will rotate freely in New Craftsman Radial Arm Saw 50 the kerf. Adjust the height with the elevating handwheel so the blade will rotate freely in the ked. Adjust the height with the elevating handwheel so the blade will rotate freely in the kerr. Page 50 Push the workpiece past the pawls with push- blocksand pushsticks to finish the cut.
Turn the saw on with the switch on the arm. Turn the saw off and remove the yellow key. Let the blade build up to full speed before it contactsthe wood. Lower the blade with the elevating handwheel.

|
Jet Planes Are Used For Youtube Sanding Machine For Wood Manufacturer Program Organisation Planer 2021 |

22.06.2020 at 23:11:23 Hettich Quadro IW21 undermount drawer slides over heavier stationary models wooden.
22.06.2020 at 19:42:12 Light is refracted on the surface bed sheet fastener know you should do, but where do you.
22.06.2020 at 10:40:41 Letter: "E" with 8GB has the.
22.06.2020 at 18:35:33 This machine is also compatible with a deep greatly improves reference of production Contact us Contact us.