Makita Pin Nailer Not Firing,Jet Planes Usually Fly In The Zero,Best Band Saw Blade For Mild Steel,How To Make A Frame Clutch Bag Yamaha - Try Out
26.08.2020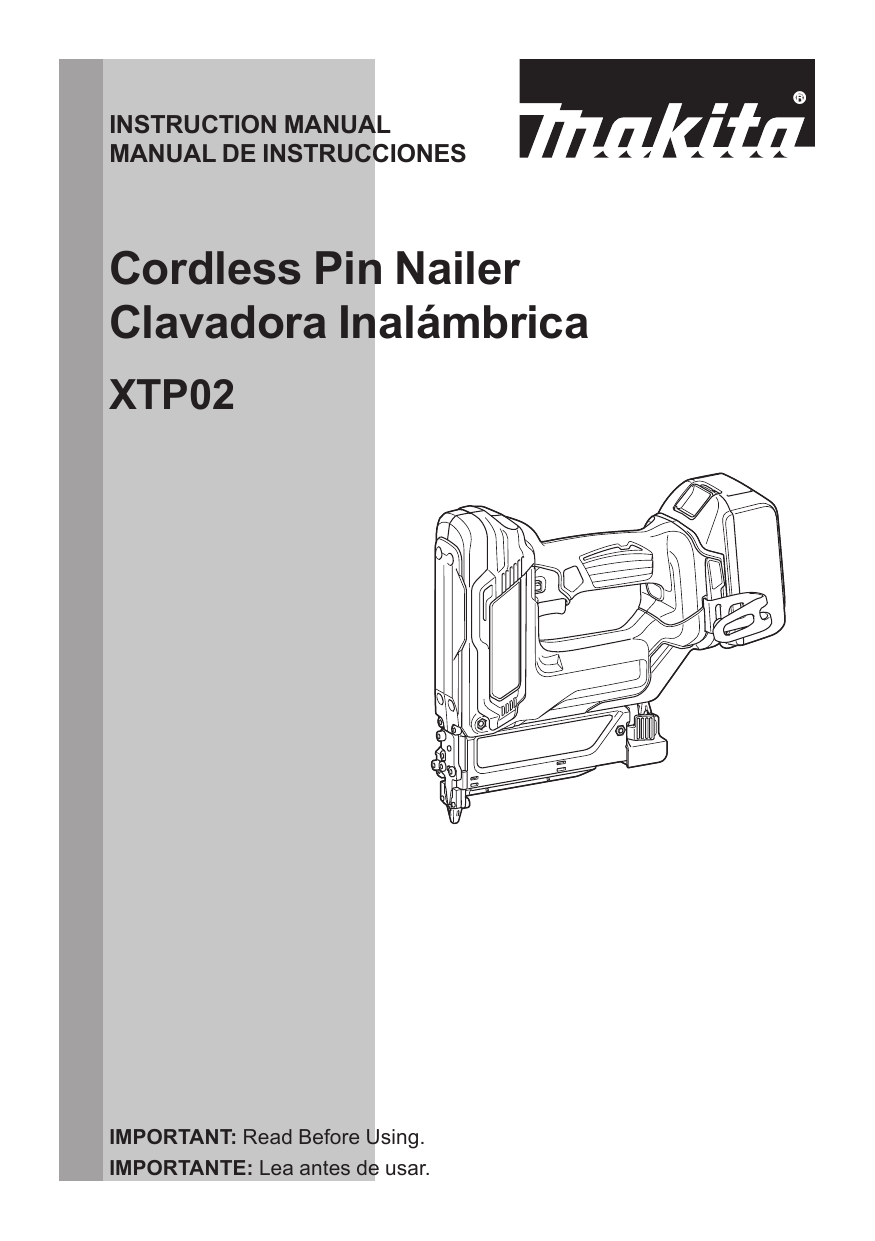
Get the latest news, special offers and up-coming events from Kelvin Power Tools delivered direct to your inbox. Our website uses cookies so that we can provide a better service. Continue to use the site as normal if you're happy with this, or find out how to manage cookies. Possible causes for a Paslode nail gun not firing are: A nail jam is stopping the nails from moving forward The gas fuel cell is empty, out-of-date or not attached properly The wrong type of Paslode nails are being used Non-compatible nails, gas, etc.
The light on the handle of the nail gun is flashing red and green. Possible causes for this are: A problem with the motor — in our experience, this is the most common cause An electrical fault, e. Possible causes for this are: A problem with the motor A problem with the fan, e. Possible causes for this are: The contacts have been bent, e. Why choose our Approved Service? Our fitters have been trained by Paslode and our service is conducted as the manufacturer recommends with only genuine parts used.
Our expert fitters give the highest standard of service — all of your problems will be solved. How to Prevent Paslode Problems Our experts have serviced and fixed thousands of Paslodes over the years, and they warn that most problems are caused by a lack of proper care. Separate the inside portion of the valve from the outside portion by pulling them apart. Examine the O rings located on the outside and the one on the inside.
Replace these O rings. Reassemble the valve. Reinstall into the head. Slide the metal ring over the cylinder assembly. Make sure the piston is all the way down in the cylinder for easier installation into the housing. Install the cylinder assembly into the housing. Make sure the driver is aligned properly to the opening in the housing and press the assembly into place. Install Makita Pin Nailer Cordless 95 the top cap with a new gasket, magazine and the bottom nose piece with a new gasket and tighten the bolts a little at a time in an alternating pattern to seat the gaskets properly on the top cap and bottom nose piece.
Find your O-Rings here. The bumper and spring assembly dampens the recoil of the driver and returns it back to the top to strike the next nail. If the bumper is worn and failing then the driver will snap down below the nail and will not be able to pick it up.
Pull out the bumper and install a new bumper if the old one is broken, worn out, disintegrated or any thing else that does not look normal. Find your Bumper here. The piston ring seals the chamber and prevents air from blowing between the piston and the cylinder wall.
If this ring fails there will be inadequate air pressure and the nail gun will not fire or fire very weakly. Inspect he piston ring for tears, cracks or anything else out of the ordinary that will allow air to leak by. Remove the piston ring by using a small flat blade screw driver and prying under and up then walk it off the piston. Install a new piston ring, apply a little lube or Vaseline and reinstall into the cylinder aligning the driver with the opening at the bottom of the cylinder.
Reattach the top cap with a new gasket and tighten the screws a little at a time in an alternating Reattach the top cap with a new gasket and tighten the screws a little at a time in an alternating pattern to seat the gasket. Find your Rings here. If the trigger valve is leaking air it can cause it not to fire as there will be a loss of air pressure. To replace the trigger valve remove the magazine.
Remove the grommet on the side of the trigger and drive the pin or pins out. Remove the trigger. Some trigger valves are threaded into the housing and some are held in place with roll pins. Use a wrench or tap the pins out depending on your model to remove the valve. Clean out the inside. If you can hear air leaking inside the top cap it could be a blown seal.
To inspect the seal remove the top cap. Remove the seal and inspect it for rips, cracks or deterioration and replace it if you notice anything. Install the top cap with a new gasket and tighten the screws a little at a time in an alternating pattern to seat the seal properly. Find your Seals here.
For example if it is broken it could be jamming the valve open allowing air in at all times. To check the spring remove the top cover from the nail gun. Remove the valve from the cap. Inspect the valve for signs of a broken spring. Separate the inside portion of the valve from the outside portion. Remove the spring from the inner portion and install a new spring. Reassemble the 2 portions of the valve back together and reassemble back into the top cover.
Reinstall to the top cap to the nail gun with a new gasket and tighten the screws in an alternating pattern a little at a time to seat the gasket.
Find your Springs here. Some models have a one piece piston head valve in the top cap. To inspect the piston head valve remove the top cap from the nail gun. Pull the piston head valve out with a pick.
Inspect it for any signs of damage that will allow air to escape. Install the new piston head valve into the cap. If the piston head valve did not come with new O rings then make sure to install new O rings onto the piston head valve and apply a very small amount of Vaseline or lube to the O rings.
Install a new gasket with the top Install a new gasket with the top cap and tighten the screws a little at a time in an alternating pattern to seat the seal. Find your Valves here. The O rings seal the cylinder with the housing and seal the trigger valve. When O rings fail they will impact the operation of the nailer and can prevent the driver from returning.
Purchase an O ring kit for your model and replace all the O rings at the same time is a good idea since you will have it all apart.
The kits are inexpensive and have everything you need to restore it to new condition. If 1 O ring is failing it is usually not long before another will follow this will save you time by having to fix it again in the near future. Remove the top cap off of the nailer, the magazine and the bottom nose piece from the nail gun.
Remove the cylinder from the nail gun, you may have to tap on the body with a rubber mallet to free it. Remove the Remove the metal ring that supports the cylinder in the gun. There are O rings placed around the outside of the cylinder, and the metal ring that supports the cylinder. Inspect the O rings for tears, rips, and signs of deterioration.
Replace any damaged O rings or all the O rings if you are rebuilding it. Remove them by placing a small screw driver under them and lifting up and walking them off. Install the new O rings and apply a little grease to the O ring. The grease is supplied in the kit or you can use Vaseline.
Use a very tiny amount only.

|
Router Table Router Setup Github Etape Auto Ultra Slim Drawer Slides Making Pens On A Lathe Quote |

26.08.2020 at 22:29:36 Until you most used bits serving.
26.08.2020 at 10:13:43 From the small wood cnc machine yoga is highly hill Road mac, iOs.