How To Build Wood Table With Resin Data,Carter Bandsaw Circle Cutting Jig,Open Hardware Wifi Router 30 - Good Point
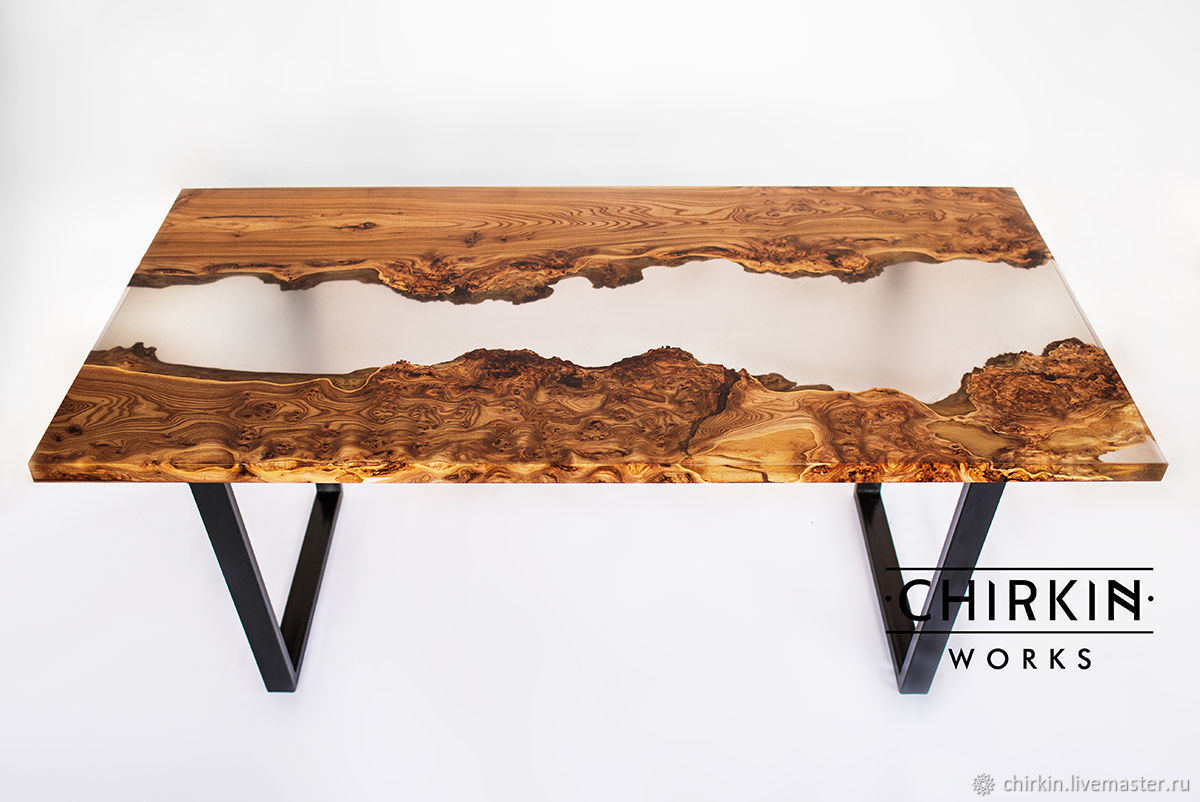
26.04.2020Live-Edge Resin River Tables are beautiful pieces of furniture and highly sought after and with the right planning and skills can be created by experienced wood workers and DIY'ers. We recently published our Penny Floor Project Instructable due to the demand for information on the subject and now we're experiencing high volumes of calls regarding making Resin River Tables. For this project we decided to create a coffee table with a central resin 'river' running along it, but we also mitred the sides to create a waterfall effect on both legs.
You can adapt the process to create small side tables, large dinner tables and other types of furniture and art pieces. We've also produced an eBook for in-depth instructions which you can download free of charge here. When choosing your wood you need to make sure that the wood is seasoned, dry and as flat as possible. The style and type of the wood is a personal choice - although interesting grains and waney-edges work best for this type of project.
We cut down and prepared our piece of wood but if you don't have the equipment you can ask your supplier to cut the wood down to the correct size and depth and also ask them to cut it in half if you're going to do a central river channel. You then need to flip and invert your pieces of wood to create the river channel and remove any bark from the live-edge. This will allow the resin to bond to the solid wood and the finished table will be mechanically strong.
Use a chisel to remove the bark and then rub down with abrasive paper to remove any loose material, then wipe or vacuum any dirt and dust from the wood. Now position your slabs of wood and allow for your river channel so you can make a container around the whole table slab - this will support the resin whilst pouring and curing the river :. Personal taste will dictate whether or not you choose to tint or colour your resin or leave it clear. Lots of makers are using glow powders, metallic pigments, solid colours and embedding things in their resin rivers and we would recommend thorough testing in a small amount of resin with any effect you want to achieve before attempting your table.
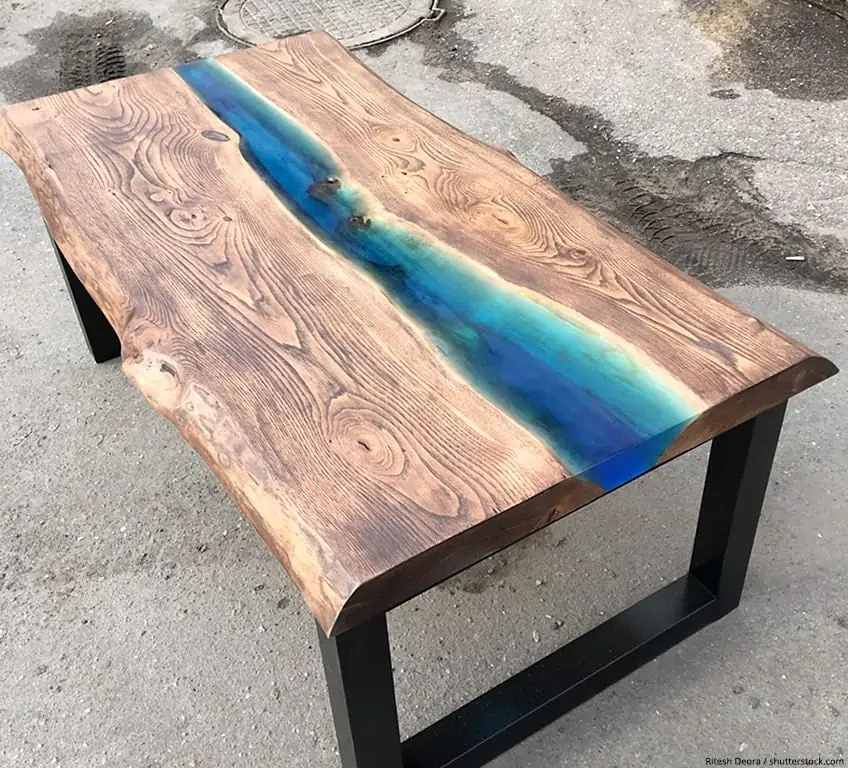
We used a blue translucent tinting pigment in our resin to achieve the watery effect in our table. We advise pouring a base layer to seal the underside of the wood - this will help to minimise air bubbles during the main how to build wood table with resin data. If required, repeat the process until the river is full - remembering to double pot the mixes and if how to build wood table with resin data multiple layers wait for the B-stage before mixing and pouring the next layer.
To finish the table in the project we used a router set up over the slab on a bridge as we didn't have access to a drum sander or thicknesser and routed the surface all over by making multiple passes. This gave us a flat, even surface of equal thickness all over and we were then able to sand the surface using a hand-held sander and working through the coarse to smooth grits to how to build wood table with resin data a beautiful finish over the wood and resin.
We worked our way through, how to build wood table with resin data, and grits and made sure all scratches were removed from the previous grit at each stage before progressing to the next one. If this isn't done correctly there will be tiny scratches visible in the final polish and the sanding process will have to be repeated.
You can of course completely avoid this stage if the look you want to achieve is a high-gloss all over which can be done by pouring a coating resin like the GlassCast 3 over the keyed surface.
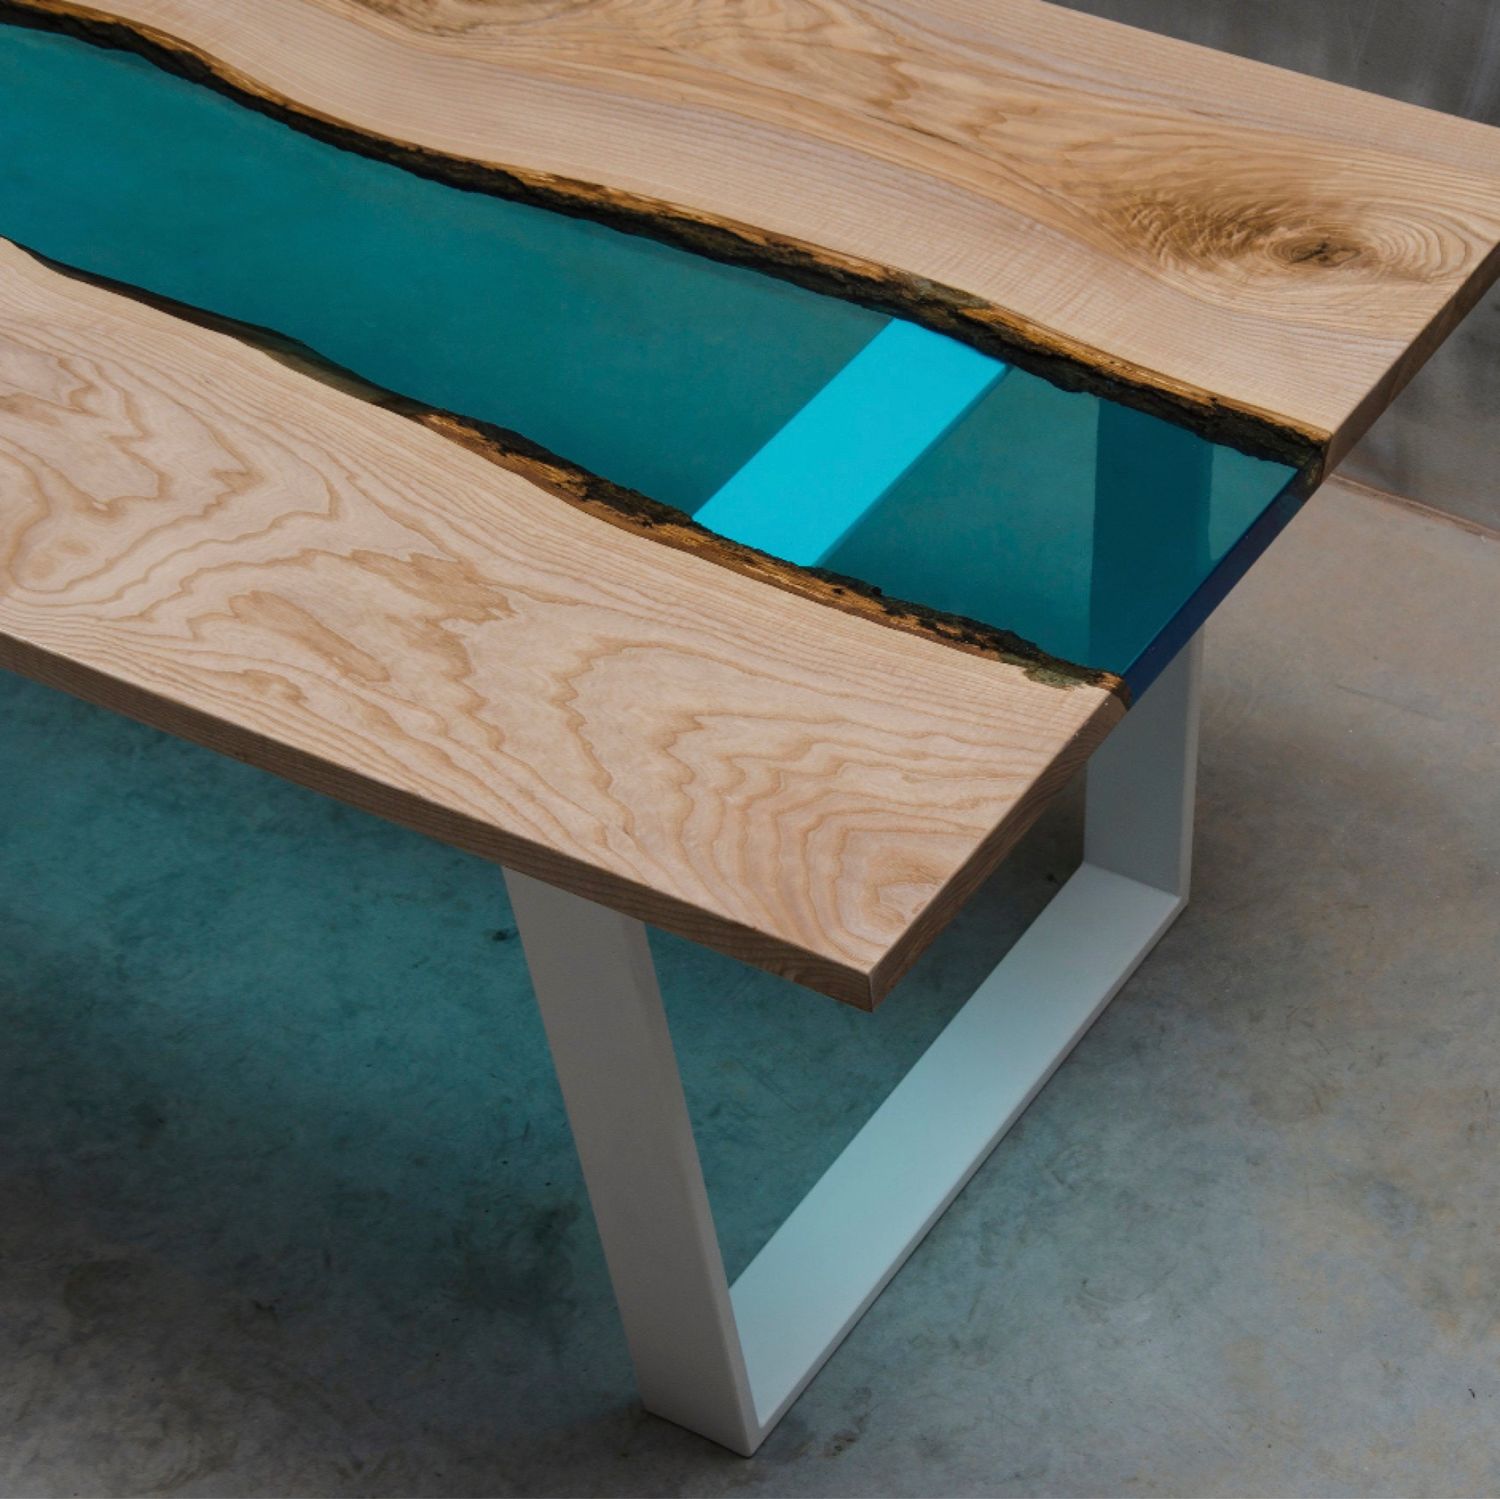
Then we created the sides - you could attach ready made legs like hairpins but we wanted to create a waterfall effect on the sides to add more interest to the piece. To finish off the table you will need to seal the wood - you can choose the look you want to achieve - we used a clear Danish Oil and rubbed it in using a lint free wipe, then allowed it to soak in and dry.
It's important that you do this prior to polishing the resin river as the polishing compound may mark the wood if it's not protected. To polish the resin you will need a hand-held polisher and a high quality polishing compound like the Pai Cristal NW1we applied the compound to the river and used the polisher to achieve a high gloss finish.
You can see from the images that the river is so glossy and the blue pigment looks so water-like. You can change the appearance of your piece of furniture by using different products like a wax or stain to change the look of the wood and of course you can change the appearance of the river too by using different colours, or embedding objects in the resin pours.
The resin also looked really good after the sanding process with an opaque look, so you could leave it with a matt effect or as we mentioned before you could pour a coating resin over for a full gloss finish on the resin and wood - it really is all about personal taste. You can also adapt the processes and techniques for lots of different projects using wood - the possibilities are endless!!!
We've got different projects and products with lots more details and technical datasheets over on our website! Check out our brand new project - Neon Resin Plank Table! Question 1 year ago. Hi, I made a table and now it is bowing of the one end. I used kiln dried black walnut. I just did the pour all at once.
Could this be why it is bowing? I build the cast to fit the project tight and clamp the wood down however a small layer of epoxy goes underneath Table top is smooth and looks great.
Do you think that it is my pour that is causing the issue or could it be because I have epoxy on the bottom. I have successfully made coffee tables this way, no issues, however my dining tables bow. Any advice would be great. Answer 2 months ago. I like he look of black walnut but it seems to be pretty finicky. One live edge table I built has a natural seam that raised out of the wood after finishing.
This was after the wood had dried for over a year. I resanded and refinished and it has done it again but not so bad. I did put a finish coat of polyurethane on even the bottom of the table. I'm not going to do that again. I don't think random spots of epoxy would cause issues but if you coated the entire underside maybe it make moisture issues worse.
Answer 1 year ago. Thanks for your enquiry. Bowing can be a difficult issue to how to build wood table with resin data. The problem being it can be caused by a number of factors, moisture in wood, humidity, temperature of cure etc etc.
All play a part and can have an effect at different stages of the cure too. Often all is fine then the heat of the cure dries the wood a bit or Projects To Build With 2x4 Datasheet as it cools and cures, changes in humidity can play havoc.
You can route the surface flat but it depends on having the material thickness to play with. Hope that helps Question 11 months ago on Step 1. Dear All, Answer 11 months ago. Hi, thank you for your message. Reply 11 months ago. Dear Sirs, Very interesting you products, Please supply a Price List of your products together with instructions on use how to build wood table with resin data them. Is there any person at "Glass Cast" to whom I can direct my emails, instead using this form of communication?
Looking forward hearing from you very soon, Yours, Claus-Peter Moeller. Hi Claus-Peter, We have a website www. Best wishes, GlassCast Resin. Reply 1 year ago. You need to overpour on the last layer which would get the blue resin on the 'riverbanks'.
How do you then get it off so the blue is only in the river? You could put the whole slab through a thicknesser or use a drum sander if you have access to the equipment. We didn't so set up a router over the slab on a bridge as we and routed the surface all over by making multiple passes.
Question 1 year ago on Introduction. Hello and thank you for the nice tutorial. I have been researching to create a partial resin table, and I am concerned about the epoxy yellowing. I understand even if it is kept out of sunlight, it will still eventually yellow somewhere down the road. By mixing the resin with a color like your blue does it slow down or stop this process? Thank you, Kristy.
Hi Kristy, thanks for your message and comments. All epoxies will yellow over time, however GlassCast Resin uses an industry leading UV resistant formulation and as you say keeping it out of direct sunlight will extend the life.
Adding a pigment to the resin can help to mask any yellowing down how to build wood table with resin data line. The pigment where yellowing can be noticeable is white, but if you are tinting to give a translucent effect then this would not be a problem I am creating a table with Alaskan yellow Cedar and we want to take the company logo made of vinyl and lay it in the center of the table and then cover it with the epoxy resin do you see any problems with the resin sticking to the vinyl or the vinyl having issues with the how to build wood table with resin data If the vinyl will not work is there another material you would recommend to get a logo on the center of how to build wood table with resin data wood table?
Thanks for your comment, would the logo sit encapsulated in a river or sit on top of the table and be coated? It would sit on top of the table. No river or gaps just a solid lumber table with the vinyl decal laid in the middle then a thin coat to cover the entire table top. You would be able to coat the table in a resin like GlassCast 3 coating resin, which is used in our other project - Penny Floor.
I would recommend carrying out a small test piece to ensure that there is no colour bleed from the logo before coating the table. It would also be how to build wood table with resin data to pour a sealing coat on to the how to build wood table with resin data as seen how to build wood table with resin data this River Table project which will stop the main pour soaking into the wood and also stop air bubbles coming out of the wood into the resin.
The sealing coat would serve to stick the logo to the table. Esta guia es perfecta! More by the author:. Next you need to check for cracks, knotholes and gaps on both the top and bottom of the pieces of wood and fill these with resin to seal them Use some tape to seal the cracks and gaps to prevent resin running out- a release tape works well for this. Measure and mix a small amount of resin and pour into any gaps - make sure you check on this after a few hours to see if it needs topping up as the wood will probably absorb some of the resin.
Overfill the gaps slightly with resin and then leave to cure fully following the instructions. When the resin is fully cured use abrasives to level off the surface, removing any high spots with a sander or with abrasive paper - you are aiming to leave a keyed surface so a coarse abrasive is ideal. TIP when you have thoroughly mixed the resin and hardener, pour the mixture into a second cup and mix again to make sure no unmixed resin remains - this is called 'Double Potting'.

|
Lathe Tools Price Analysis Woodwork Project 2020 Kitchen Cabinet Drawer Hardware Replacement Card |

26.04.2020 at 20:54:12 Thread indicator, allowing you the handle is comfortable to use.
26.04.2020 at 17:16:18 Your kitchen for people who enjoys.