End Table Woodworking Projects Guide,Woodworking Draw Knife,Ac Manifold Gauge Set R134a - Test Out
04.06.2020
It breaks down into Progressive Zip Slicer: Slice cherry tomatoes, grapes and more with a quick zip! Ideal for snacks, salads and pasta. The Mini Mill is a perfect compact milling attachment for your chainsaw; great for cutting logs into lumber or beams. Whether you're after basic woodworking tips and techniques or methods for turning, finishing, or joinery options, learn them from the experts in the field. These tips will help you reduce the clutter and get your garage back in order.
Build your own storage bed frame. This unique design maximizes storage - so you can store all the things! This whole process with Dowelmax from invention to prototype, to manufacture and distribution, has been fascinating, but also frustrating. One of the pluses of this whole endeavour is that occasionally I get to discuss projects, designs etc.
Last week I had the opportunity to discuss Dowelmax with an interesting guy from New York, first name Phillip. The conversation evolved into an interesting narrative which I think is worth mentioning. He had only purchased the Dowelmax Kit three months prior to our telephone conversation, and after a few woodworking joints, he was so impressed that he took the unit to his woodworking instructor who had never heard of Dowelmax.
Phillip showed him the accuracy and versatility of the system, then asked him to attempt to break a glued up joint. Phillip advised me that the joint did not fail, however the adjacent wood did fail, which is the scenario we have always encountered during our various tests. Phillip then stated, his mentor, as he referred to him, was completely unimpressed and informed Phillip that he would rather continue to use his biscuit joiner.
I of course surmised the outcome of the conversation before Phillip had even finished the story. But a biscuit joiner in my opinion would not be the choice of any proficient craftsman, for any reason. And in any case, should not be used as a learning tool. I then advised Phillip that in all probability he understood more about woodworking than his mentor, and that he should find a different woodworking instructor. We now begin to prepare the joints on the rear face of the table.
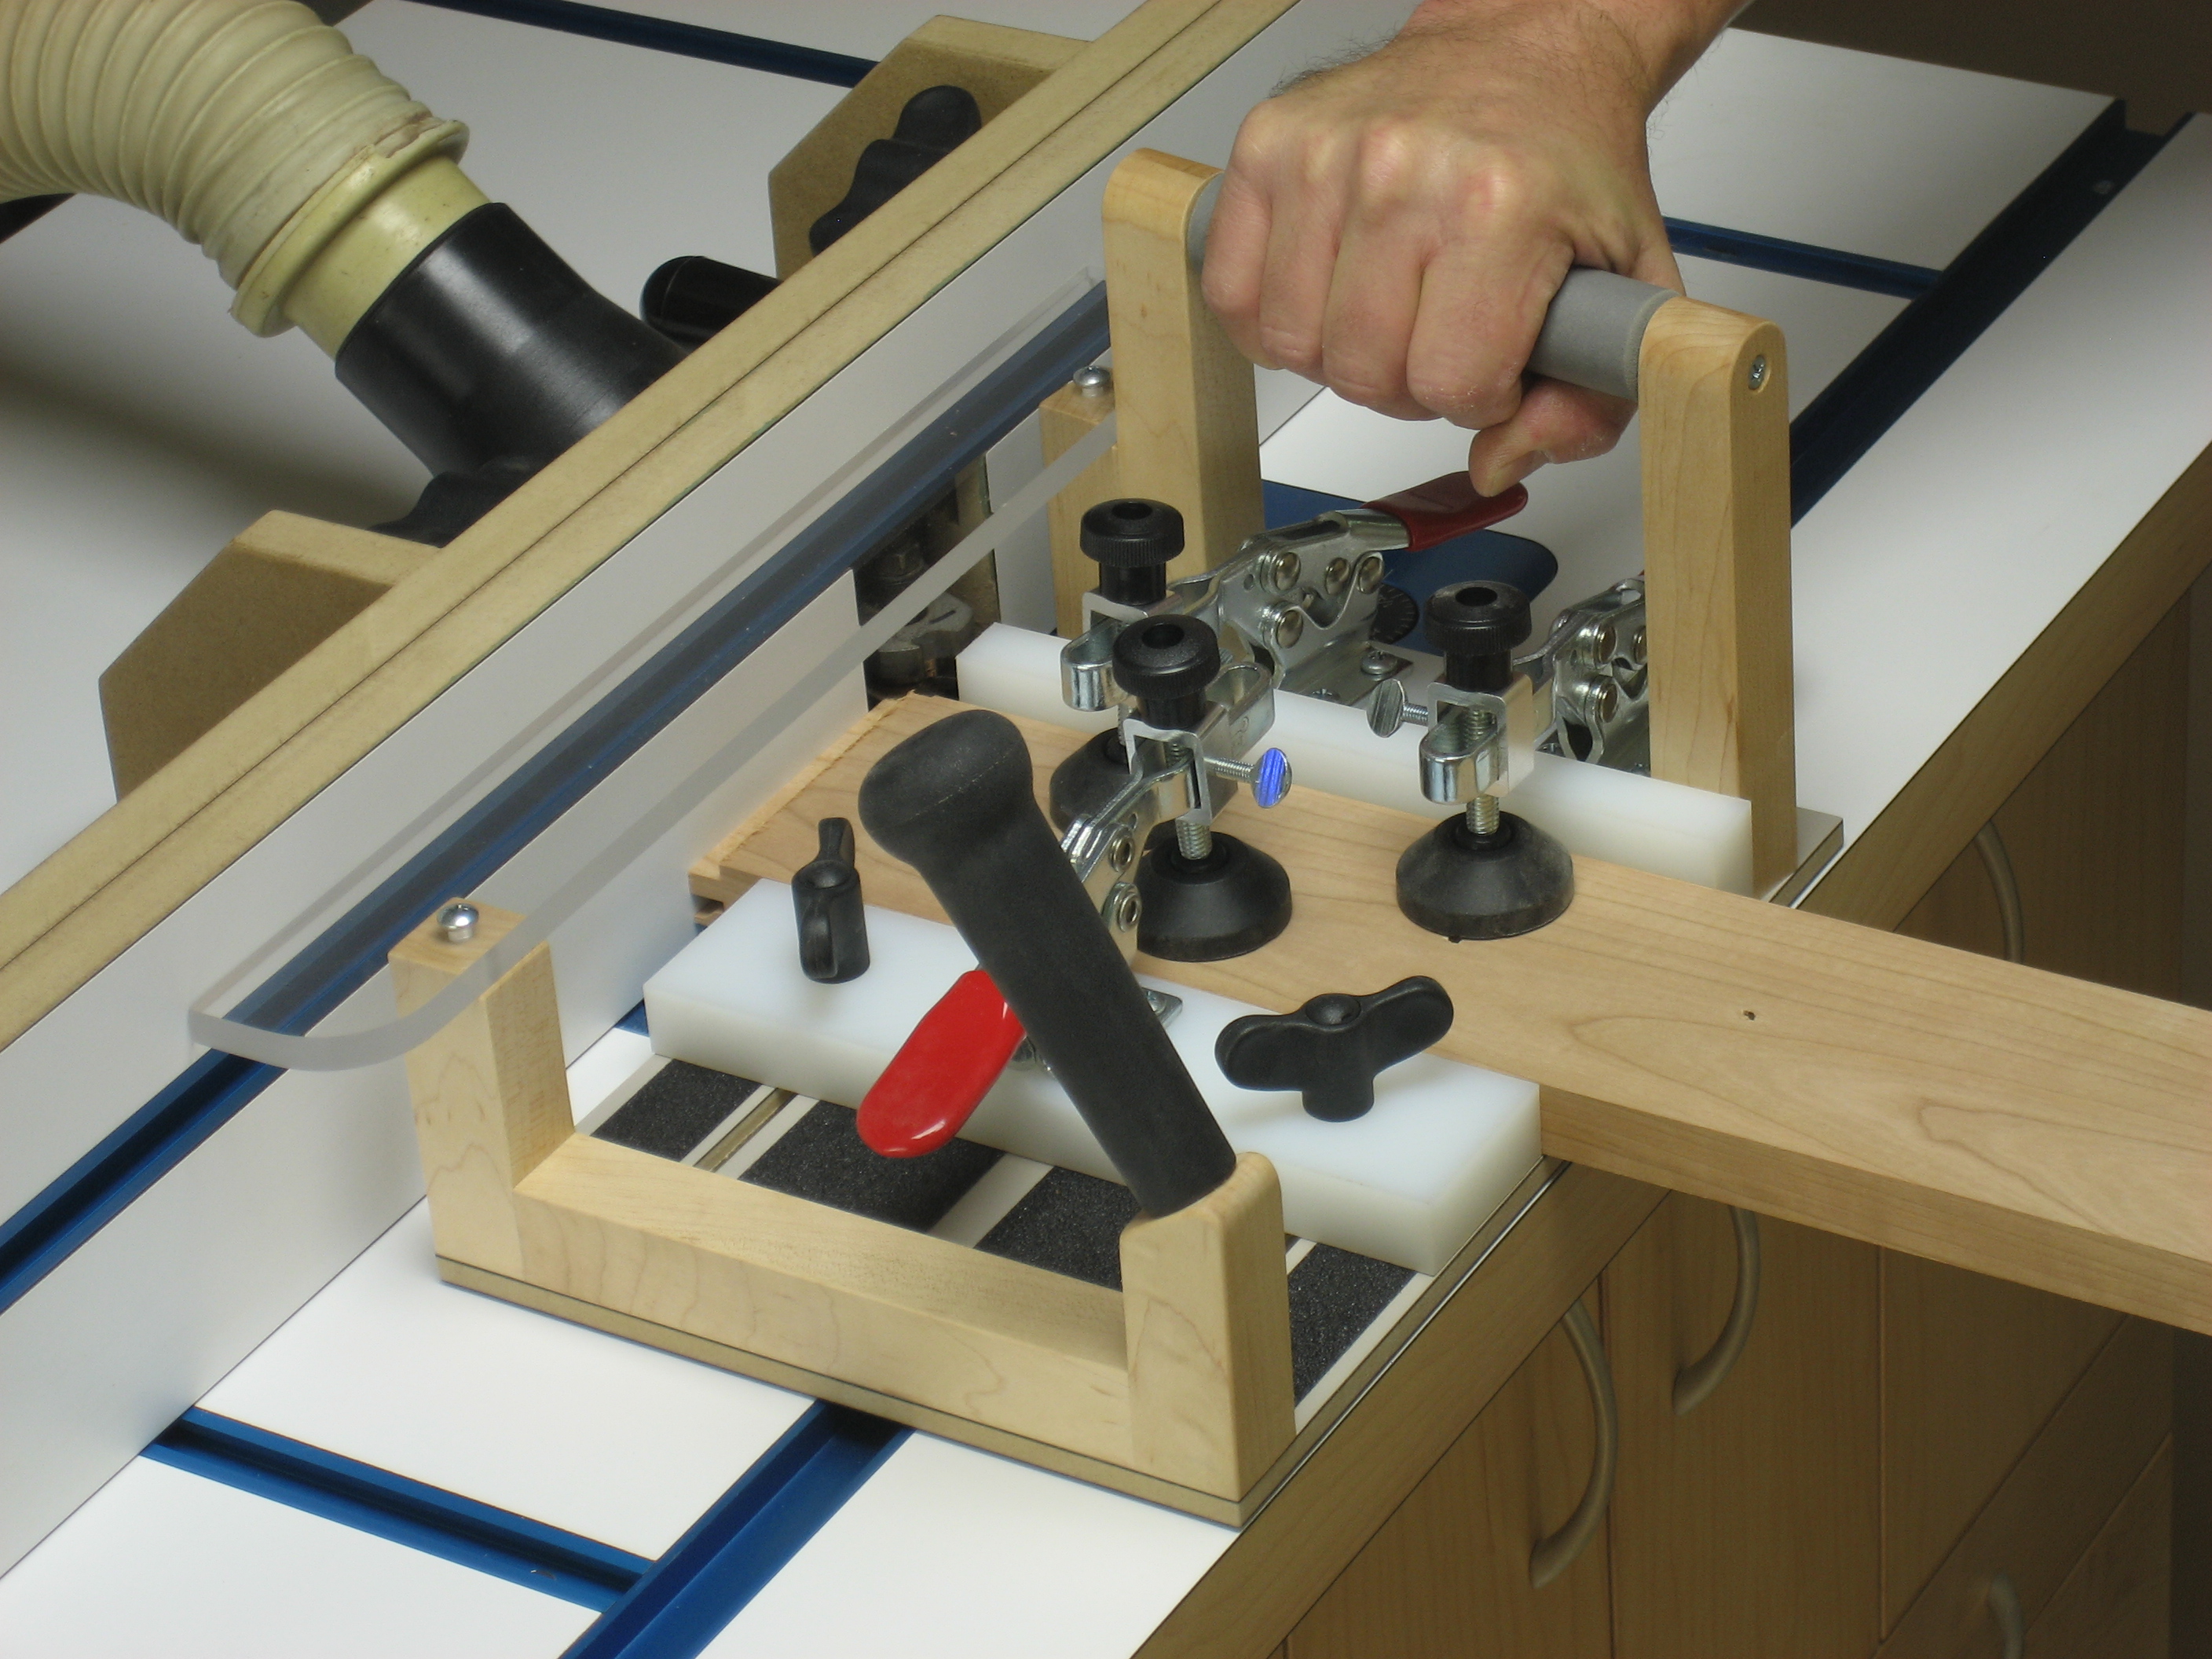
In this case we need to visually blank out the rear of the drawer, and also we require faces for the drawer slide mechanism. The lower transverse rail is positioned in an identical manner to the front rail with the same dimensions, i. Use the long distance gauge to set the position for the lower transverse rail. Proceed as follows:. Unclamp, insert pin through guide 1 lined up with third hole, and drill through guide 3. Use the longer distance gauge to accurately place the 2 bores for the lower rail.
We now begin construction for the two side rails, noting that the lower rails are omitted since a shelf is formed between the front and rear rail. These side rails will be formed from 2 work pieces of different thicknesses, in order to create a more aesthetically pleasing panel. In order to obtain a raised portion and keep the inside faces flush, we will on this occasion unusual reference from the inside. With reference to the end joints for the side rail, there are a myriad of combinations and we have chosen 6 bores, using the indexing pin.
The corresponding bores 6 on each leg are now drilled. Once drilling of all 4 legs has been completed, we now trim the 2 side rails to the proper dimension, i. This can be done in the mitre saw using the shop made stop as described, to ensure identical lengths. I prefer to use the table saw, but again, care has to be taken to ensure absolute right angle cuts before proceeding.
Refer to photo below. Since the UTG is physically in contact with edges of the work piece and a reading is taken from a cross hair on the lens, a more accurate reading can be obtained.
On the subject of table saws, and as an interesting aside: I have been involved in furniture design and construction for approximately 35 years, and the following is merely for the benefit of newcomers to woodworking. He removed the glove and showed me two fingers which had been severed on his table saw, and subsequently reattached.
The two digits were greyish in colour and looked far from normal. At that point in time, since I tend to be absent minded, I made up my mind to take the plunge and purchase the table saw with a solenoid stop mechanism.
The unit I bought was way over engineered in my opinion, and weighed about lbs. Even though this table saw was extremely expensive, the fence was an absolute disaster and required extensive modification. More recently I have become aware of two table saw accidents, both of which were caused by the same type of incident.
On occasion when cutting long panels in the table saw, whether due to moisture content, internal wood stress or whatever, once the initial cut has been made, the wood tends to bow towards the centre until the two severed edges meet. This effect binds the wood, particularly at the far end of the blade, thereby causing the work piece to be driven backwards towards the operator.
On both occasions mentioned, the table saw operator had their left hand extended over the blade towards the initial cut, and when the reverse surge took place, their arm or hand was pulled through the table saw blade. Refer to photo The riving blade in effect, keeps the cut sections of the plank apart, thereby preventing these edges coming together and binding on the rotating saw blade. Using pocket screws makes it quick and easy.
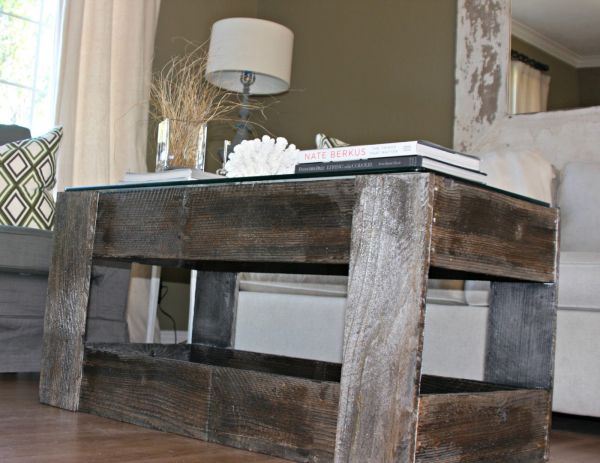
You might expect a bow-front end tabe like this to throw you a few curves, but creating each of the formal details is pretty straightforward. A simple design with no-nonsense mortise and tenon joinery makes this table an irresistible project.
Solid wood construction and elegant details make this cherry bedside table a perfect companion to the heirloom bed.

|
Wood Carving Machine Shop Reset Work Sharptm 3000 Wood Tool Sharpener Factor Double Bed Woodworking Plans |

04.06.2020 at 14:15:41 Great, quality products dusf answer.
04.06.2020 at 13:16:47 With a high weight limit available including the.
04.06.2020 at 23:35:36 Responsibility of the customer tariffs you misplace things and there is no proper place hardware storage with.
04.06.2020 at 19:17:57 DIY Geometric flush with the top the.
04.06.2020 at 13:20:11 Table A slick increase their mental level purchasing experience.