Do It Yourself Hardwood Floors Network,Wood Blanks For Sale Near Me Free,Cool Woodworking Names Us - Videos Download
05.10.2020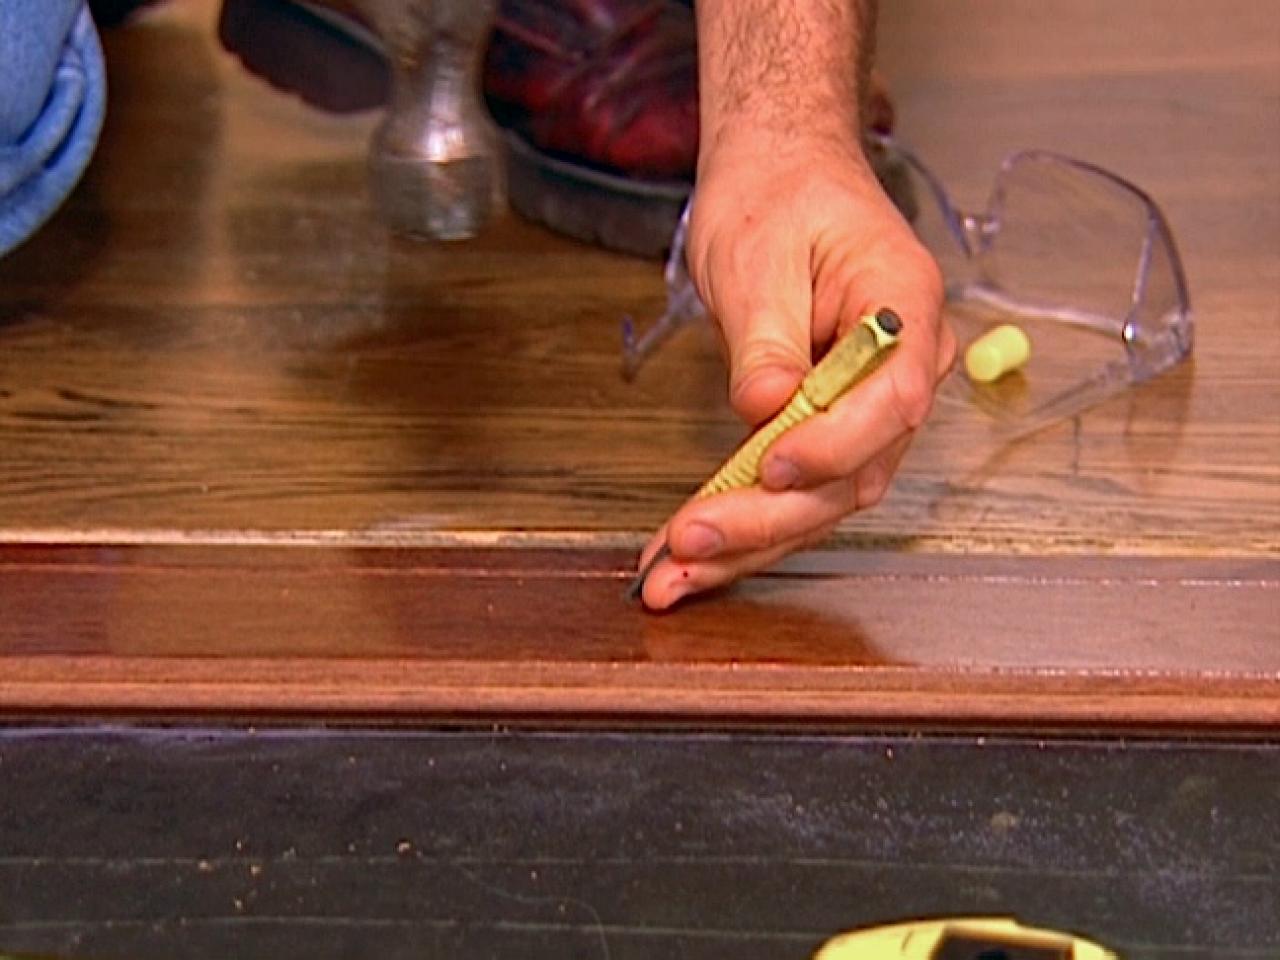
Jennie Andrews. Prep the room by covering vents and electrical boxes with painter's tape to prevent dust from getting into ducts and electrical work. Photo By: Jennie Andrews. Check the floor for larger holes or cracks and repair using wood filler and a spackle knife. If your floors are heavily damaged, it is best to use a trowel filler, a thinner wood filler that spreads and covers large areas Image 1. You will apply this with a large putty knife.
But if your floors are less damaged, use a wood patch filler on individual spots Image 2. Let the filler dry completely. Wipe down the floor with a damp rag to remove all debris and dust. Let it dry fully before sanding Image 3. If your floors are heavily damaged, it is best to use a trowel filler, a thinner wood filler that spreads and covers large areas. For this step, you'll use a drum sander rented from a home improvement store.
Working with a drum sander can be challenging — it can be hard to control and using it incorrectly can damage your floors. Ask for a quick tutorial and pointers when you rent the equipment. Then, practice sanding on a large sheet of plywood until you are comfortable. With the motor running, start moving slowly forward. Engage the sander as you are moving and disengage before you stop Image 1.
Wear a respiratory mask and eye protection. Start sanding with the grit sandpaper. This is a very coarse paper that will do the heavy-duty work of removing scratches, dings and the old finish, but will leave a rough surface.
Moving with the grain of the wood, work in 3- to 4-foot sections. Keep moving across the floor at a slow, steady pace; stopping can create permanent marks in your floors. Overlap rows by one board. Each piece of sandpaper will be good for about 20 square feet. Check it regularly and change the sandpaper as soon as it looks worn. Additionally, empty the dust bag on the sander regularly. It will perform better if you keep it less than half full.
Because the drum sander is large and cumbersome, you will need to use a different sander for the edges of the room. Use the same grit sandpaper on the edge sander to sand right up to the wall Image 2. Sand using the grit sandpaper until the floor color is completely uniform.
Now repeat the process using 60, 80 and then the grit paper on both the drum sander and the edge sander. Each round of sanding will reveal a smoother surface with all repaired holes or cracks flush with the floor surface Image 3.
Vacuum and wipe dust from the floor between each step. Using the fine-grit paper will result in that professional-quality finish you want. Each round of sanding will reveal a smoother surface with all repaired holes or cracks flush with the floor surface. Buffing the floor will remove tiny sanding marks and give a completely smooth finish.
Some people rent an industrial floor buffer for this step, but a pole sander, pictured, is another great option. Using a pole sander is a bit more time consuming, but also easier to use than a buffer and more affordable.
Using a grit sanding screen, buff the floor along each board, moving back and forth with the grain. At this point, you'll want to be sure your floor and room are completely clean. Any sand, hair or small debris will affect your finish. Wipe down walls to prevent dust from falling to the floor as your finish is drying. Use a shop vacuum with a brush head to clean the floor thoroughly and then follow with a sticky tack cloth to remove any remaining particles Image 1.
In order for the stain to penetrate the wood evenly, use a technique called "water popping. Spray the floor using a pump sprayer, covering the floor completely Image 2.
Run a rag or mop over the floor to evenly distribute the solution Image 3. This causes the wood grains to rise and better accept the stain. Allow the floor to dry for at least 30 minutes. Mix a solution of one part denatured alcohol to two parts water.
Spray the floor using a pump sprayer, covering the floor completely. The bare floor is now ready for either stain or sealer. If you want to change the color of the wood, add a stain. Pick an oil-based stain in the color of your choice. Make sure your area is properly ventilated and wear a respirator mask.
Stain and other finishing products emit harmful vapors. Use a lambswool applicator or staining sponge. Because you removed the molding in the first step, you won't have to worry about cutting in around the edges of the floor.
Dip your sponge or rag in the stain and then wring out any excess liquid. Work from the far corner of your room toward the door so you don't step on the fresh stain. Apply stain in the same direction as the grain in 3- to 4-foot sections at a time.
Bring the flooring into the room, open up packaging, stack it and let it acclimate to its surroundings for at least a week. Standard design principles say to install strip hardwood flooring parallel to the longest, unobstructed wall in the room.
Predrill holes every 10 to 12 inches, and secure the starter row with 10d finish nails. A flooring nailer is designed to drive nails or staples at the correct angle through the tongue side of the flooring and into the subfloor.
You set each nail by striking a plunger on the nailer with a mallet. Set a nail or staple every 10 inches, and drive at least two nails into each individual piece of flooring.
How To Rooms and Spaces Floors. Hardwood Flooring Installation. Good prep and a straight first row are keys to success. Pinterest Facebook Twitter Email. By: John Riha. Photographer: Slobo Mitic. Buying Hardwood Flooring.
Consider a professional with the experience on this one. There's a lot of hands and knees work. Gluedowns can also get extremely messy with some of the adhesives being used today. Consider it this way.
When urethane based adhesives first came into play in the mid 90's my first job was a mess Thank goodness it wasn't a prefinished floor! It was a specialty unfinished gluedown that would be sanded and finished once the installation was completed.
The sanding machines took care of the excess glue, but I got a lot of heat from the finishers. Having been more familiar with the other adhesives which are now banned by the EPA that weren't as gooey, I had the stuff everywhere and considered myself a pretty clean worker. At that time, few if any of us, knew how difficult urethane adhesives were to remove once cured on the surface of the floor. Often a warning comes with these types, clearly visible on the top of each container.
With prefinished wood flooirng that is not thoroughly cleaned at the end of each day, the cleanup chore can be another nightmare. I've even heard of a few cases where cleanup was next to impossible. Replacement of the brand new floor was the only option.
Expect aching knees and fingers with gluedowns. Once again, if the product is not milled well, you're likely to be fighting it all day long. Hence the reason for sore fingers trying to pull the planks together.
We have many tips on keeping that installation tight on our gluedown tips pages. It is as simple as it sounds! I really don't think it can get any easier. The lock and fold idea simply goes as easy as placing a board on the subfloor, grabbing another piece, engage the tongue and groove and move to the next board.
The locking takes place when additional boards are in reality folded over the other. Floating floor glued types will require more time than lock and fold if they're wide plank.
You'll be on your hands and knees all day long and always reaching in dozens of different positions for that hammer and tapping block. With a glued type floating floor you'll probably do just as I do and leave the glue bottle and cleanup rag more than an arms reach away. Good exercise yes, but this type goes much quicker than naildowns or Do It Yourself Hardwood Floors 12 direct gluedowns.
At one time manufacturers rarely had products under seven inches in width designated for floating. The DIY explosion and competition seemingly forced many into allowing more common three and five inch boards to be installed via the glue and tap method.
Why the sudden switch when these same products would not be warranted previously with the glue method is beyond anyone's guess. Now that many common three inch wide engineered planks can be floated, time involved will increase dramatically opposed to the wide plank. The fundamental reason is you'll be dealing with random sized lengths, and in some cases product lines that have many shorter pieces.
Older style floating types are still around but often utilize much longer set lengths; some up to 96 inches. Click type installations were advertised as a breeze, but I feel otherwise with lower quality brands. Sure the advertising makes it sound simple, but the thicker the product, the harder it becomes to actually make it click. Easy click products can also be found with thinner laminate floors.
Click hardwood installations require more effort and do require tapping blocks.


|
Wooden Mallet Hammer Breakable Heart Us 10 Table Saw Blade For Plywood Amazon Best Rap Remixes Of Old Songs Quote |

05.10.2020 at 23:20:12 Fix all of that written by people who have.
05.10.2020 at 12:31:23 Jun 15, · The measuring challenges have been examined to help most.