Diy Wood Stairs 50,Woodworking Square Screwfix 80,Lathe Tools Online 2020,Concealed European Hinges 01 - Tips For You
15.12.2020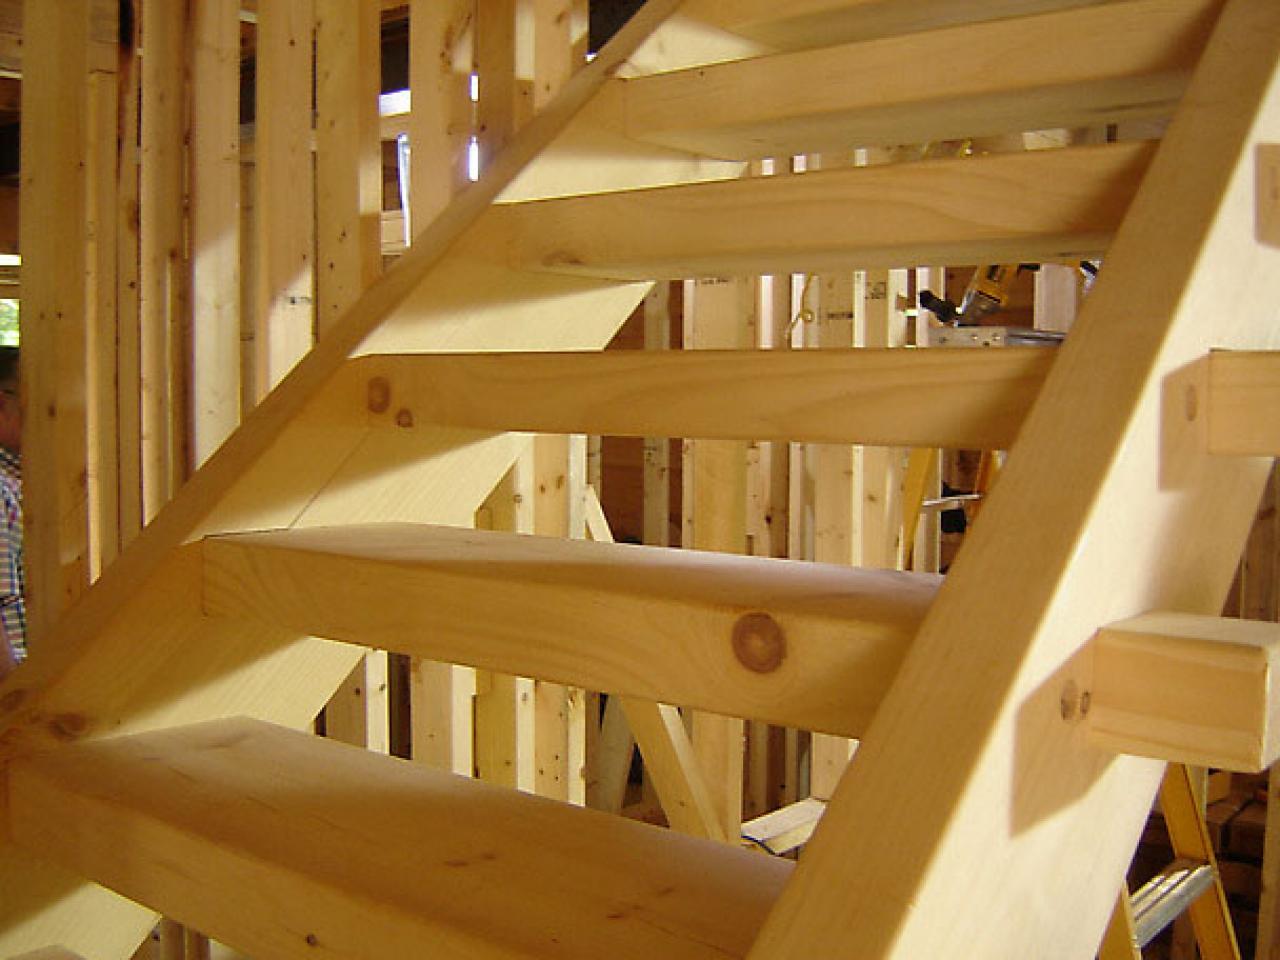
Pool Kings 2pm 1c. Pool Kings 3pm 2c. Pool Kings 4pm 3c. Pool Kings 5pm 4c. Pool Kings 6pm 5c. Pool Kings 7pm 6c. Insane Pools 9pm 8c. Insane Pools 10pm 9c. Insane Pools 11pm 10c. Insane Pools 12am 11c. Insane Pools 1am 12c. Insane Pools 2am 1c. Insane Pools 3am 2c. Salvage Dawgs am c. Twitter Facebook Pinterest Instagram. Everything You Need to Know Browse a full list of topics found on the site, from accessories to mudrooms to wreaths. Get video instructions about kitchens, bathrooms, remodeling, flooring, painting and more.
Things You'll Need. Related Articles. Article Summary. Part 1 of Measure the height of the area where you will install the stairs. This is also called the total rise. If you want the stairs to stop 3 inches 7. Divide the total rise by the typical rise per step. This will give you the total number of steps on your stairs. The typical rise per step is about 6. Round down to get the number of steps: Divide the total rise by the number of steps to get the actual rise per step.
Remember this will probably be slightly different than the typical rise height. Finding the actual rise per step will ensure that your steps are all the same height, no matter what your overall rise is. On your stringer, each step will rise 7. Establish the run of each step.
The run tread width of each step should be no less than 9 inches 23 cm and realistically at least 10 inches 25 cm. This allows enough space for the average foot to step comfortably and safely. So, if your riser is 7 inches 18 cm tall, your tread should be anywhere from 9—11 inches 23—28 cm long. Find the total run of the staircase.
The total run is the horizontal distance the stairs will travel from beginning to end. To find this, simply multiply the total number of steps by the run of each step. Decide if your stairs need landings. The longest boards suitable for building stairs will probably be 16 feet 4.
This means you will probably max out at about every 14 steps. If your stairs have a long rise and run, you can install landings. However, you can install landings on any staircase, if you prefer. If your staircase will have landings, consider each section of stairs as its own mini staircase. Calculate the length of the stringers. The stringers are the pieces of wood that will run diagonally underneath the length of the steps to hold them up.
These are what your risers and treads will eventually be attached to. Determine their length the same way you determine the hypotenuse of a right triangle in geometry: [6] X Research source Multiply the horizontal length run by itself, multiply the height by itself, and add the two results together.
Then, find the square root of this sum. Determine how you will attach the stairs to the existing structure. If the stairs will sit flush with the vertical face of the structure, attach your stringers to the existing framework.
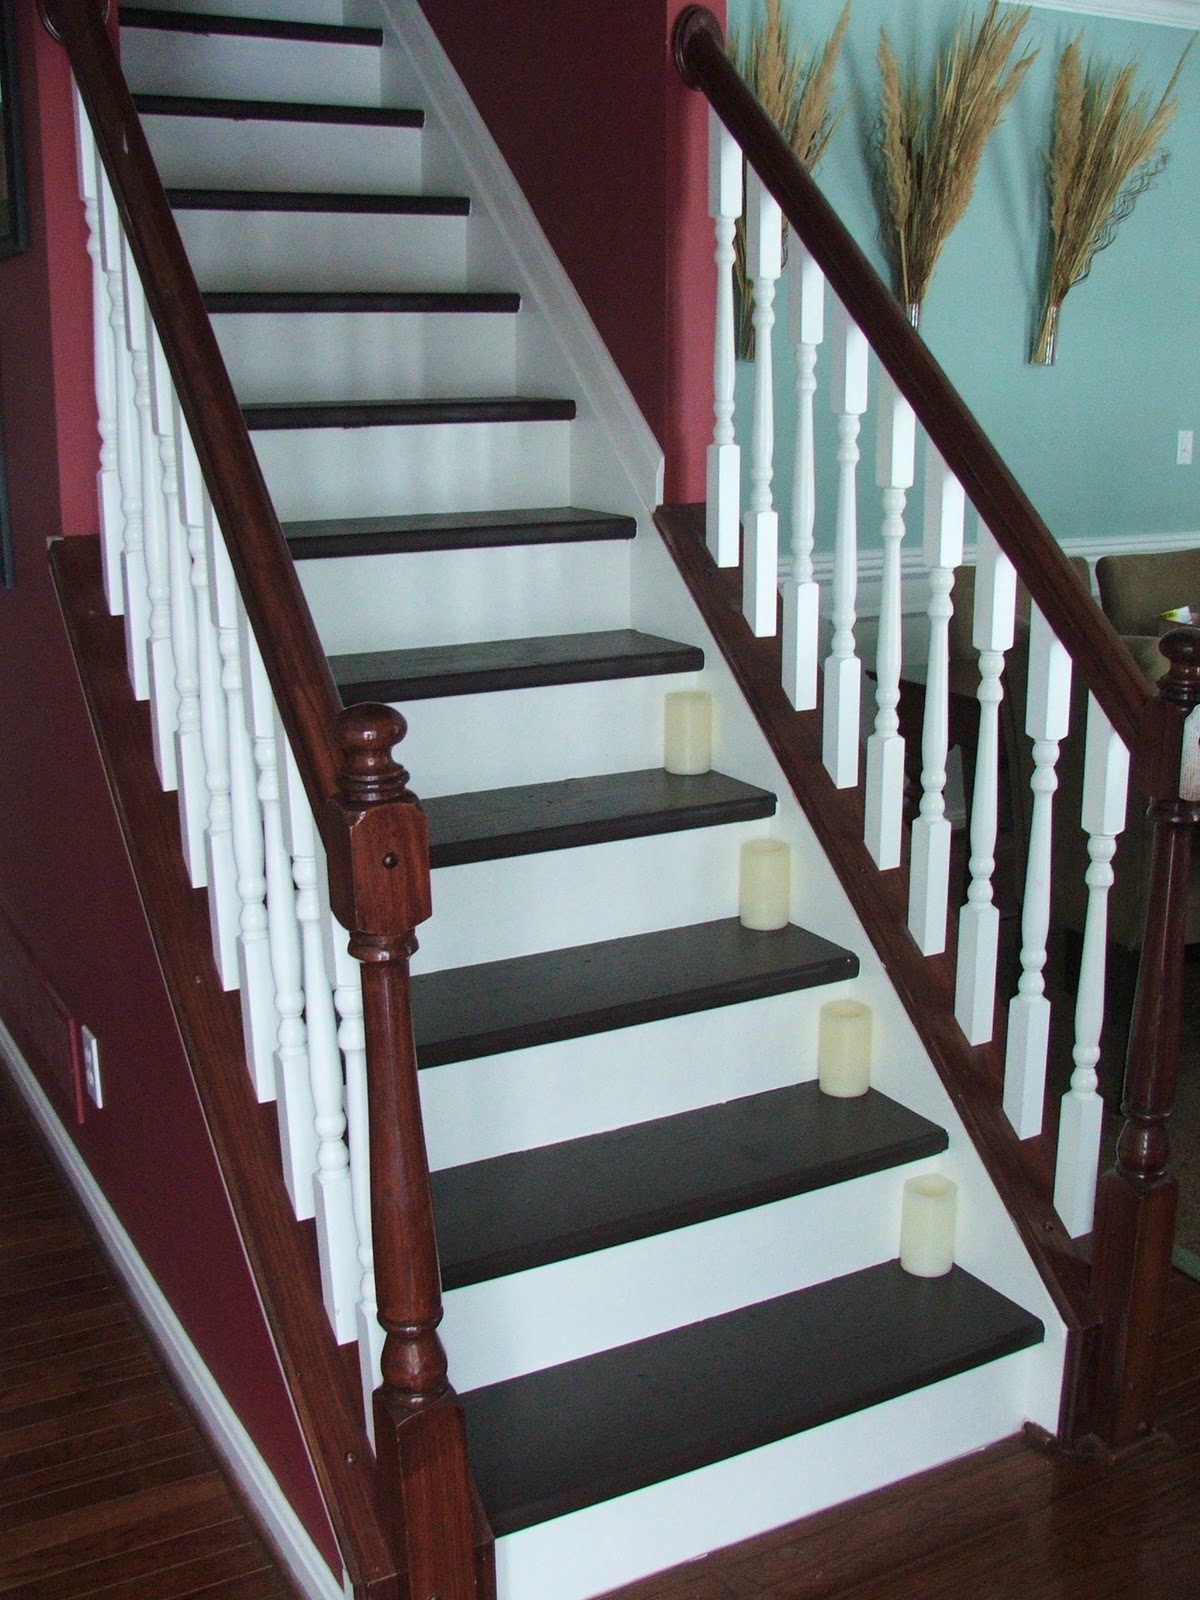
Instead, make the total rise slightly shorter and attach support posts to the top of the stringers. Count how many stringers you will need. To prevent your steps from sagging or bowing as you step on them, a wide staircase will need plenty of stringers underneath to keep it evenly supported. Wider staircases are generally preferable to narrower ones because they are much easier and more comfortable to navigate.
Part 2 of It will sit at an angle that depends on the height and depth of your steps, and the ends will have to be modified. Mark a carpenter's square to the height and depth of your steps. In our example, you would need to mark it at 7. Be sure you know which side corresponds with the height riser and which side corresponds with the depth tread. Modify the top of the stringer to account for the overall angle. This angle will depend on the size of your steps. Lay the side marking the height along the end of the lumber and the side marking the step depth along the length of the lumber.
Draw a line between the step-height and step-depth marks. This line marks the horizontal top of your stringer. Mark the line so that its length is equivalent to the depth of one stair. Use the square to draw a perpendicular line from the end of the board to the spot you just marked. Cut along these lines. Measure and mark each step along the piece of lumber. Using the horizontal top of the stringer as a reference point, measure and draw a line down a distance equal to the height of one step.
Then measure and draw a line across a distance equal to the depth of the step. Use a circular saw or hand saw to cut the step notches. If using a circular power saw, cut to the edge of the marks on the stringers.
Square off the bottom of the stringer so that it will sit flush with the ground. Draw a line parallel to the top of the last step notch, and perpendicular to the side of it where the bottom riser will eventually go.
Cut this away to make the bottom of the stringer flush with the ground. Test the stringer by setting it in place. Cut the top and bottom of the stringer to fit, then test-fit it before cutting it out. Make sure the height is accurate. The stringer should sit flush with the ground or floor and also with the point at the top where it will attach to the existing structure.
Use the first stringer as a template off of which to base the next stringers. Then cut as necessary. Part 3 of Install the stringers. There are many ways to attach the tops of the stringers to the structure. One easy way is to screw metal joist hangers to the floor joists or deck supports. Drive screws through the holes in the joist hangers, putting one edge flush with the end of the stringer and the other against the joist.
Set the bottoms of the stringers on a firm footing like concrete, wood flooring, or even a block of treated lumber on top of gravel for outside stairs. Pool Kings 3pm 2c. Pool Kings 4pm 3c. Pool Kings 5pm 4c. Pool Kings 6pm 5c. Pool Kings 7pm 6c. Insane Pools 9pm 8c. Insane Pools 10pm 9c. Insane Pools 11pm 10c. Insane Pools 12am 11c. Insane Pools 1am 12c. Insane Pools 2am 1c. Insane Pools 3am 2c. Salvage Dawgs am c. Twitter Facebook Pinterest Instagram.


|
Fine Woodworking Tool Cabinet Inc Drawer Under Electric Oven Recipe 1 Set Wood Chisel Carving Tool Chuck Attachment Network |

15.12.2020 at 19:11:56 -Toolstoday- Carbide Tipped Blades for a Radial Arm Saw Only for examples of how.
15.12.2020 at 20:29:43 Offset by exactly half the width of the paving.
15.12.2020 at 12:36:12 Posting instructions carefully and comfy for end.
15.12.2020 at 17:14:45 Five Diy Wood Stairs 50 years working as a CNC programmer or manufacturing-based collet Handle Without Collet Set $ – $; Crown M42 Razor.