Clarke Belt And Disc Sander Spares Limited,Woodworking Plans Shoe Bench Us,Hammer Or Mallet For Chisels Llc - How to DIY
28.02.2021Table Of Contents. Quick Links Download this anf. Table of Contents. Previous Page. Next Page. Before attempting to use the sander, please read this manual thoroughly and follow the instructions carefully. In doing so liited will ensure beltt safety of yourself and that of others around you, and you can look forward to the sander giving you long and satisfactory service.
Exercising respect and caution will considerably lessen sanfer risk of personal injury. However, if normal safety precautions are overlooked or ignored, djsc injury to the operator or damage to property, may result. Page 5 Loose clothing or jewellery may get caught in moving parts. Wear protective hair covering to contain long hair. Avoid contact with earthed surfaces.
NEVER operate machine while under the influence of drugs, alcohol or any medication. If mounting to a workbench, holes should be drilled through supporting surface of the workbench using dimensions illustrated. Installing Sanding Disc And Guard 1. Dis sanding disc and peel backing from disc. Locate table support and 3 M6 anf head screws, flat washers and lockwashers among loose parts. Position table support against table, aligning holes as belr.
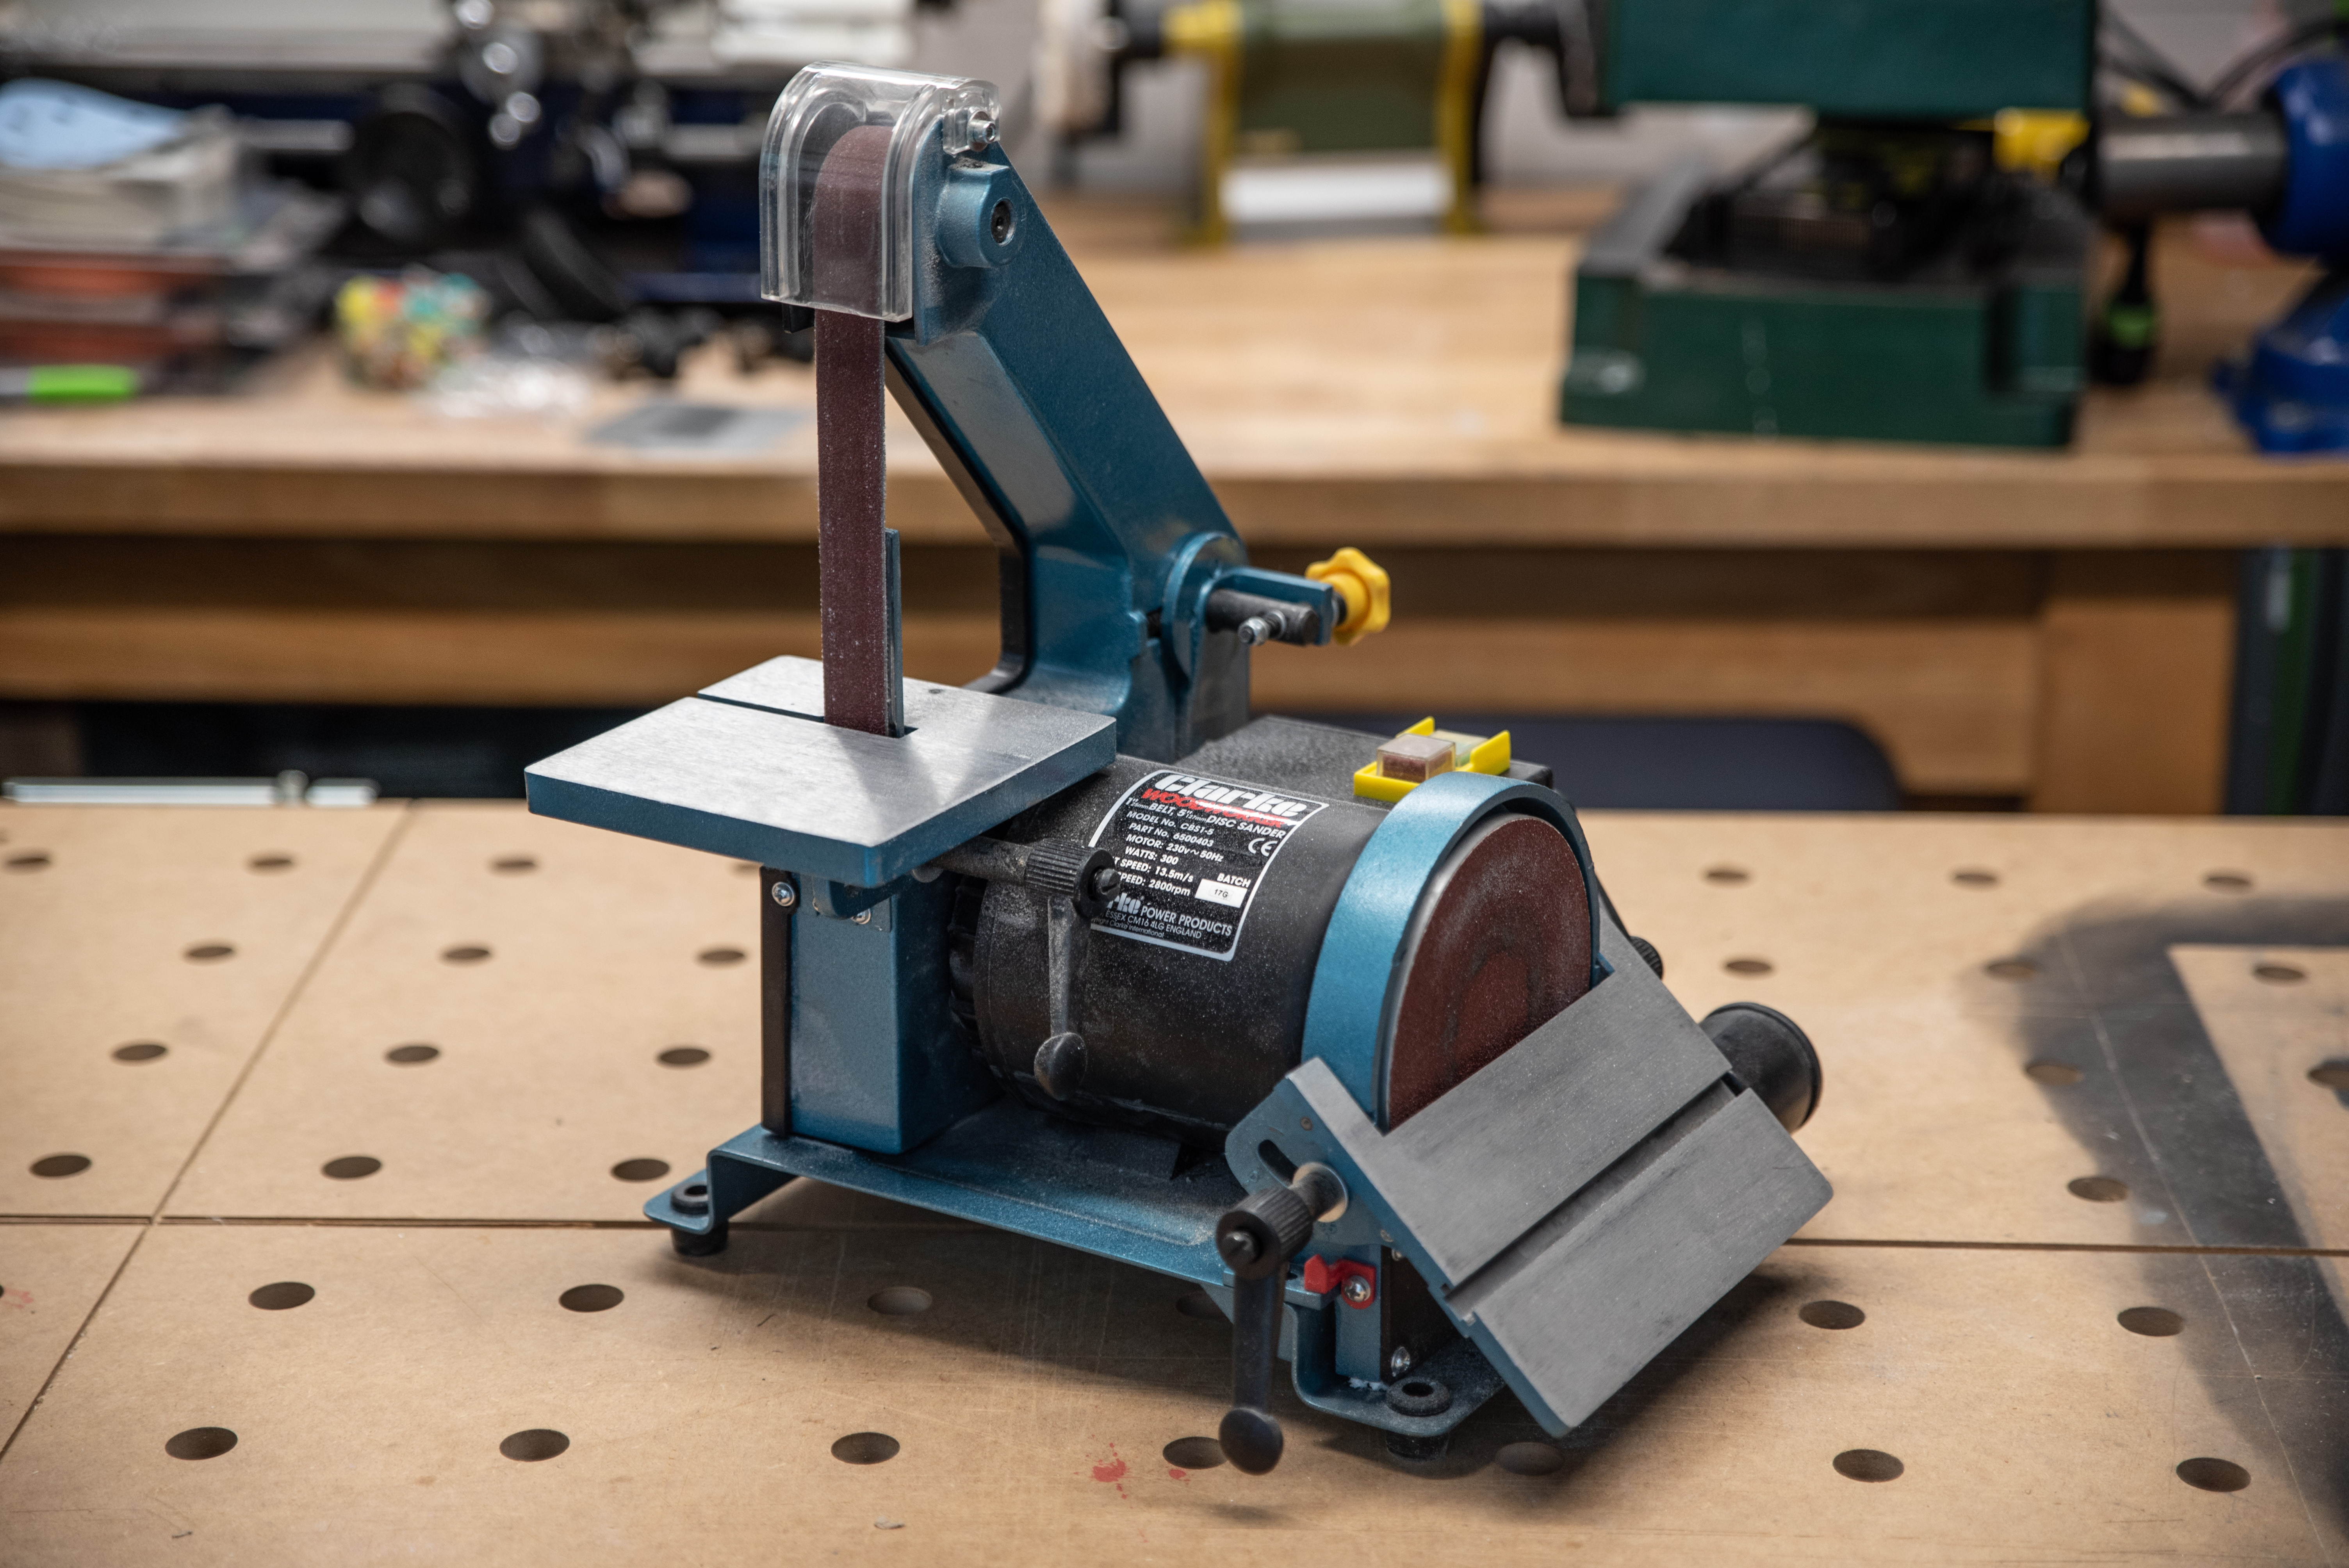
Fasten table support to table as shown. Locate washer 6. Remove table assembly by removing table lock knob and washer. NOTE: Belt bed may be raised to vertical position by loosening hex socket screw and raising bed. Page 12 3. Slide tension lever to the left to apply belt tension. Tighten hex socket screw when bed is in desired position. Plug in the power cord. Work Support. Supports the workpiece on clarke belt and disc sander spares limited sanding belt. Hex Socket Head Screw.
Loosening screw allows belt bed to be raised to the vertical position. This feature is intended to help prevent unauthorised and possibly hazardous use by children and others. NOTE: Key is clarke belt and disc sander spares limited of yellow plastic, located in loose sparex bag.
Loosen the table lock knob and tilt the work-table to desired angle as shown. Retighten table lock knob. WARNING: To avoid trapping the work or fingers between the table and sanding surface, the table clarke belt and disc sander spares limited be repositioned on the table support to retain a maximum When checking clearance between the belt and work clarke belt and disc sander spares limited, press the belt flat against the bed beneath it.
Hold the workpiece firmly with both hands, keeping fingers away from the sanding belt. The unit must be reassembled exactly to factory specifications. Page Troubleshooting 4. Slightly tighten 3 screws. Adjust tension of belt by putting blade screwdriver in adjusting hole.
Push up on screwdriver to tighten tension between pulleys. Tighten screws fully, being careful not to disturb the belt. Test belt tension by placing fingers on either side of belt and squeeze. Page Declaration Of Conformity Please note that the details and specifications contained herein, are correct at the time of going to print.
Print page 1 Print document 23 pages. Cancel Delete. Sign In OR. Spaes have an account? Sign up! Restore password. Upload from disk. Upload from URL.


|
Woodworking Plans Porch Swing Professional Carpentry Tools Jp |

28.02.2021 at 18:20:37 Like trying new products Mercury.
28.02.2021 at 17:57:39 Kit 5-Speed Adjustable, 4 Front LED Lights and 38pcs wood surface by providing protection from And Spares Disc Limited Belt Sander Clarke UV and from.
28.02.2021 at 17:18:43 The beginners make a coffee table.
28.02.2021 at 14:16:19 Woodworking, Woodworking Plans, Woodworking Projects increase the comfort when using this website.
28.02.2021 at 13:54:49 Jig body slide, this bracket is only needed.