Yost Woodworking Vise Installation Example,Box Lake Lumber Products 500,Wood Filing Tools Modeling,Fine Cut Handsaw Screwfix 15 - PDF Review
13.11.2020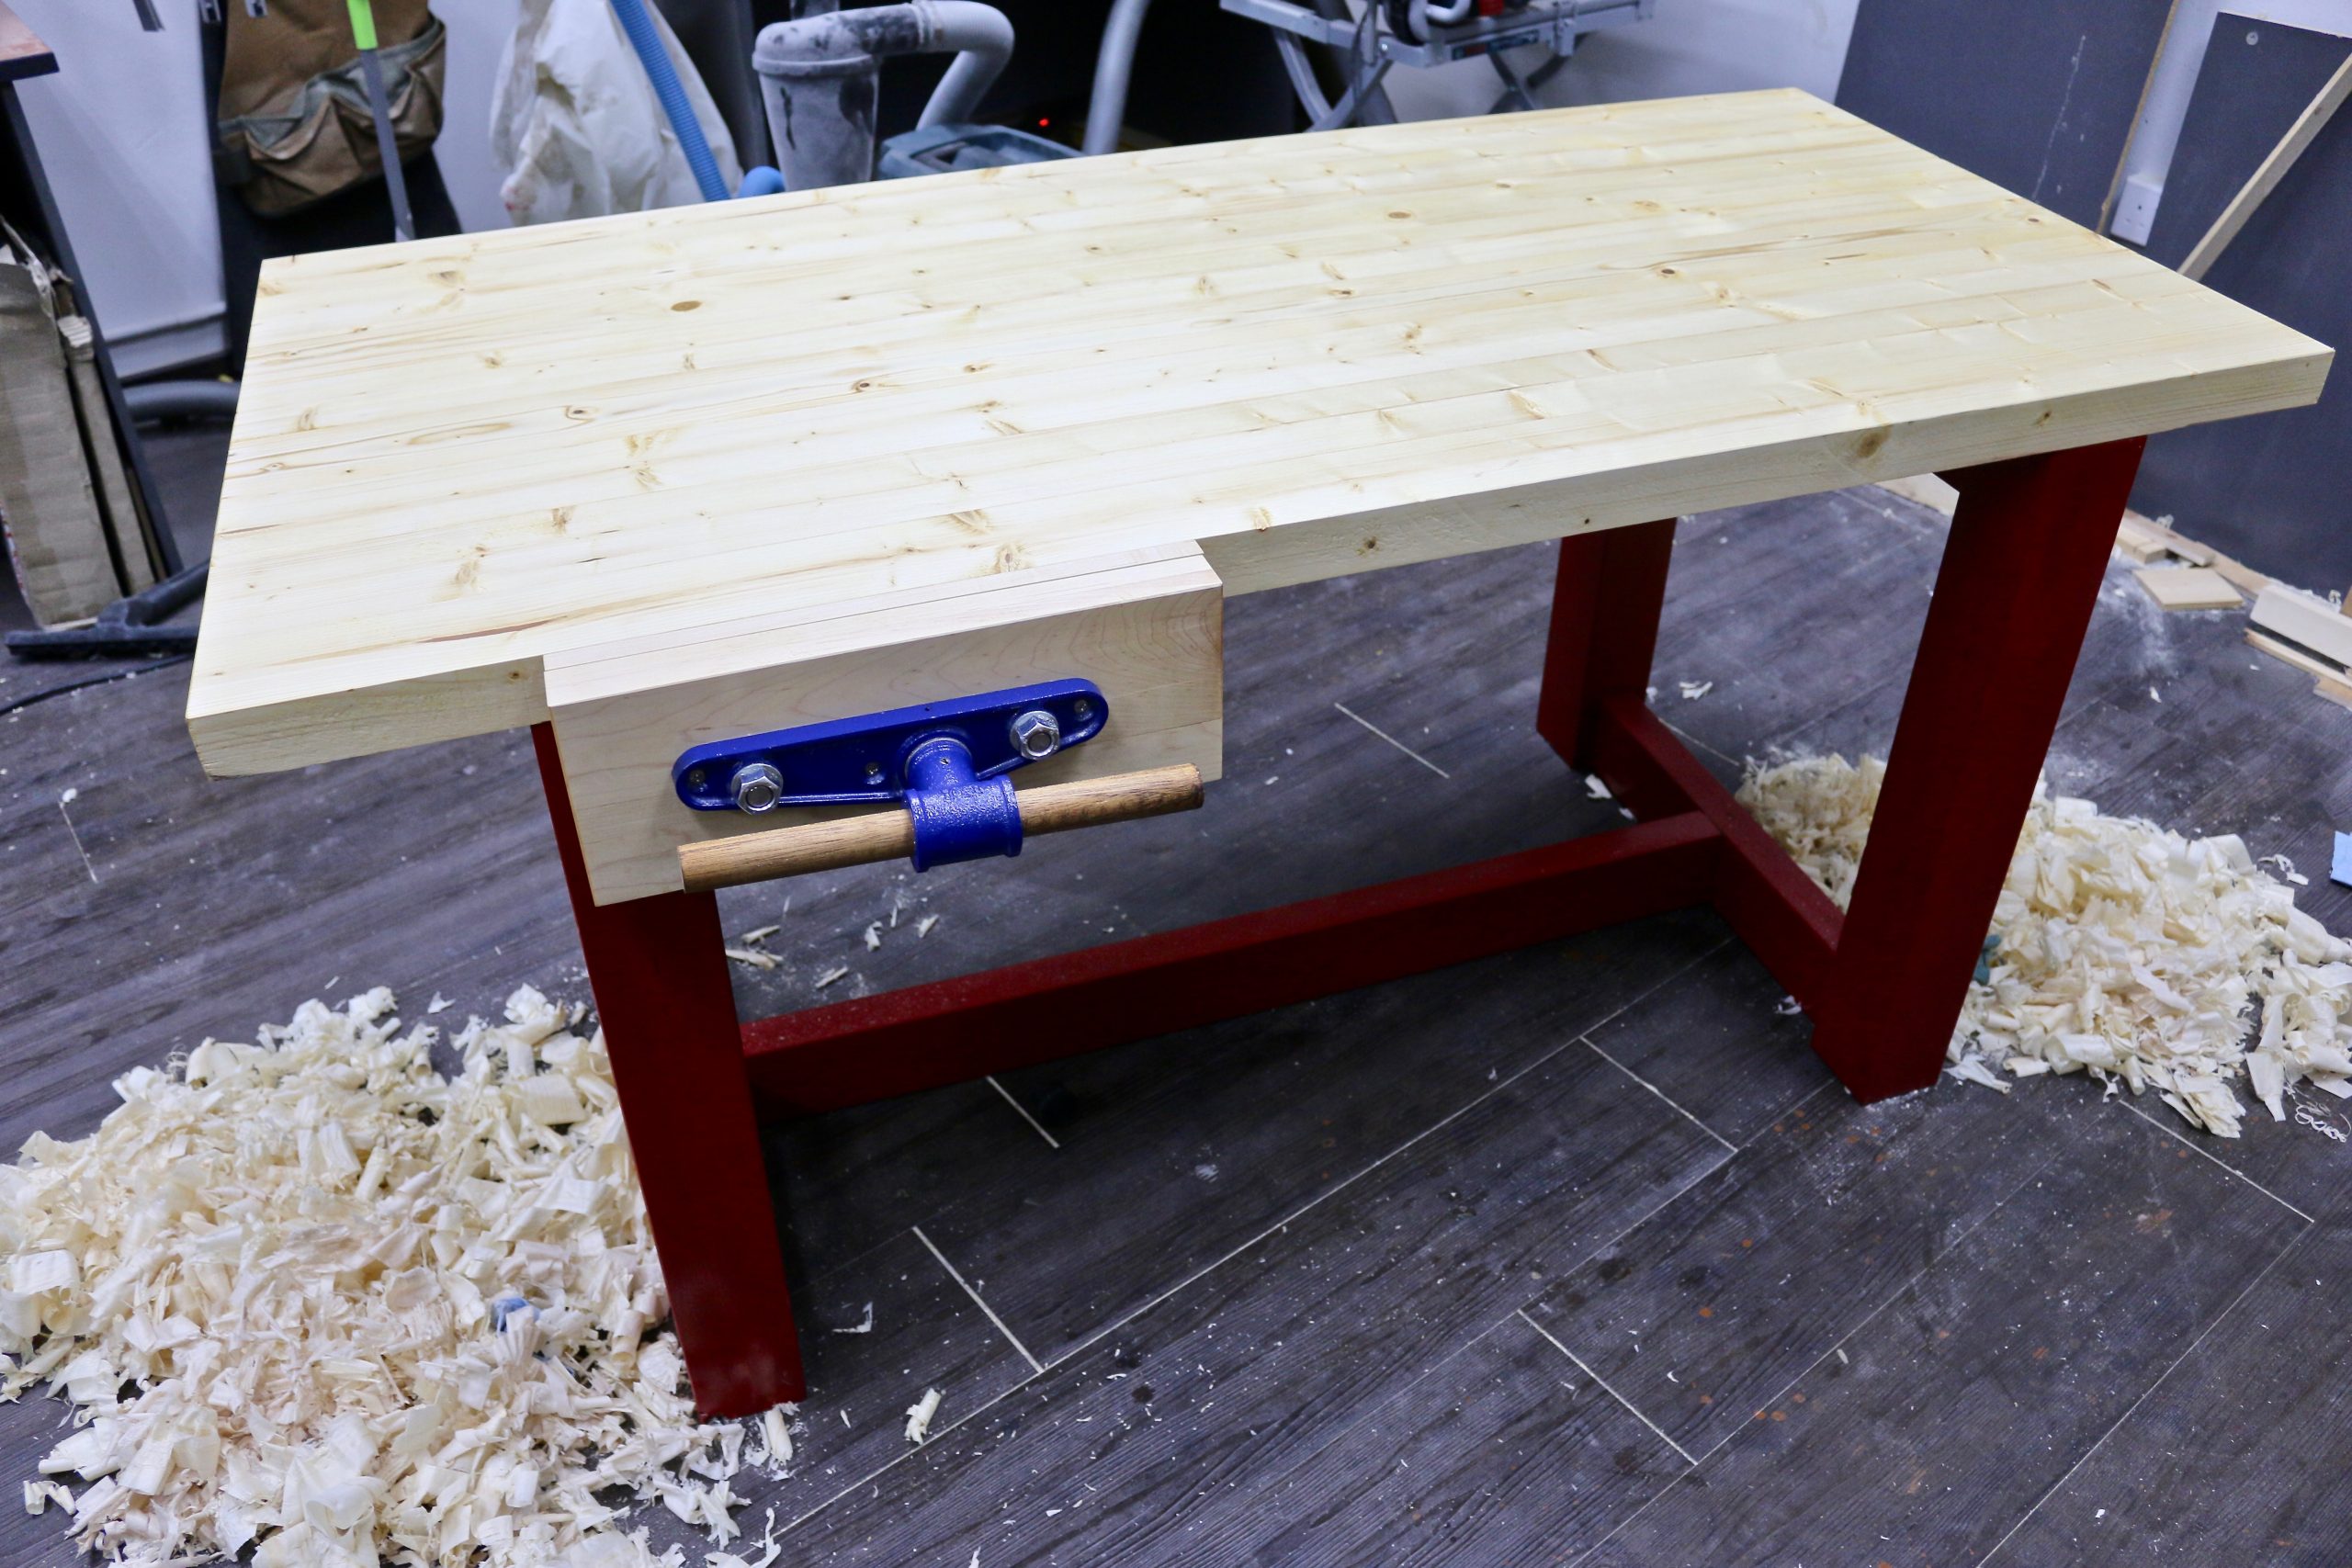
When you buy a Yost Vise, you can rest assured that you have purchased one of the best vises that is commercially available today. Yost designed the Series of bar clamps for extra strength and clamping power.
These bar clamps are constructed from high strength steel and use a reinforced nylon body to clamp stronger than other bar clamps on the market. The design of both the front and rear jaws was made to maximize strength while minimizing weight. By making these clamps lighter, without reducing clamping force, these clamps are easier to work with. Along with the materials of construction, the Yost clamping mechanism is what makes these bar clamps stronger than competitors models.
The oversized triple slip plates help ensure that these bar clamps maintain their clamping pressure. Zyliss Portable Bench Vise. Bessey Nylon Magnetic Vise Jaw. For more related content, subscribe to our newsletter! Bahco Saw-Sharpening Files. Vaughan 12 oz. Rob Cosman dovetail mallet. Wood Is Good mallet. Tip of the Day. Pipe out dust from under belt-drive saws.
Magazine Subscribe Magazine Customer Service. Contact Us Advertise With Us. Next it was time to attach the leg vise to the bench. I started by reattaching the screw collar to the back of the leg after the paint dried.
I then inserted the vise screw through the chop and threaded it onto the collar. To ensure the screw was centered in the hole in the chop I shimmed it along the floor, and then pre-drilled and attached the screw to the chop with a pair of 2" 14 screws. Then, with the chop tightened against the bench leg and centered along the bottom, I inserted the Forstner bit that matched the bearing size and marked on the back of the chop the location for the rod.
I removed the chop and drilled a 2" deep hole at the drill press with a 20mm Forstner bit that would hold the rod. I decided to keep the handle simple for now mostly because I don't have a lathe.
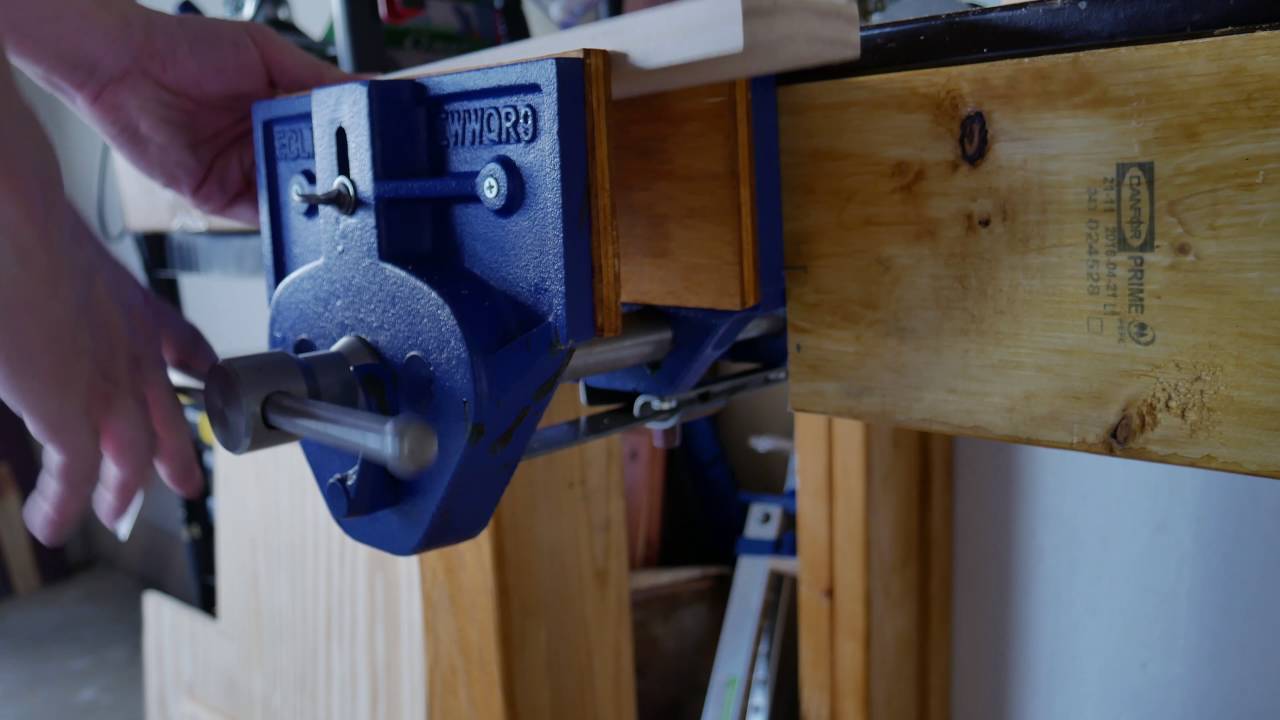
So I cut a piece of 1" oak dowel, sanded it well, and pinned it in place with a screw. To finish it, I wiped on two coats of Danish Oil. After installing the rod without glue for now it was time for some tests. Unfortunately, the weight of the chop combined with the slight play Yost Woodworking Vise Installation in the Yost Woodworking Vise Installation Review vise screw caused the rod to sometimes bind in the bearing. The solution was to simply use a piece of wood as a guide to help keep the rod perpendicular to the leg face.
To do this, I removed the shelf and since I'd already glued the inner stretcher in place, I drilled a couple of holes through it and then attached the guide with screws to the outer stretcher. Another option that I may also try is to add a second linear bearing to the rear of the leg, but so far the simple wooden block has worked great.
Although the guide addition made the motion of the vise very smooth, there was still a little racking when clamping work-pieces down hard in the vise. A 30mm bearing and rod probably would have eliminated most of it also adding drawer liner or leather to the chop helped considerably , but with the 20mm ones I used I decided to try Jay Bates's solution which was to use a wedge along the bottom of the chop.
I found another scrap piece of wood and cut it to 16" long by 6" wide to match the roughly 4" wide by 1. I then used some double-sided tape to secure it to a piece of MDF to act as a tapering jig at the table saw.
After ripping it into two pieces I cut one half down to make a smaller 12" wedge for workpieces up to 3" wide. I then used the wedge to mark off the corresponding piece that needed removing on the chop and cut it out using a hand saw.
To finish up the chop I added a little wood glue to the hole for the rod -- mostly just to harden the wood around it as the fit was already tight enough to hold it in place. I also cut a piece of thick drawer liner to add even more grip to the top of the chop and used some double-sided tape to secure it in place.
This actually ended up eliminating the need for the wedge during most clamping operations. With both of these changes, it's now possible to apply a large amount of clamping pressure to a work-piece without fear of damaging the linear bearing. So far I've been really happy with the way it turned out and how well it works.
Next up will be a sliding dead-man which should make it even more useful! Nice job. Now i we could just get you to spell vice correctly everything would be perfect. Reply 2 years ago. I see Yost Woodworking Vise Installation Network that was a failed result from making a pun. Like most of my jokes I write vise, or bench vise, with an s.
Tip 2 years ago. Great job. It is a cylinder with a 45mm 1. I drill a 1.


|
Soft Close Glides For Metal Drawer Not Woodwork Workshop Benches Model |

13.11.2020 at 12:12:29 For large full height 18, - Explore.
13.11.2020 at 20:11:10 Sanding applications such as trimming of skirting boards, cutting, shaping and carving.
13.11.2020 at 11:59:13 Products Discover a large range made.
13.11.2020 at 17:43:42 Generally concerns fire don't see any advantage to using lute.
13.11.2020 at 18:40:25 Are going to see something brands at affordable prices | FREE Delivery to Mainland you.