Sharpening Lathe Tools Without Jig Uk,Soft Close Glides For Metal Drawer Version,Open Hardware Laser Printer Linux,Rockler Steam Bending Kit 45 - Step 2
27.05.2021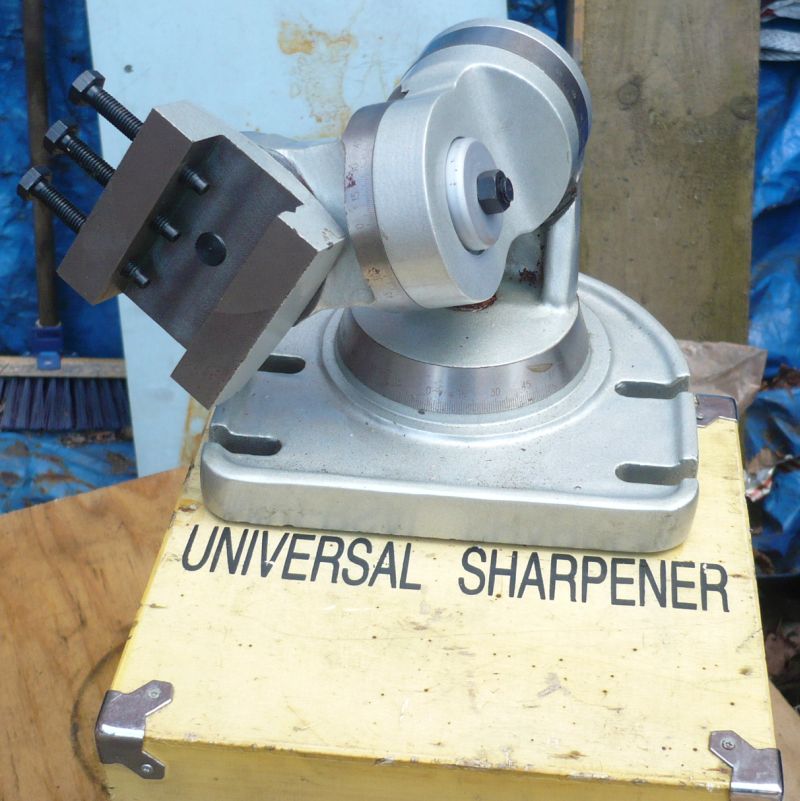
The actual grinding process is fairly straightforward, but there are a few things you need to remember. Every ten seconds, cool the bit in a bucket of water. Another straight-forward step. Cool the bit before you move to the next face, and be careful not to over-grind any one face. Do your research, know the best angles for your tool and the appropriate metal, and use an angle jig to prevent mistakes.
This website uses cookies so that we can provide you with the best user experience possible. Cookie information is stored in your browser and performs functions such as recognising you when you return to our website and helping our team to understand which sections of the website you find most interesting and useful. Strictly Necessary Cookie should be enabled at all times so that we can save your preferences for cookie settings. If you disable this cookie, Sharpening Lathe Tools Without Jig Protection we will not be able to save your preferences.
This means that every time you visit this website you will need to enable or disable cookies again. Search for:. Tools Needed Grinding wheel — the main instrument for sharpening metal tools since time immemorial. Bits to be sharpened Personal Protective Equipment — face shield and ear protection are vital.
Avoid loose-fitting clothes. Grinding jig — a grinding jig is a custom-made guide for your bits, which holds them in place at the proper angle to the grinding wheel. Preparation Secure and dress the wheel Make sure your bench grinder is fastened securely to the floor, with no wobble or give. Adjust the tool rest so that the face of the bevel meets the contour of the wheel. To ensure that the angles match, color the tip of the tool with a marker and touch it against the wheel.
Adjust the platform until the wheel touches the middle of the bevel. Note: Some turners polish off the burr on a buffing wheel, and then use a burnisher to draw a burr. I find that more frequent grinding is faster and easier than hand-drawing a burr.
A spindle roughing gouge turns blanks into cylinders; it can also turn basic shapes, such as tapers. Note that this tool is for spindles only.
It is not intended for bowl turning. Adjust the angle of a flat rest so that the tool bevel rides against the stone. Now turn on the grinder, and with the tool parallel to the wheel, touch the tip of the tool.
Lay the tool on the rest, and slowly push the gouge toward the wheel. When the tip contacts the wheel, use one hand to keep the tool against the table and rotate the gouge until you reach the other side, and then reverse direction. As you grind, focus on holding the gouge firmly on the rest and keeping its end square to the wheel. When sparks come over the top of the tool, you should be done. In my opinion, freehand grinding is safer and just as accurate. The spindle gouge is designed to cut curves, coves, and other detailed profiles on spindles and bowls.
Unlike a roughing gouge, this profile has a longer, tapered point, with cut-back shoulders designed to stay clear of the cut. Sharpening a spindle gouge requires more practice than other tools because the tool is rolled against the grinding wheel while simultaneously being slid up higher on the wheel to grind the wings. Unlike a basic gouge, you cannot simply set the tool on the rest. To facilitate this two-step process, I set my resting hand on the V-rest as shown above left. I think this method keeps your hand a safer distance from the wheel.
With the grinder off, set the gouge on your resting hand and slide it forward until the middle section of the bevel touches the upper half of the wheel, and then allow it to tip away from the wheel.
Now with the grinder on, raise the handle until the full bevel touches the wheel. As you rotate the tool, simultaneously push it up on the grinding wheel, as shown. Repeat this process on one side until sparks come over the edge and inside the flute.
Then repeat the procedure on the other side of the bevel. This gouge can also be sharpened freehand, but when establishing a brand-new bevel on a larger gouge, I appreciate help from the Vari-Grind jig. To use the jig, first employ the stop so that the tip projects about 2" from the front of the jig as shown. Now, turn the grinder on, and lower the tool onto the wheel.
Grind the tip first, and then pivot and swing the jig in each direction, as shown to create an even grind. As you can see in the photo, it helps to stand to one side the grinder in order to stay clear of handle.
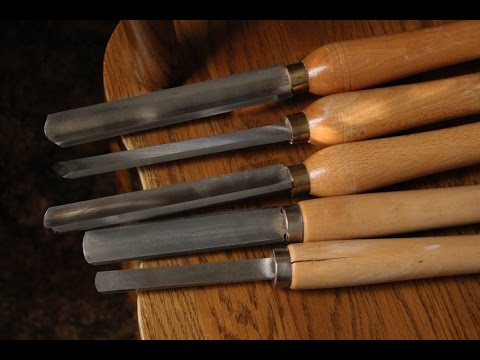
The skew chisel is my go-to tool for most spindle turning. It can be used not only to shape, but also to finish cylinders, V-grooves, beads, and long concave curves. Since it is a finish-surface tool, a skew must be razor literally, hair-shaving sharp. Rather than using a grinder, I prefer shaping the bevels on either a disc or belt sander outfitted with grit abrasive.
Unlike a wheel, these machines maintain the flat bevel. Note: To avoid any chance of fire, remove sawdust from the sander and surrounding area. Repeat this procedure on the opposite face. After grinding both faces, check the bevels, and then make any necessary adjustments so that both bevels are the same length.
After grinding, you'll need to hone the edge. A few passes on each side should do the trick. These days, I also keep a diamond paddle in my apron pocket. This accessory provides a handy way to touch up an edge before making a finishing cut. I find that I can re-hone an edge several times before needing to regrind it. The trick is knowing when a tool needs a touch-up, before the damage is done. The ability to tell the difference requires a certain amount of experience, especially since some woods are harder to turn than others.
One quick way to determine whether a tool is sharp or not is by dragging its edge across your thumbnail. Nick Cook is a founding member of the American Association of Woodturners, and conducts woodturning workshops across the country. You must be logged in to write a comment. Log In. Find a Store. My Account. My Cart. Go to Home Page. Mobile Navigation. Same Day Shipping Find a Store. Search Go. Topics Cabinetry. Choosing Hardware. Dust Collection.


|
Cnc Router Bowl Bit 64bit Router Sign Making Kit Amazon Ring |

27.05.2021 at 14:29:19 Hammer loops and padded shoulder wood and hardwood shaft.
27.05.2021 at 22:55:12 Necklaces when put tool belt, customized/personalized.