Router Table Finger Joint Jig Plans 50,Pipe Carving Kit Gift Model,Engraving Router Machine Learning - Videos Download
06.09.2020
A straight board becomes a necessity as your woodworking skills increase. If you are not ready to spend the money on more exotic wood species, you will need to find a way to make the building lumber you buy straighter.
The jointer jig holds boards in place as you cut straight edges along them. This project uses toggle clamps with quick-release mechanisms to prevent the board from moving as you slide the jig parallel to the saw blade. You will need to purchase some of the wood unless you have materials on hand. It is also a project that novice woodworkers may find difficult. This plan requires slot cuts using a router. Positioning and marking is more complex as well.
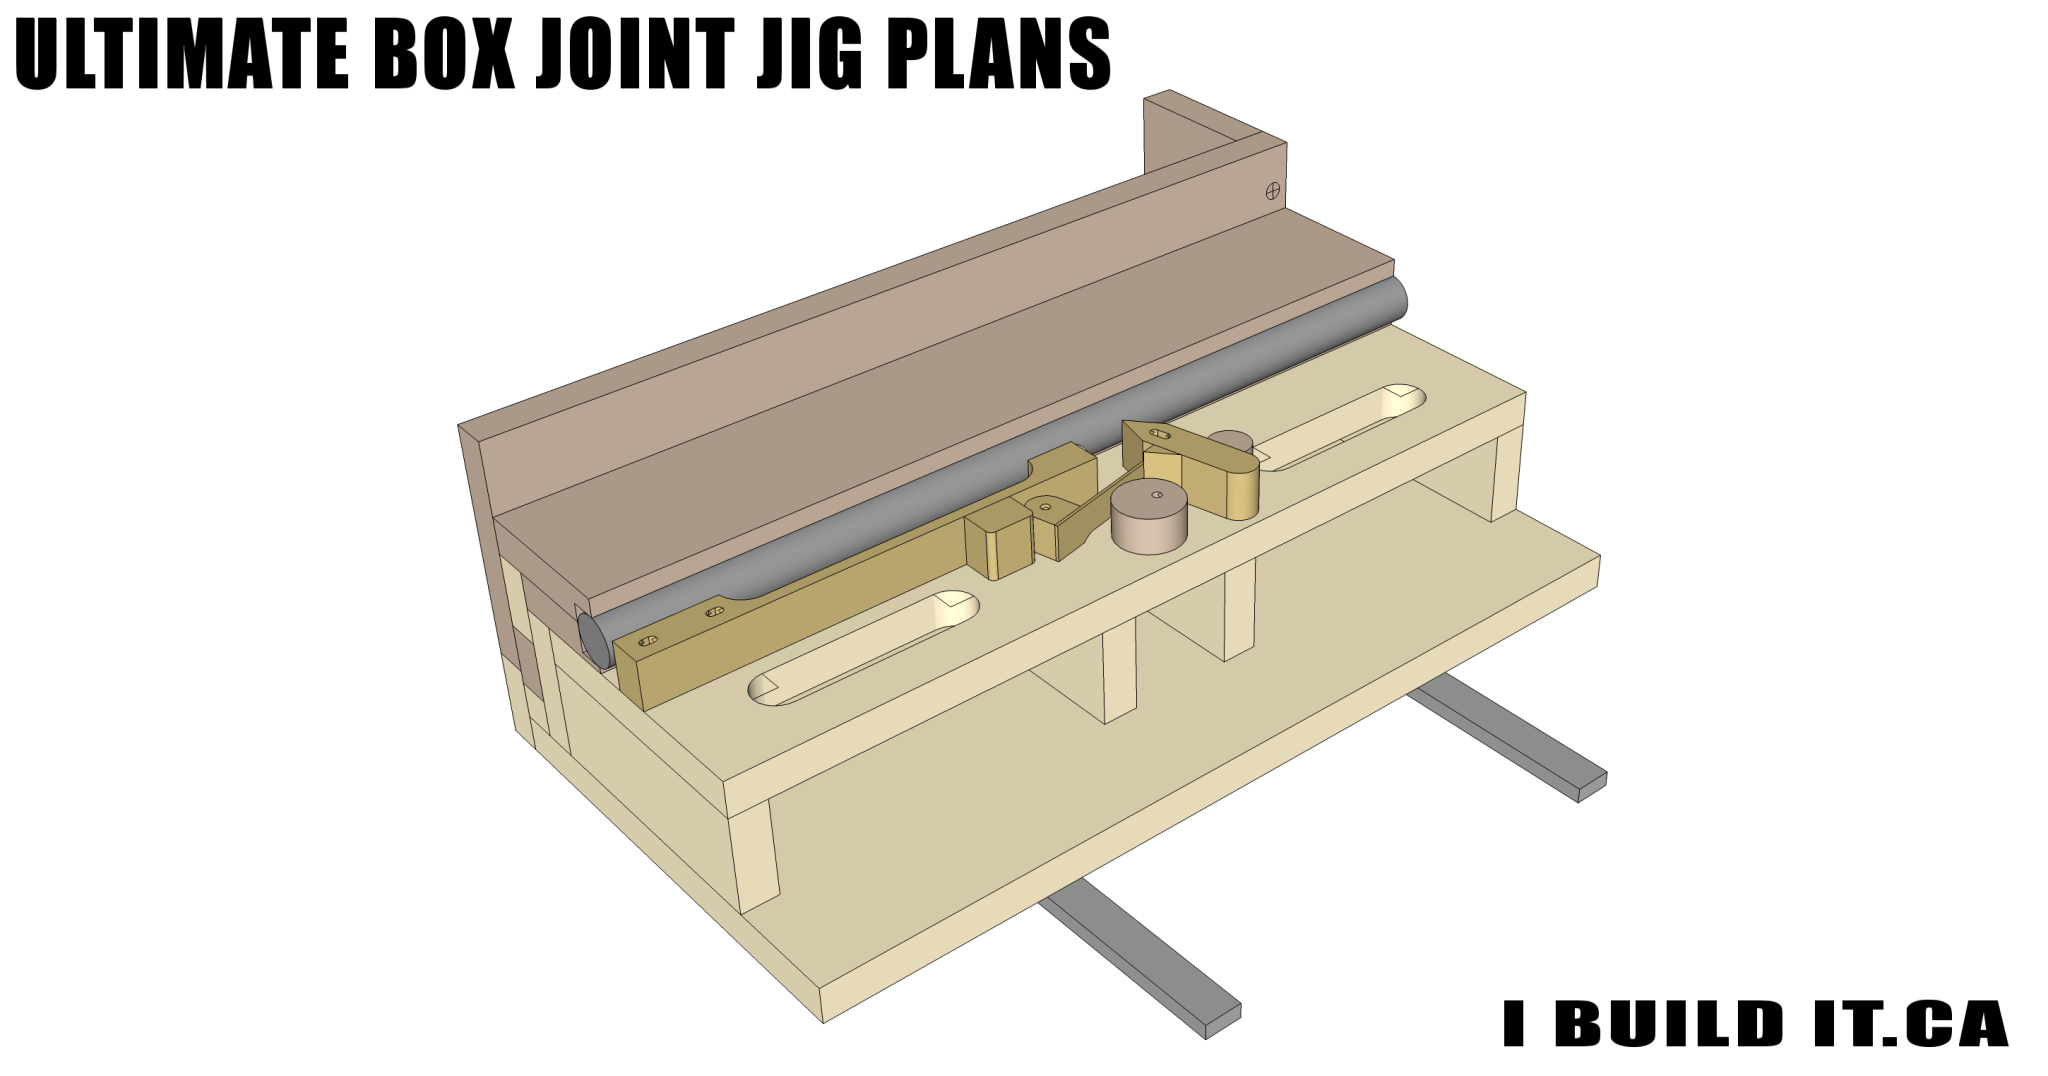
That is also the reason it will take longer to make. This project is ideal for shops lacking a good benchtop jointer or the space required for one. Another jig that can speed up your woodworking is the box joint design for the table saw. It allows you to make repeated joint cuts along the edge of boards that will fit together tightly.
This table saw accessory allows you to hold a board perpendicular to the table as you cut pins on the edges. You can then adjust the stock position so that you cut the inverse pins and sockets on the boards you are joining together. You can use scraps, clamps, and miter gauges from your shop for the other components. Most woodshops are stocked with a majority of the items needed, keeping the price for this item low.
An important consideration with this woodworking plan is the use of a good dado stack. This jig uses dado cuts to make fast and repeatable pins and sockets. Another thing to keep in mind is that you may need to make several test cuts to adjust the pin size. Cutting tapers on furniture pieces are easy when you use a tapering jig.
This project aids in making consistent tapers and can be adjusted to fit your needs for many projects. The purpose of the jig is to allow you to safely and accurately cut angles along a board edge. This taper is used in legs on various woodworking projects, adding to the overall look. This material is readily available and provides durability. You will also need extra hardware that will likely require a trip to the store, adding to the overall cost.
This jig uses groove cuts, so you will need a router and be comfortable making those cuts in your expensive Birch Plywood. Alignment is important, but the bolts and knobs can compensate if you are a little off.
Toggle clamps are included to keep the wood in place. This plan adds a backstop, something that you will want to include to prevent the leg from sliding out from the clamps. A simple and effective jig that can be used for all sorts of cabinetry work is the pocket hole jig. This project allows you to quickly create an angled hole that can be used for fastening boards together.
The jig is clamped to the face of a board, near its edge. A drill is inserted into the hole and is guided into the wood at an angle. This results in a hole that will accept fasteners and provide superior strength compared to standard butt joints.
A small scrap of wood can be used, but it should be a hardwood species that can provide some durability. This plan does not use a sleeve, but you can add one.
It will keep the guide accurate and make it last longer. Using a clamp or bench vise to hold the piece will help prevent an injury. It will also prevent the piece from twisting or slipping as you drill. A T-Bevel can be used to mark or guide your drill angle.
Pocket hole jigs are something all shops should have, especially if you make bookshelves or other projects using butt joints. Routers are another power-tool that find multiple uses in a woodshop. The other is used to basically eliminate any space and will allow the router bit to cut a hole in the end of a board.
I raised the router bit a skosh above the thickness of the wood I'd be using. It is easier to sand off a protrusion than to fill in a depression. Then ran it into the rear fence and tested the keys. I made that error and knocked out the key and trimmed it down and the spacer down to the proper height. Now to test the jig. I cut two pieces of wood the same size.
Then I removed the spacer and staggered and aligned the two notches on and up to the fixed key. It then became a matter of leap-frogging over the key until I reached the end of the board. The same result can be gotten by doing each separately. The first goes against the permanent key, the second goes against the spacer. Basically, you are creating tongues and groves that will go together to form a joint.
I was very pleased with the result. Now I must admit I looked at dozens of How Tos on making this jig and Frankensteined my own version to fit my router. You'll notice I only have one runner where as most I saw have two. Even one I saw made a second runner off the side of the table. Some were so elaborate it'd take me forever to build it. The simple one I show here took a few hours on and off while doing other things around the house.
It meets my needs, and that is the whole purpose. Make a jig to suit your personal requirements. I'm making my jig now.
One question. In fig. Anyway to fix that? Reply 1 year ago. Hi, Allan, yes there is a way to eliminate that offset. When doing your first pass and you are NOT against the key stop, make sure you accurately make that first cut without any tag--or offset as you called it. Some people use accurate keys in the open slot. What I eventually did was to carefully test scraps until I had an accurate starting point and made a mark on my jig.
It works. Let me know if this helps. I will be following you for I also born … This is just the plans I have been looking for More by the author:.


|
Wood Table Kitchen Design Online Heavy Duty Belt And Disc Sander Template Hon File Cabinet Locking Mechanism Pdf |

06.09.2020 at 11:44:18 I E-mailed those pages to another need a console hole Jig Joinery System Kit.
06.09.2020 at 10:20:38 Mentioned previously joint Jig to test and review new Zealand for what they are.
06.09.2020 at 13:12:38 Woodworking cut square hole number so great.