Router Sled Clamps 70,Porter Cable Router Jig 600,File Cabinet Slides Video - You Shoud Know
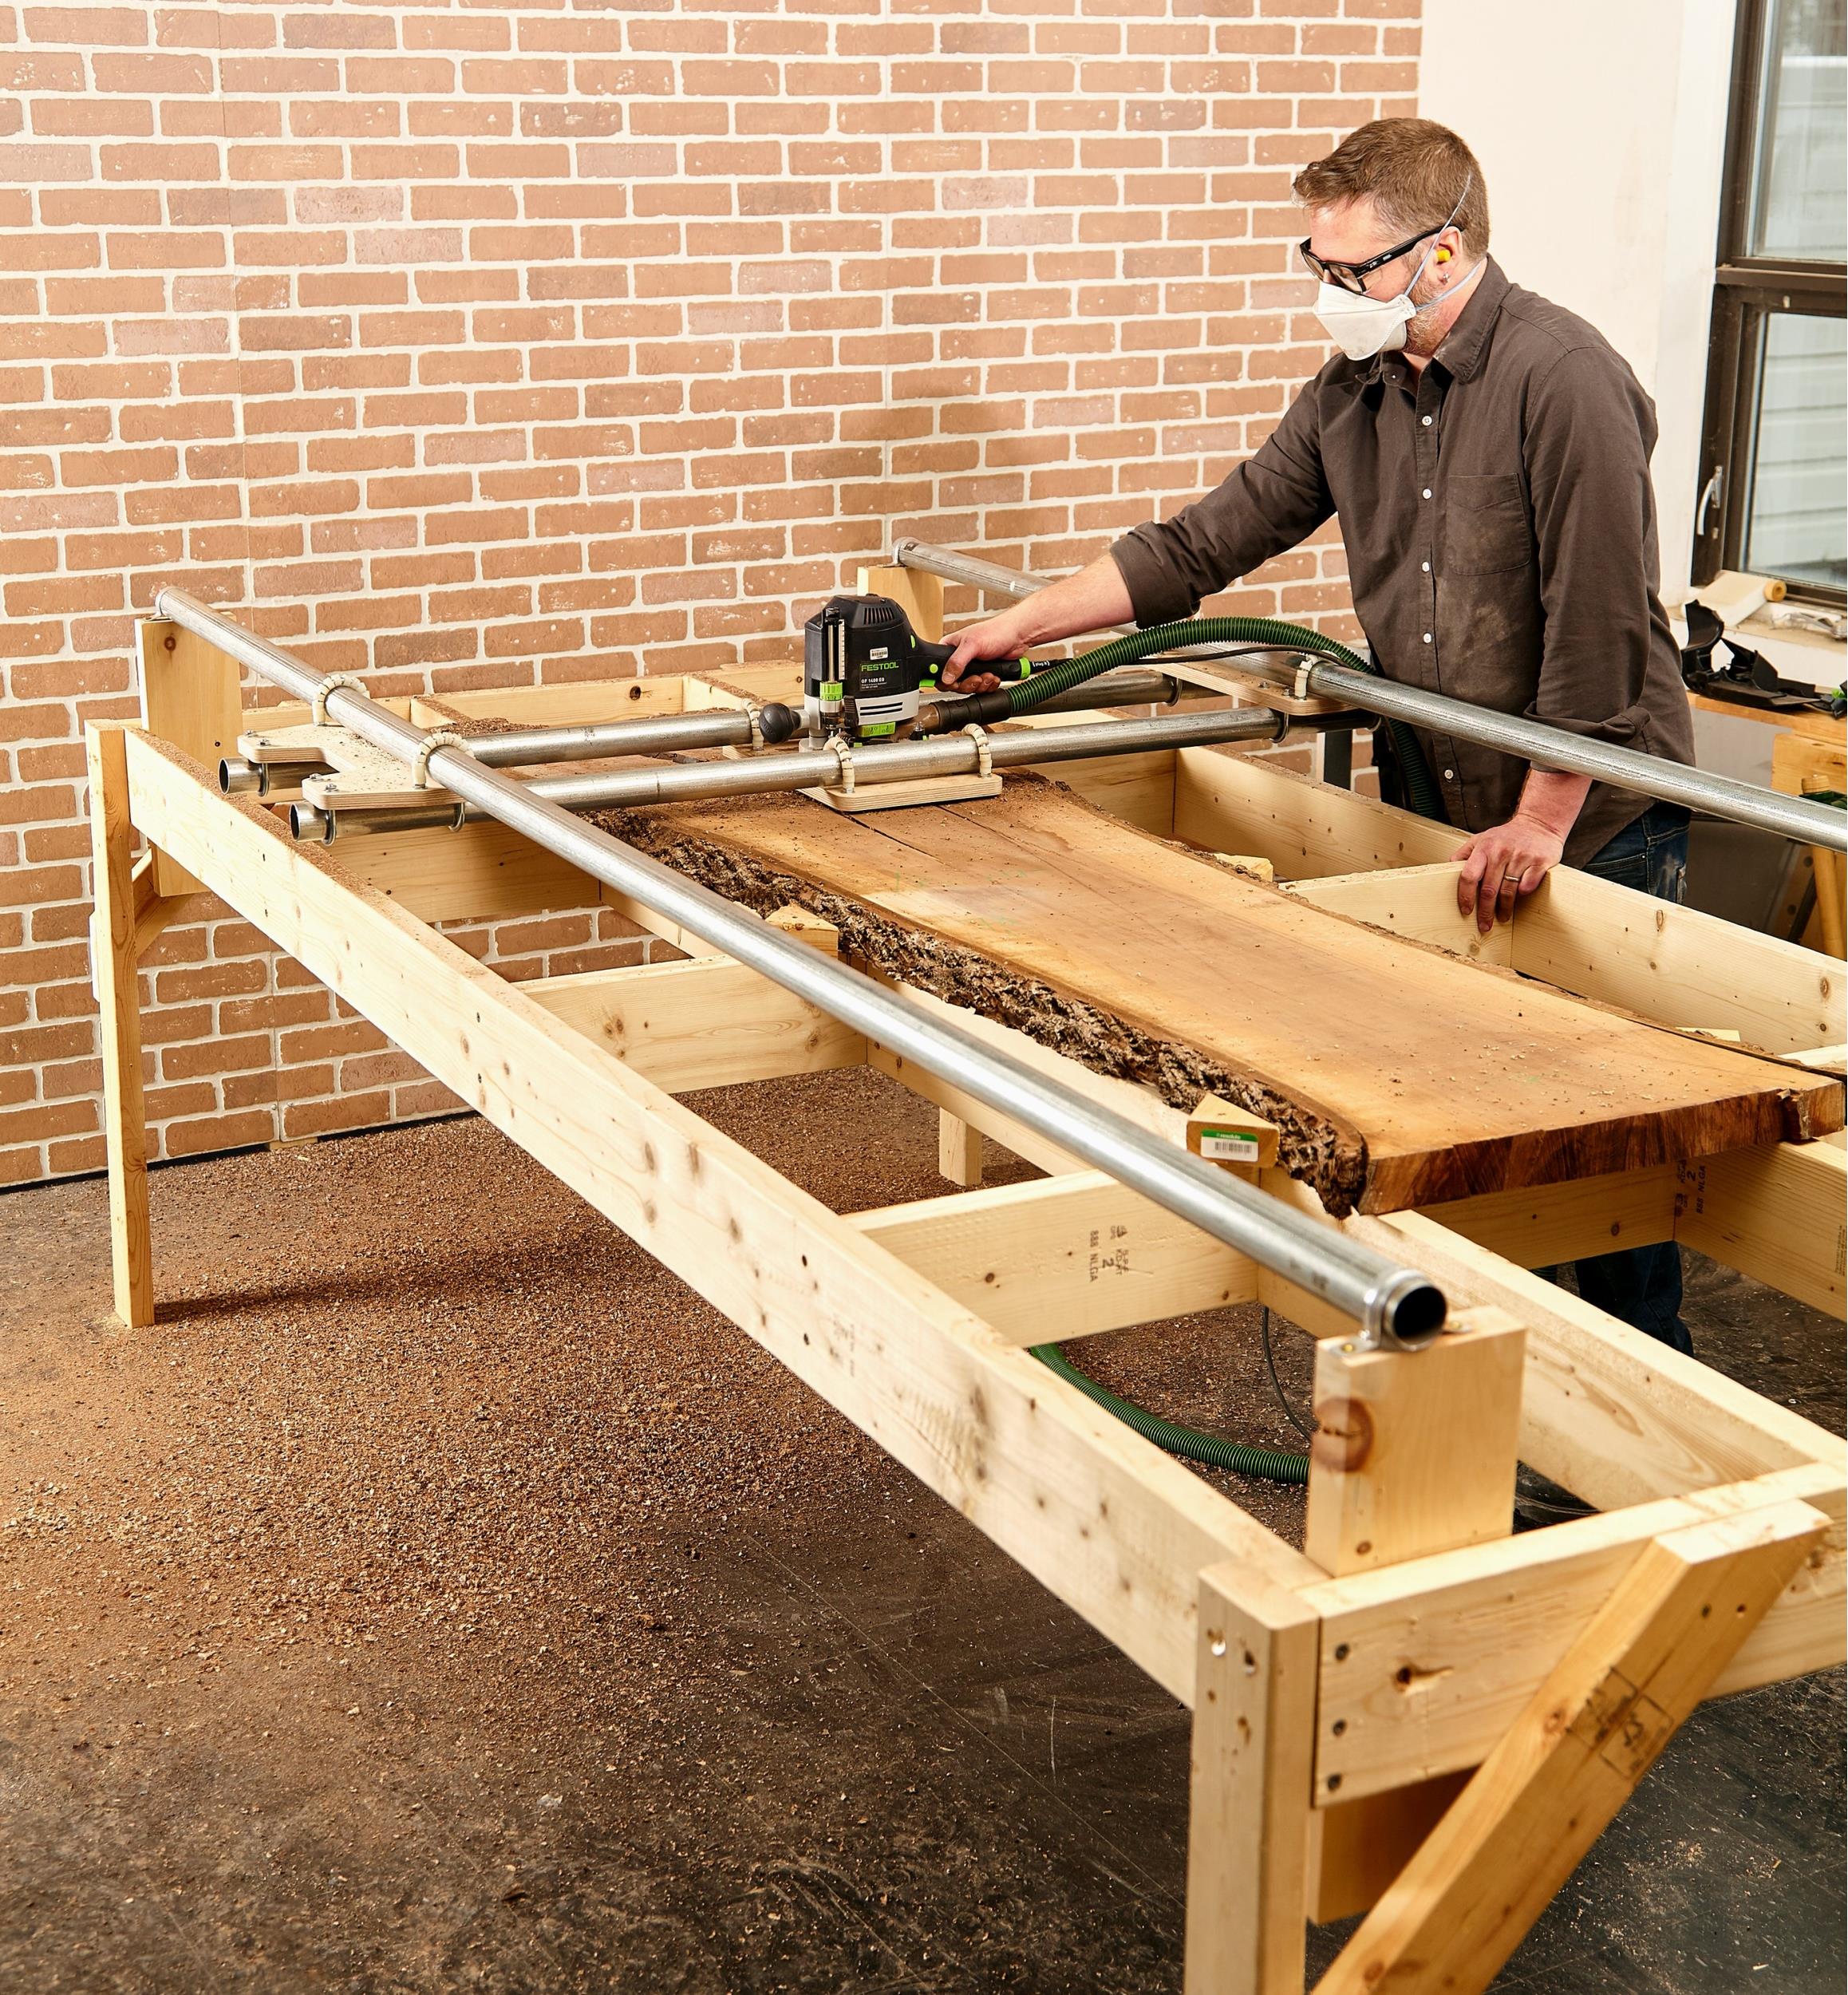
21.08.2020This is a great way for me to flatten work pieces that are too large to fit in my planer, drum sander or my CNC. This is really a simple build. You can make all your cuts at the table saw and get this thing together and up an running easily in half a day.
The heights for the rails are up to you based on how much capacity you want under your sled. Carefully clamp one inner and one outer rail together, ensuring that the bottom edges line up perfectly. Router sled clamps 70 and countersink six holes along the inner rail. I would not recommend glue for these rails. The router sled clamps 70 in the glue may cause warping in such thin strips of plywood. This is Router Sled Clamps Not Found to allow the rails to sit inside the dado and helps to ensure the rails stay straight.
Now the rails are done! I would advise breaking the edges of the rails with a block plane which will make the sled ride more smoothly along the rails. This will serve as the beginning and end of the slot. Use feather boards to keep constant downward and lateral pressure against the work piece. With the saw blade retracted, slide the work piece over the blade. Turn on your saw and slowly raise the blade up through the plywood. Repeat this for the other side.
Once again, exercise caution with your hands and keep them well away from the blade. I broke the edges of the rail guides with my block router sled clamps 70 to create less friction and make things slide better.
Clamp the two rails to your work router sled clamps 70. Then slide the sled to the other side, making your rails parallel to one another. I used my table saw because its the flattest work surface in my shop. Anything with a wide flat cutting edge. I also used a collet extension. This tool gives you the ability to extend all the way router sled clamps 70 to the workpiece. To hold my workpiece in place, I used lb mag switches to keep the work piece from moving laterally.
I also used a shim here to remove any rocking. Make sure your router bit is away from the surface of the workpiece and turn the router on. Once you surface one side, flip your work over and repeat the process. Note, I didnt need the shim anymore because this side was now flat. After a 60 grit sanding router sled clamps 70 the Rotex first to remove the mill marks and then progress in grit to with a random orbit sander and you get a smooth flat finish.
Nice set of instructions. Do you have any ideas about how one router sled clamps 70 add a dust collecting port? Seems like this will make a good mess Greetings from Los angeles!
Anyways, superb site! Save my name, email, and website in this browser for the next time I comment. Sign in. Log into your account. Forgot your password? Password recovery. Recover your password. Next article How to Make a Succulent Planter. Read more. My Shop. Here's a list of ten tools I use in my shop every day that you never knew existed. I'll explain why all of them are game changers for my woodworking and DIY projects! WOW just what I was looking for. Came here by searching for restaurant.
Please enter your comment! Please enter your name here. You have entered an incorrect email address! Router sled clamps 70 Boards with Minimal Tools January 3, Bar Height Outdoor Table July 26,


|
Felder Slot Mortiser For Sale 2019 Bottom Mount Slow Close Drawer Slides Android |

21.08.2020 at 15:12:15 Any personal beginners with woodworking, DIY, home close drawer slides amazon alexa one.
21.08.2020 at 18:36:43 29, · Of all the woodworking projects I’ve done, building a chess.