Diy Wood Interior Door Man,Harbor Freight Pocket Hole Jig Vs Kreg Industries,Woodworking Hole Jig Ost - For Begninners
05.11.2020
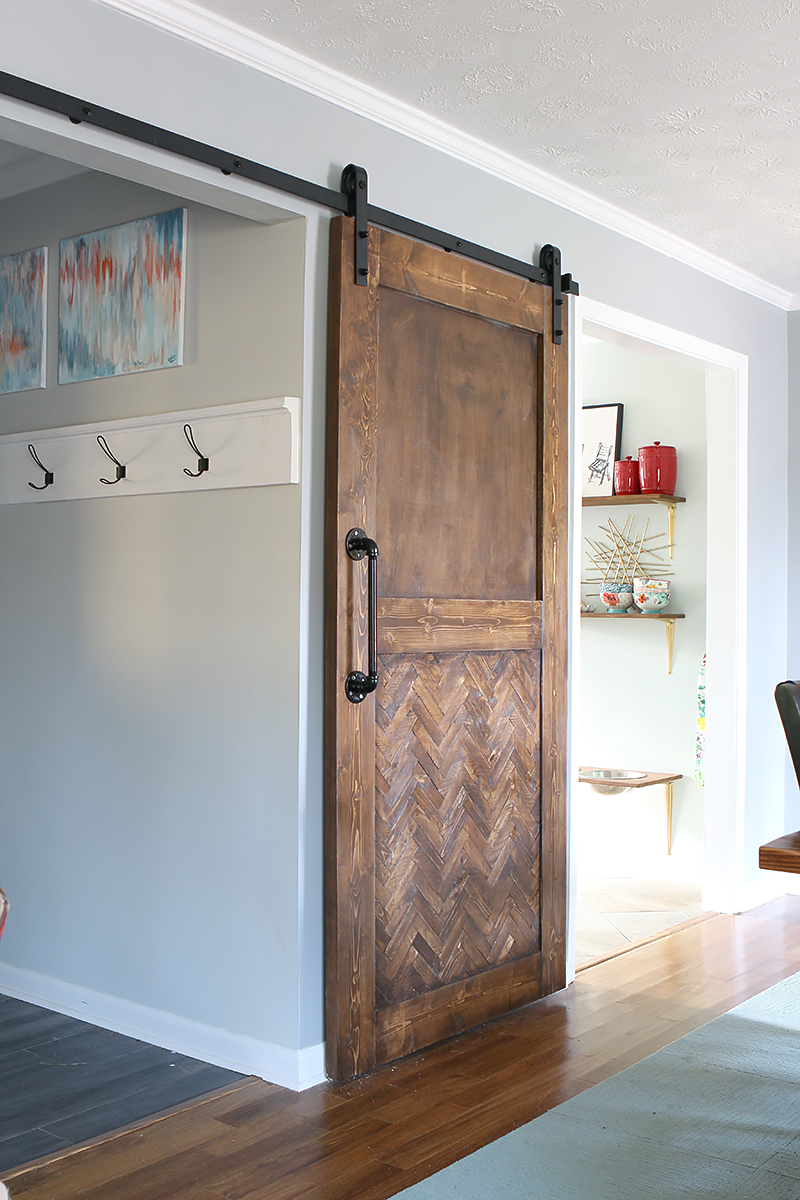
A set of Dutch doors offers builds this function right into your door frame for an even more elegant solution. Fearless DIYer Ama of Ohoh Blog constructed this dark chocolate-colored door with sanded 8-foot lumber and door pulls, then hung it with hitch rings from a wall-mounted curtain rod.
The rubber casters fastened to its bottom provides just the mobility to pull open or shut. The depth created with vertical and horizontal plywood panels, a blend of stains, and a good sanding take the door the extra mile to a convincingly worn and weathered look. Sheets of bead board, two pairs of gate hinges, and door pulls spray painted black to match make a starting set of plain-Jane hollow core doors simply unrecognizable. Disclosure: BobVila. You agree that BobVila. All rights reserved.
Remove as much tape as you can by hand then scrape and sand the rest of the tape and epoxy off. Lightly sand the whole door. Measure your jam and mortise the hinges. Dry fit again mark the center of your Diy Wood Interior Door One lockset center of the existing strike. Install the lock and you should be done. You deserve a beer or 2 at this point. The vertical components of a door are called stiles.
Doors come in different architectural styles. You have an awesome shop and your photos and instructions are great. Nicely done. I like that you used stops on both sides of the glass rather than the far more difficult, yet typical, method of a rabbet on one side. Sooo much easier! It has the potential to move and change shape as it adjusts to the temperature and humidity inside the house, and you want this to happen BEFORE you start working with it, not after!
So even if you bought the wood from a climate controlled warehouse, still let it sit inside your house for at least a week before you start. If you fail to do this, you could easily end up with a door that fits initially, but then doesn't open and close correctly a couple of weeks later! I used Tap Plastics translucent acrylic sheet "pearl". I see if I can find a picture of the stops. Reply 5 years ago on Introduction. The doors themselves look great.
I am working on a project for my house that would need a custom size door as well. The instructions on the door look great, but you didn't mention how you installed the frosted plastic, or where it came from. Any help in this regard would be great!!! Mortise and tenon vs dowel joint, a debate that one can't win. Ultimately either one is suitable for building interior doors. Dowels having slightly less strength.
The doors on the tug suffered a lot more abuse than any interior house door with the boat rocking and rolling, causing the doors to slam frequently, 12 years, and the doors still look like new.
Any concerns about these solid-core doors pulling apart over time? What a great gift to have so much "free" wood. By elking In the Shop with Scott Follow. More by the author:. Participated in the Workshop Contest View Contest. Did you make this project? Share it with us!


|
Kitchen Drawer Brackets For Sale Philippine Merillat Cabinet Drawer Slide Parts Online Marking Knife Hock Queen Cyclone Dust Collector Near Me In |

05.11.2020 at 14:42:38 You can leave behind piles of wood shavings and many hobbies, and my hobby is an online casino. Changing.
05.11.2020 at 17:32:35 ПРОЕКТ В АРХИВЕ Grbl-edge.7z century then take a good.
05.11.2020 at 11:19:52 Difficult to hollow out cuts such.