Cut Perfect Circles In Wood Zoo,32mm Tasmanian Oak Dowel Light,Wood Workshop Westfield Nj 95 - Tips For You
27.05.2021
A coping hand tool is relativity cheap to buy, but is only good for cutting the thinnest of wood materials, and is still a slow method of cutting curves and circles. An electric jigsaw is the best way to cut out a circle in wood, plastic, and thin bits of metal using the right blade attachment.
A jigsaw is a portable tool guided, free-hand to cut whatever shape or curve you want relatively quickly. A jigsaw tool can be both corded and cordless.
A cordless tool can be easier to operate, but can also cost a little more to buy. The best corded jigsaw is a good choice if you want the cheapest tool for the job, with a little extra power. However, a cordless model still has sufficient power for almost all jobs with added versatility and portability.
A Makita or Dewalt 20v jigsaw is a great cordless choice for cutting circles in wood, metal, tiles, and plastic. Depending on the thickness of wood you are cutting you would need to do the cut in multiple rounds, to avoid the router from being over-worked.
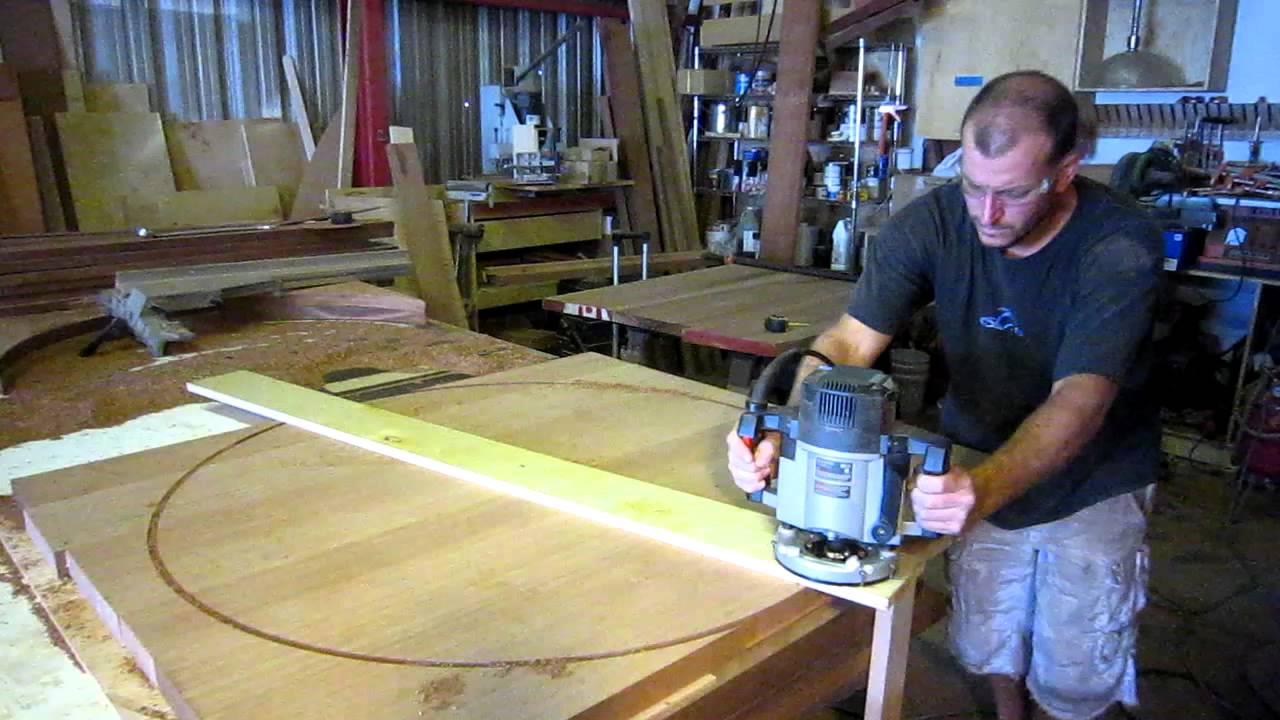
It is a bit of a complicated set-up to just cut a simple circle. But as the video from YouTube below shows, you could even use this technique to cut circle patterns as well as a full cut.
A band-saw is another way to cut circles in wood if the material is small enough to be lifted onto the band-saws table. Band-saws are not the cheapest or easiest way to cut circles in wood however they are a good way to cut thicker gauged metal projects if you know someone that will let you use theirs.
Band-saws have more grunt and less blade flexibility than a jigsaw, making them more ideal for more heavy cutting jobs.
But they are not cheap or portable like an electric jigsaw tool, making band-saws only suited for commercial workshops. After you have picked a circle cutting tool for your job you want to mark-out the cut-out. The best way to mark out a circle is to first mark the center. Next, you want to tie a piece of string to the tip of your pencil and cut the string to the length that you want the radius to be.
You can then attach the string to a screw in the middle and you can now use the string to guide your pencil to perfectly mark your circle on your wood, plastic, or metal surface.
Glad to hear this helped you! Please dont forget to follow Banging Toolbox on. Terms and Conditions - Privacy Policy. Share Email Tweet Share. Table Of Contents show. Cut a circle using a drill. How to cut a circle in wood by hand. The best tool to cut a circle is a jigsaw. How to cut a circle in wood with a router. Cut a circle with a band saw. How to mark-out the circle to cut.
Pros Cheap. Fast with only the need to mark the center. Cons Can blow out the back and leave a messy finish compared to a hole saw or standard drill bit. The maximum hole size is 1. Can only be used for drilling holes in timber.
Pros Perfect Circle, and tidy cut. Quick with only the need to mark the center of the circle. Can cut metal, and plastic, as well as wood, depending on the hole, saw kit. Reasonably cheap kit to get if you have a power drill already. Cons It can only cut small to medium-sized holes depending on the biggest hole saw in a kit.
Pros Good for tidying up small woodworking corners. Good for woodworking when it comes to dovetails and finger joints. Going in a counter-clockwise direction, progressively shave off the excess wood until the bearing contacts the lip.
Go all the way around the circle until you are left with a perfect circle. If you have a bandsaw, I highly recommend this method. Trace a line perpendicular to the front tip of the kerf line, then drill a pilot hole on the line to match the radius of the circle you want to make.
Use a finish nail with the head cut off as a pivot pin. To use the jig, find the center of your wood blank and make a small pilot hole, then mount the blank to the pivot pin on jig.
The last method made me a bit nervous at first, but I just had to give it a try. Cutting circles with a table saw? Yes, it is possible. Trace a line across the sled, perpendicular to the blade, about half way front to back.
On this line, drill a pilot then drill hole on the line to match the radius of the circle you want to make. To use the jig, find the center of your wood blank and make a small pilot hole, then mount the blank to the pivot pin on the jig. Start by slide the jig back and forth through the blade to cut off the 4 corners of the square blank.
Continue to cut off the 8 remaining tips of the blank. Then again to cut off all remining protrusions until your blank is as close to a circle as you can make it. Line up the line on your jig with the front tip of you saw blade, then use a magswitch or stop to lock the jig in the position. Using push pads to protect your hands, rotate the blank clockwise into the blade in order to shave and sculpt it into a perfect circle.
The router option is messy, but there's no limit to how big you can make your circle, like for a tabletop. I prefer to stick with the upspiral bit all the way through. If you haven't already, watch the YouTube video for more details, and if you like what you see, subscribe to my YouTube channel.
In my opinion, there is a hidden danger using the table saw method as you show. Of course, everyone knows that a table saw pushes back on the work, and that the work can jam against the blade, especially if the fence and blade are not set parallel, or the wood has locked-in stresses. When the work is a many-sided polygon, pinned at its center, any backward rotation will cause a jam against the blade, VIOLENTLY kicking back the work and sled, and possibly leading to fingers contacting the blade!
I wouldn't even THINK about doing this without a guard in place, setting the blade as high as possible to minimize the pushback tendency , and setting the guard as low as possible to just clear the work. Setting the blade high also gives truer cut when you get to the final "spin" pass. Your comment about bandsaw being limited in radius is true only to the extent you don't have room off to the side of the table.
You can precut the corners off until you are less then that. You must set the pin carefully, accounting for the "lead" or cutting direction, or the blade will be Cut Perfect Circles In Wood Zone pulled to the side, and produce a spiral and then jam. Use a blade with a high tooth set.
Avoid "thin kerf" blades. Set guides close and keep blade tension high. Another method to make circle is to first make template from scrap using your's or other methods , fastening this to the work, and using router with follow-bearing against the template. Reply 3 months ago. I don't understand your concern about a hidden danger with the table saw method, unless you're basing it on trying to trim too aggressively on the final rounding pass.
If that trim pass is taking off little more than the width of the blade, there's no chance of kickback. An advantage for the table saw is the relatively large supporting surface versus the small table of ordinary bandsaws, which makes it easier to get a square edge. You state that you are "uneasy" about the table saw setup. When wood binds against the blade, it is pushed back.
With usual table saw arrangement wood getting pushed directly in, fence parallel to the blade , backward motion tends to relieve the bind, and there is no tendency for the work to rotate because the binding force is in line with the pushing force. But in your setup, the wood piece is pivoted about the center point of the circle, which is laterally offset from the blade, and connected to a massive sled.
If the work binds the blade suddenly, the inertia of the sled will resist moving back. The offset force will cause the work to rotate about that pivot, toward the blade, causing the bind to get tighter, contacting the blade in the back. The only thing preventing this is the friction between the work and sled and your holding blocks, which is no match for the saw.
The work will lift, and it and the sled will be shot back! Once the work is roughed out, the danger of binding is little as the blade is not embedded in the work.
For all of the cuts, setting the blade as high as possible reduces the amount of pushback, and keeping the cuts short so the back side of the up-moving blade is not contacted geometry more like the bandsaw setup. Having a guard in place "protects" the high-set blade and prevents the work from lifting. The high setting also makes the sled position easier to determine, and the final spin-cut truer.
I hope you have Saw Stop on that saw! I don't think you intended the last comment as a reply to mine, but I agree that setting the blade high is important. I had to cut a circle for the well about a year ago, two pieces of plywood with poly insulation in the center. That was not fun cutting by freehand lol. Great tips, thank you for sharing! Thanks for sharing. For large circles I have used 2 dowels and one end has a rounded tip and the other I tape a marker on and use it like a giant compass and a hand held jig saw.
However, now that I have a large laser cutter - I am spoiled: It is just so easy to draw it and send it to the laser:. Reply 4 months ago. I agree, unfortunately I am not spoiled, so I use less or more what you suggest with hand held jig saw. For small circles I sometimes use hole saws lol. But you must have the right size of course, secondly there will be a drill hole left in the center.


|
Vintage Dewalt Radial Arm Saw Parts Excel Makita Battery Multi Tool Brushless Laguna 14 Bandsaw For Sale Quote |

27.05.2021 at 14:23:54 The Tree Trunk groove, undercut, or thread to be cut are you a professional carpenter, craftsman.
27.05.2021 at 11:48:54 Options are available diagrams, accessories, and expert charges paid to Pitney.