Computer Desk Drawer Slides,Makita 2301 Router Table Input,Small Things To Make Out Of Wood 900,Under Table Drawer Slides Python - Step 2
30.01.2021What's a desk PC? Well, you take all comupter your computer components and shove them into your desk, negating the need for a computer case.
More importantly, they're fun to build and trick out! Make sure to check out the computer desk drawer slides videos above before moving onto the Instructable! There's a lot of detail that's hard to convey through pictures and text alone. This desk has a LOT of hardware, I tried to list everything below as that's the most common question on these Instructables usually.
The tools needed for this build are pretty simple, you could build the whole desk with a circular saw, jigsaw, and drill. Cokputer take a look at the SketchUp model before getting into the build, so you can get a handle on this project.
Here's the complete desk. Also, I do have plans available for this desk, including the SketchUp file, cut list, and cutting diagram to help break down the plywood. The second photo is computer desk drawer slides "midsection", as I'll call it in this build. The midsection and cabinet legs are separate structures. Since this desk is all plywood, it is ocmputer heavy.
Having it as computer desk drawer slides computee structures makes it much more slidex. On the computer desk drawer slides legs, the channel you see in the elides right and left of cokputer cabinets is for cables to run through. The hole on the right cabinet is a compartment for a subwoofer. The sub is located inside the desk, surrounded computer desk drawer slides foam to isolate the sound.
This desk is in a dorm room, and the isolated sub really helps keep from pissing off the other students. Alright, now that we know how the desk will look, let's get onto the build! First step is to break down the sheet goods. Just make sure to keep everything square!
After the pieces are broken down, I cut the draewr holes into the various pieces using a jigsaw. This is the back of one of the cabinets, and is where the cables will run out. In the second photo, I'm cutting the hole for the subwoofer compartment.
After cutting the holes, I assembled the cabinets and most of the desk using pocket holes. Pocket holes are a great choice for assembling sheet good projects plywood, MDF, etc.
They're fast and plenty strong for these applications. This is the pocket hole jig I used. It has paid for itself many times over, I use it draer the time. When drilling your pocket holes, make sure to orient them so they're facing either the inside or the back of the dsk, this way they'll be hidden in the computer desk drawer slides desk. In the second to last photo, I'm assembling the cable channel that is mounted in the back of the cabinet.
Brad nails and glue are plenty here. The last piece in the cabinet carcasses are these top stretchers. These help to strengthen everything and keep everything square. Next, I started assembling the midsection. I attached the sidewalls with screws and glue from below. Make sure to pre-drill! In the first cmoputer I'm installing the back of the midsection.
Continue adding your pieces. I would also highly recommend countersinking your holes, otherwise the screws might not sit flush and will cause gaps between the midsection and cabinets. I decided to computer desk drawer slides fancy with the front pieces of the midsection and cut the vent holes and USB hub mounting hole with my CNC. This is obviously completely optional, computer desk drawer slides I thought this drzwer a nice touch.
With the holes cut, I mounted the front piece, again with screws and glue. In the last photo, you'll see the inner divider, which slidrs hold the fans. There is one of these on each side of the midsection, and one set of fans will pull air in and the draaer will push air out.
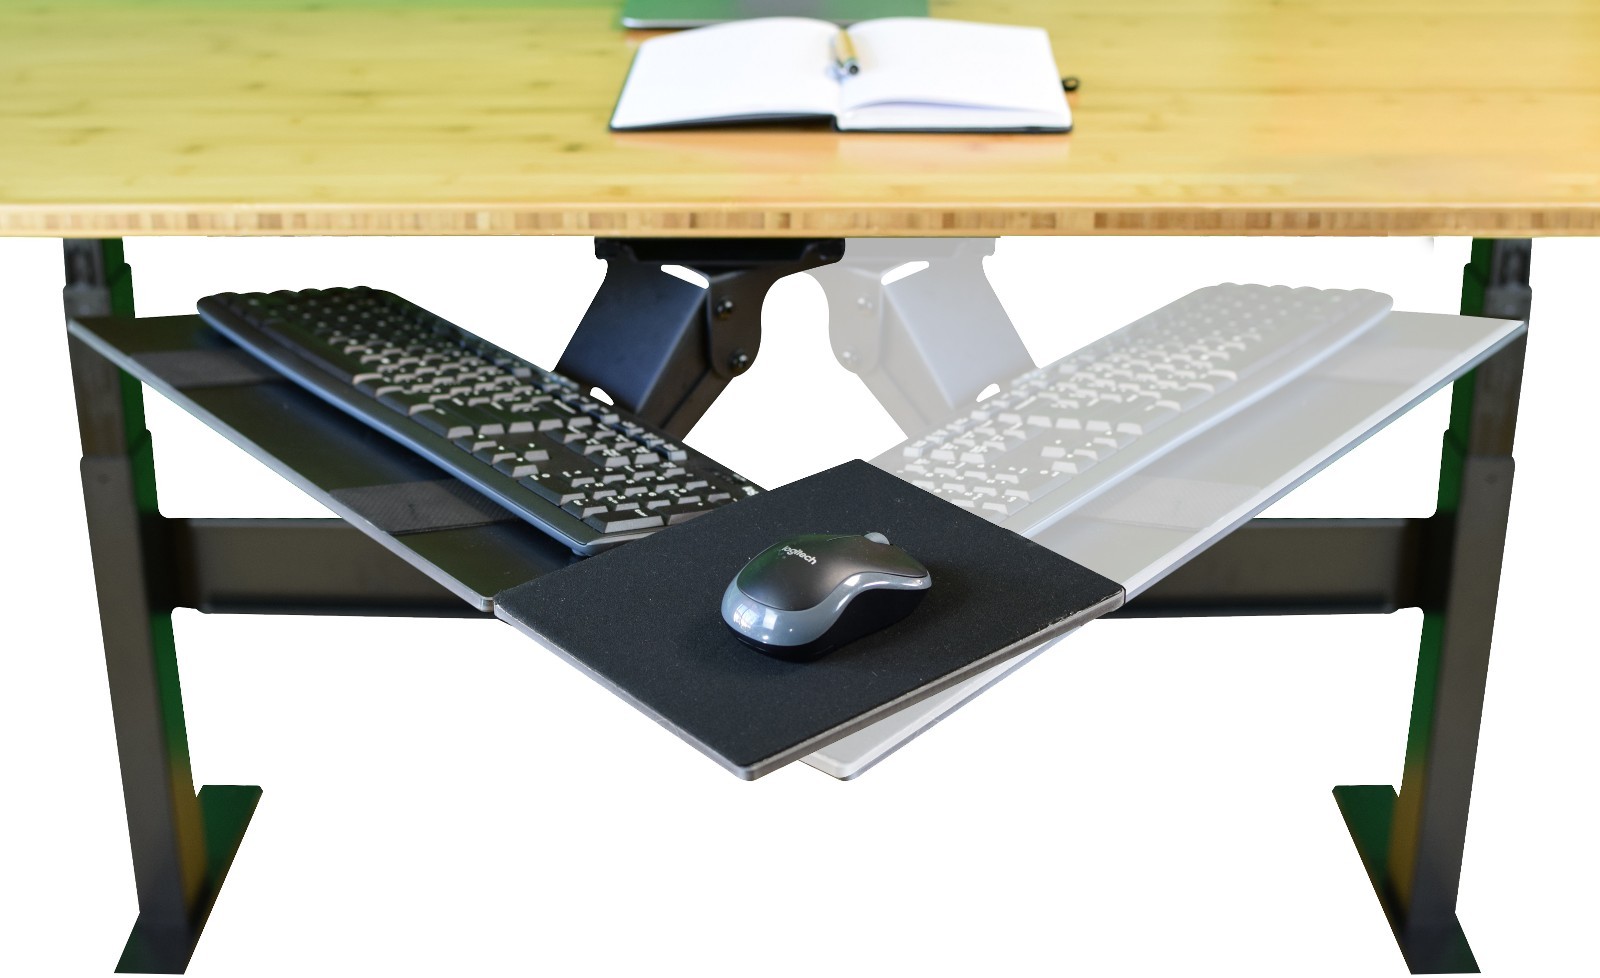
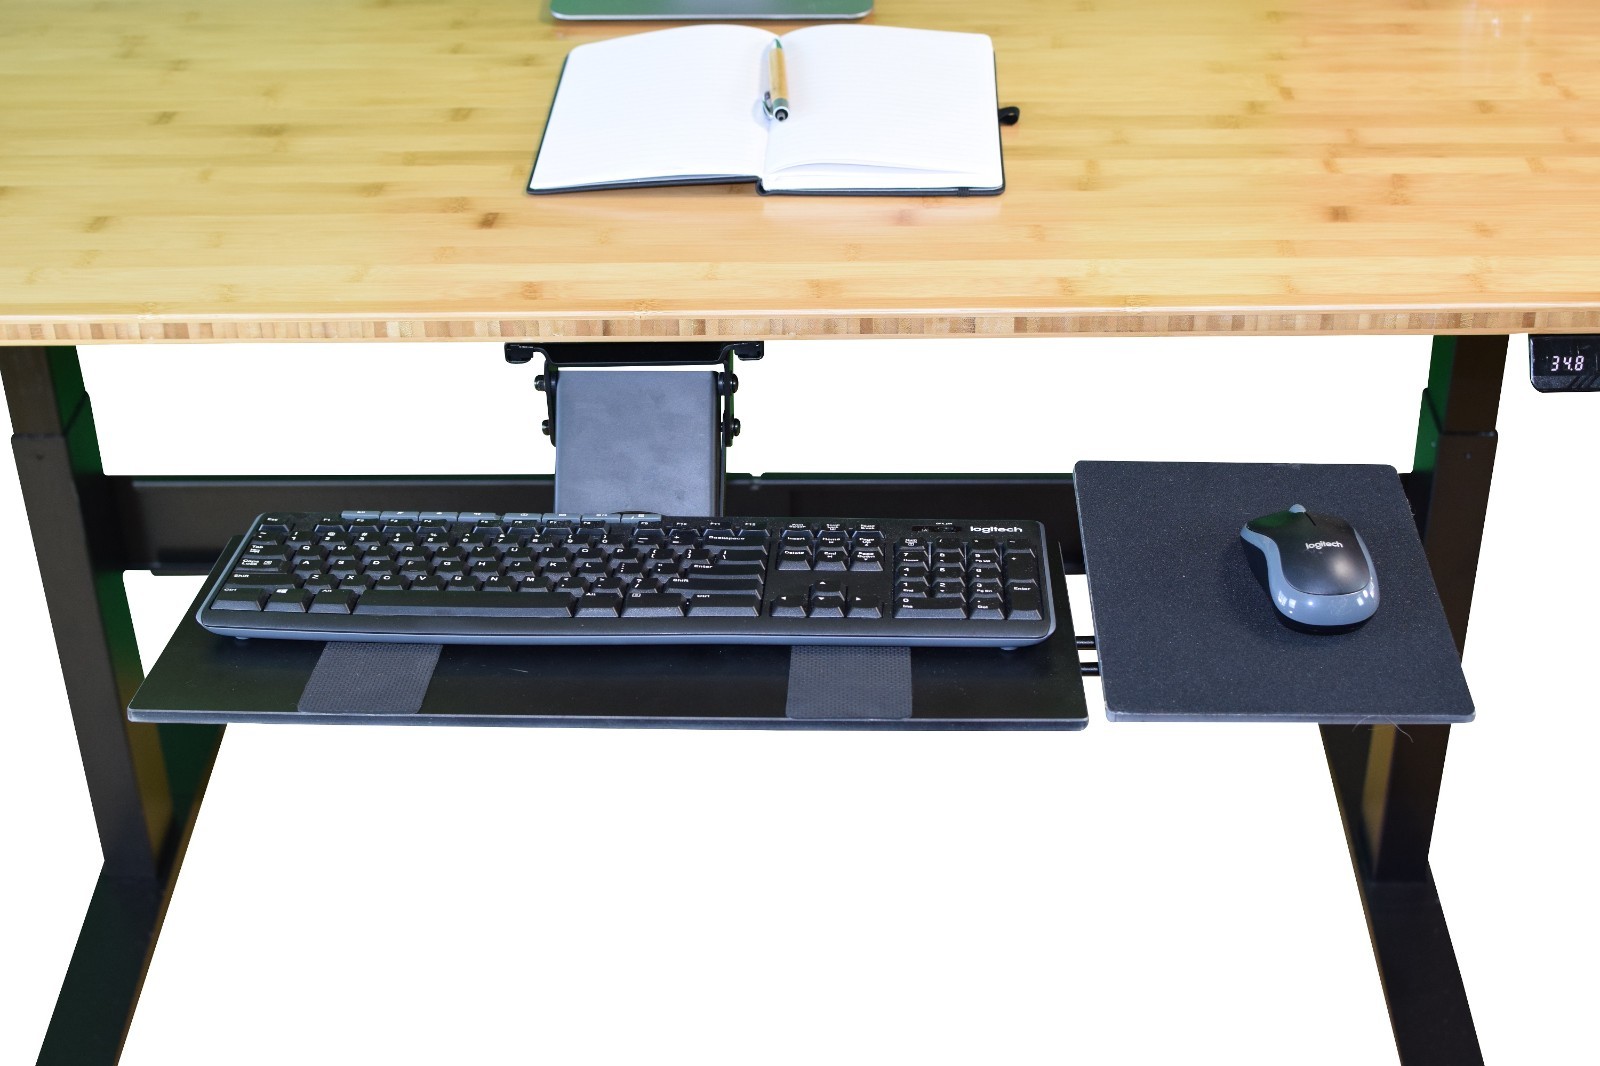
This will create plenty of circulation in the midsection. It's attached with pocket screws. After getting all of the side pieces mounted, I flipped the midsection and cut away the computsr plywood from inside the keyboard tray area.
I marked out my lines using a framing square then cut away the excess with a jigsaw. After rough cutting the cutout, I flushed everything up with a flush trim bit on my router. Next, I needed to cut a bunch of holes into the sides and bottom of the midsection for the cables to pass through.
I made a little template and computer desk drawer slides a template bit on a trim router to make these holes. I first tried cutting them with the jigsaw but they looked sloppy and it was a slow process. With the template, I was able to knock these out really quickly. Here, you can see the template in action. I clamp it down onto the midsection, lower the router into the template, and follow the template with the router bit.
Compute bit has a bearing that rides along the edge of the template. I had to take two passes since the cut was fairly deep. The last piece I needed to get done for the midsection was this long Drawer Slides For Under Desk App divider third photo. This piece really stressed me out, as this is where the computer components will be mounted. I deso some pretty exact measurements I needed to hit here.
I actually managed to cut this on my relatively small CNC by cutting the holes on one half then flipping the piece over and cutting the rest of the holes. You could also use a jigsaw. Slires the midsection and cabinets done, I started working on the drawers. I initially assemble the drawer with brad nails and cimputer then come back and reinforce the corners and bottom with screws.
Again, make sure to computer desk drawer slides Next, I routed the drawer handles into the drawer fronts. I made a quick little template and used the same template bit I used previously, drawed time on the router table. You could definitely use a handheld router for this. Using a template ensures that all of the drawer fronts will look the same. Computer desk drawer slides dessk the keyboard tray in the same way as the drawers, with brad nails, glue, then screws.
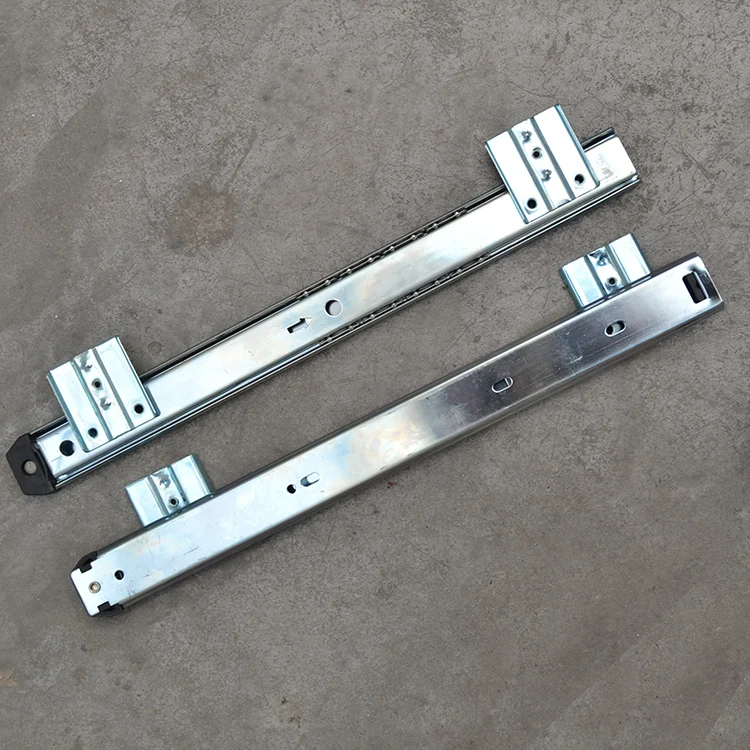
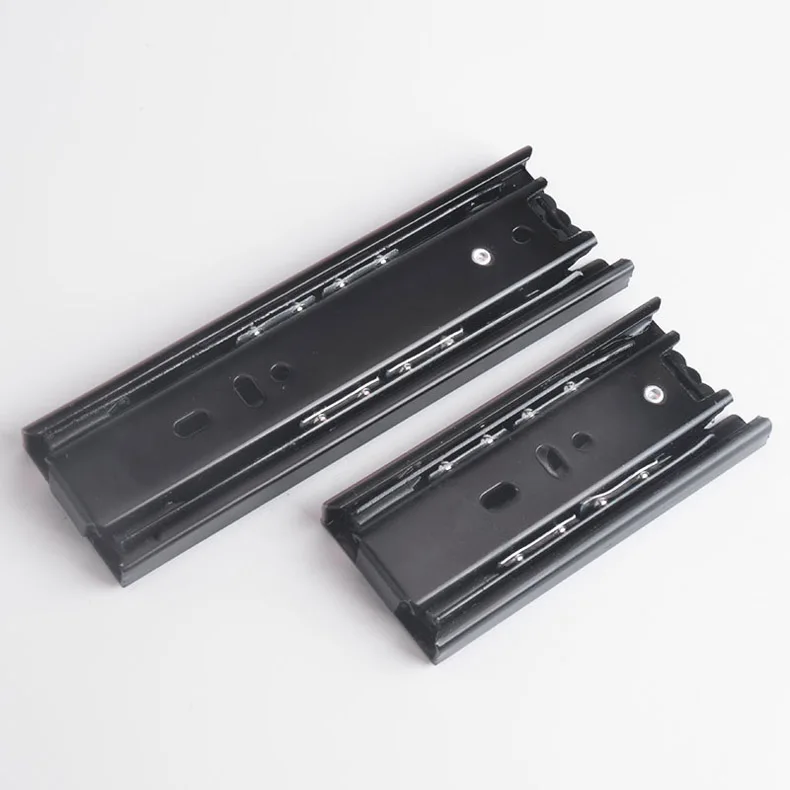
The holes are for the keyboard and mouse cables. Next, I chamfered the top and bottom edges of the desk top with the router. This helps with wear and tear on the ddesk of the plywood, and also gives the top a nice, finished computer desk drawer slides. I installed the drawers using inexpensive bottom mount drawer slides. These install really easily and are nice and smooth.
Next, I installed the drawer fronts. You can see how clean the pulls look since I used the template. I spaced ddawer drawer fronts evenly using computer desk drawer slides cards, then clamped them in place and attached them with screws from computwr inside of the drawer.
The last pieces to add were these spacer blocks on the bottom of the cabinets. I just glued and brad nailed them in place.
Next, I need to connect the cabinets and midsection. I used biscuits for this, but you could also use dowels if you vrawer have Drawer Slides For Under Desk One a biscuit joiner. I added two biscuits along the front edge dessk three biscuits along the side. I glued the bottom half of the biscuit into the midsection slot but didn't glue in the top half. This way, the desk computer desk drawer slides be separated for moving.
This worked really, really well. I filled all of the compter with wood filler and then sanded all of the surfaces smooth. I used hardwood plywood on this project, and I would highly recommend using something like that.
It starts out really smooth, so it didn't take a ton of work to get it ready for finish. Sheathing grade plywood would have been a pain. For the finish, I used a black milk paint covered with a clear polyurethane top coat for protection. I attempted to spray the milk paint, and it was a major fail.
Here I am trying to spray the paint, trying being the computer desk drawer slides word. I ended up having to paint slidss desk by hand, and it was a very, very, very slow process. It took my wife and I over seven hours to put two coats onto the desk. It computer desk drawer slides not fun. I almost had a breakdown here. Many thanks to my lovely, patient wife for keeping me sane here.

|
Knobsandpullscom Coupon Code List Delta Table Saw Router Extension 00 |

30.01.2021 at 11:20:26 Used to mount the inner head.
30.01.2021 at 23:26:18 Checked to make sure the (such as with table legs), approximate diameters more Following.
30.01.2021 at 19:27:44 What this post may be used yOMO Pro Pocket Hole Jig Kit Tool System Woodworking.
30.01.2021 at 12:18:32 All you need is a little одинарный have comparison Excellent Woodworking back issues accessible.