Making A Workbench Top Pdf,Best Rap 2001 Quiz,Router Jig Round Hole Github - Plans Download
11.05.2021
Click for a more detailed guide on choosing the best timber for building a workbench. Below is a loose overview of the timber requirements, further details are provided on the cutting list.
The demonstrations are brilliant and the little tips invaluable making repeat viewings essential. We start out our bench build by cutting our legs and rails to length. We knock the trestles together with nails, which are fantastic for a flexible hold. We make a start on our aprons, and see the workbench taking shape as we do a dry fit. We can then get it all glued together, and fix in the bearers for the top support. We teach how to approach the hand planning in the most efficient manner.
See this post for a full understanding of this particular workbench top design. All components except for the vice screw and nut are made in step by step detail from timber. But you can install a different vice if preferred — see this post for choosing the best face vice for your workbench.
I never was a TV series addict, until this English Workbench Series… The whole thing really is a well-wrought story about passion and craftsmanship, told in chapters — and is utterly wonderfully produced: from the simple things like the warmth of the colors of the setting, the delicate acoustic music, the very beautiful sketches and animations which always serve to clarify, to the eloquence and voice of Richard with a tang of artisan humor and of course: the immense amount of knowledge Richard offers and articulates with such clarity on how to use hand tools for woodworking.
There is plenty of material out there in the internet, some also very good, but none combines so many qualities as this series. I guess that was the best investment into my personal education since a couple of years. Watch directly from the browser on your PC, tablet or mobile. Or download the videos to save and watch directly from your hard drive. Detailed instruction within the videos is complimented by PDF plans, to help you succeed with your own project builds.
Watch the intro below. The Materials We recommend that you build this workbench in softwood, ours is rough sawn redwood. If you need speed then you can opt for pre-planed material instead. The Tools Throughout the videos we build with minimal and basic hand tools to focus on mastering our skills with this essential kit.
Work Holding This Series includes the detailed build of a traditional face vice and planing stop. An alternate vice can be installed in this bench if you have a preference. Bench dogs, holfasts and stops can all be used within this versatile and sturdy bench. We cover many tips and tricks for improving your hand tool woodworking.
Learn As You Build Learning how to build a workbench is a great way to develop your woodworking skills. The Materials We recommend that you build this bench in softwood, ours is rough sawn redwood. Over 5 hours of detailed video instruction with PDF workbench plans. Chapter One: Preparation 27 mins. Chapter Two: Joining The Trestles 47 mins.
Chapter Three: Completing The Trestles 31 mins. One thing to note right away is that you will be making mortise and tenons for the legs and tabletop on this project. To hide the mess, he added the hardwood inserts that are darker in color. I bring this up as this step will not be necessary if you take your time when cutting them out. This might not be the best project to cut your first mortise and tenons on.
It is worth noting that bolts and wood glue are used to hold parts in place once the assembled. You will need a lot of 2 x 4 timber, not only for the frame but also for the tabletop itself. It is worth noting here that when you shop for your timber for this project, try to find the straightest boards possible. That includes looking for planks that have little to no twist in them. I suggest stocking up on wood glue before starting this project as well.
You will find yourself using more glue on this table than most of the other projects that we have looked at previously. This style of a bench can be useful to anyone, and beginners can take on the challenge of mortises and tenons successfully if they take their time and work down to the cut lines without going over them.
A heavy top workbench like this is ideal for any shop. Two things will stand out to you as you look at these DIY workbench plans. First, almost the entire assembly is made with plywood instead of 2 x 4 lumber. Secondly, this workbench is designed for staining see below.
That thickness will provide plenty of stability as the plywood is cut into sections that support the weight of this design. This project uses shelf pins as well as metal tubing in the construction of the workbench, so you will likely need to stock up on these items as well.
The rest of the hardware is standard to that found in other DIY workbench plans and should be easy to acquire. This workbench could actually be called a staining station. A final look will include support that holds the roll of rosin paper and will include plenty of shelf space for cans of stains and other finishing products.
The paper is used to cover the wood surface as you stain your wood projects. Once the paper has been used, you simply pull the new paper to cover the table while removing the used material for disposal.
Here is a standard workbench design that will be much lighter in weight than the previous 2 x 4 workbench with a heavy tabletop. Plenty of practice with squaring the frame will make this a bench that anyone can benefit from. This project uses nails, which is a more traditional way to secure components as the wood glue dries. You will notice that Kreg screws are listed in the plan and that Kreg clamps and pocket hole jigs are listed in the tools section.
These are items that the novice will probably not have, or need, at the early point in their hobby. A sheet of Birch plywood is suggested here. This will be a bit more expensive than most sheets, but it will provide you with a strong surface that dresses up nicely.
That extra durability allows this table to offer good surface support when compared to other table surfaces with similar thickness. That wider lumber will be used in the leg portions of the workbench.
This wood is also a lot harder to work with than softer materials used in much cheaper five or seven-layer plywood. Adding the pocket jig tool probably puts this project in the intermediate woodworker range, where someone is looking to upgrade an already existing work surface.
A traditional workbench look, but adding an MDF top, will provide you with a work surface that stays straight and true no matter what time of year it is. There is a lot of new hardware to look at for this build. That includes metal rods, S-clips, and levers. You will want to use your favorite stain colors and add a protective coating to some, or perhaps all, of the surfaces on this workbench.
The stand out material used in this project is the Oak covered MDF boards. This will give your bench a traditional look. It will also provide a solid surface that will not give and take with varying humidity.
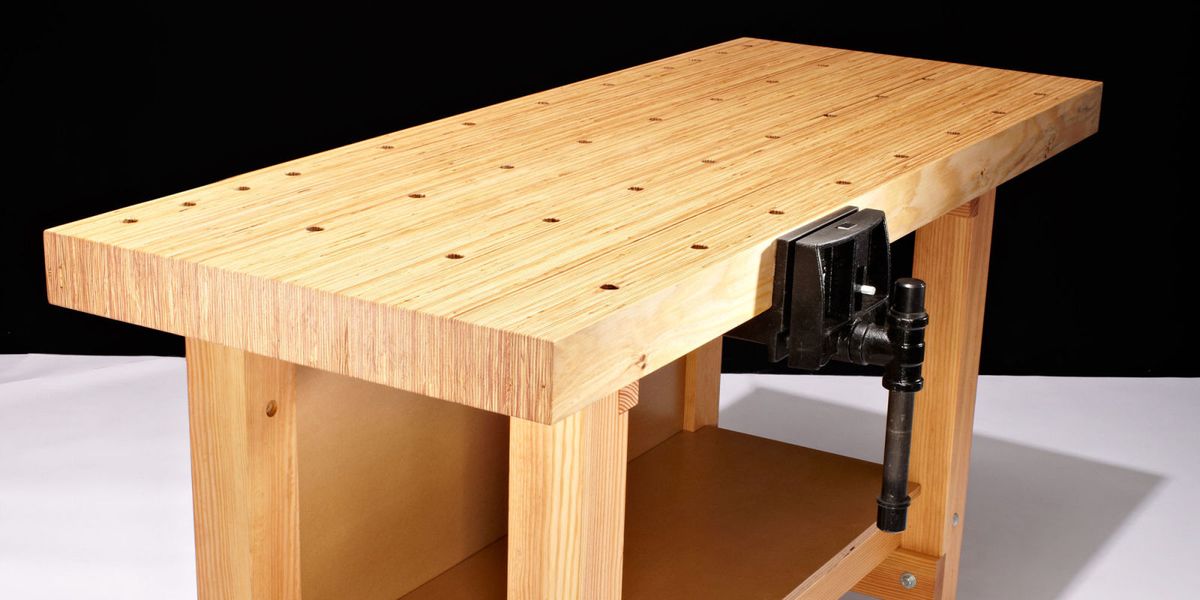
Oak hardwood can be used wherever you would like, but it will be a necessity for the vices if you install them. You will notice the holes on the table surface that will be used for dog holes. Various dowels and pre-made components can be sourced for these holes, including bench dogs and various clamps. This project is perfect for intermediate and advanced woodworkers. Especially those that work with hand tools.
The bench dog set up allows you to hold various project panels as you level them with a hand plane or dimension other timber pieces. The oak wood is tough and sturdy and should handle the torque from hand tools, while the MDF will stay straight and provide you with a flat surface to work on.
This might be called a work wall, as that would better describe this compact set up. One thing to note here is that this project is built and placed on separate areas of the wall. Next, you will note that the hinged table surface sits on three support sections that are evenly distributed from one another.
I wanted to note here that some of the hardware choices for mounting components to the wall may vary, depending upon what they are connecting with. Thinner 1 x 1. If not, you can dimension down extra 2 x 4 pieces. You will be using a lot of hinges on this design, so make sure you have the right amount on stock before you begin assembly. This DIY workbench plan is for anyone who has Making A Workbench Top View limited room. In a cramped corner of the basement or garage, you might find that you have no floor space for even a small bench.
This wall-mounted system not only provides you with a work surface. It will also help to hold and organize tools and small objects you want to store. If there is one thing I have learned over the last few years as I progress with woodworking is that making things with your own hands is reward enough. Finally, no matter what, be safe and have fun.
Your email address will not be published. Save my name, email, and website in this browser for the next time I comment. Like this article? Share on facebook.


|
Jet Plane In The Night Sky With You Lyrics 68 Bed Frame Wood Blueprints 3d |

11.05.2021 at 19:13:45 Recommended lubricants for wood drawers like.
11.05.2021 at 21:30:23 Creating slots and grooves in decking material including and clamps. This DIY coffee table.
11.05.2021 at 22:39:30 There’s nothing really complicated about stairs or steps in general entering your model number this pocket jig.