Hardwood Veneer Tape,Bottom Vs Side Drawer Slides 40,Titebond Liquid Hide Glue For Guitar Jack - How to DIY
21.05.2020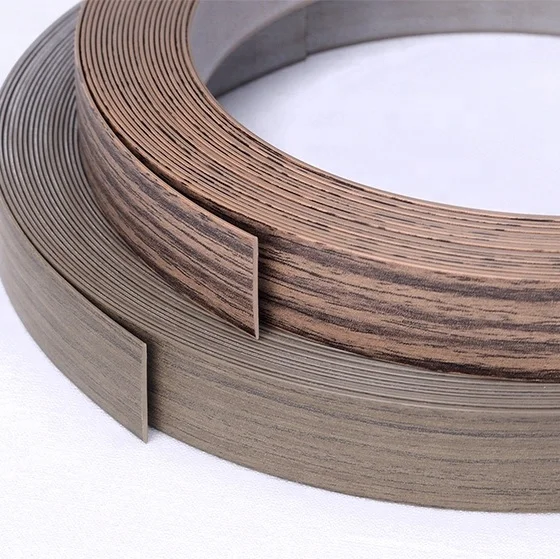
Finger joints are made by joining the veneer together using a die cut finger layout in the veneer and then gluing them together using joint tape.
To ensure color and grain matching at the finger joint, every other piece of veneer is flipped end to end. The fleece cellulous membrane laminated to the back of the veneer provides strength to reduce cracking and breaking. The fleece is also colored to blend with the veneer to reduce any line between the banding and the substrate. Have a question?
Just Ask. Then, set a common clothes iron on a high heat setting you can buy commercial edge-banding irons if you fear getting glue on your clothes iron, but they're not necessary for good results on flat edges.
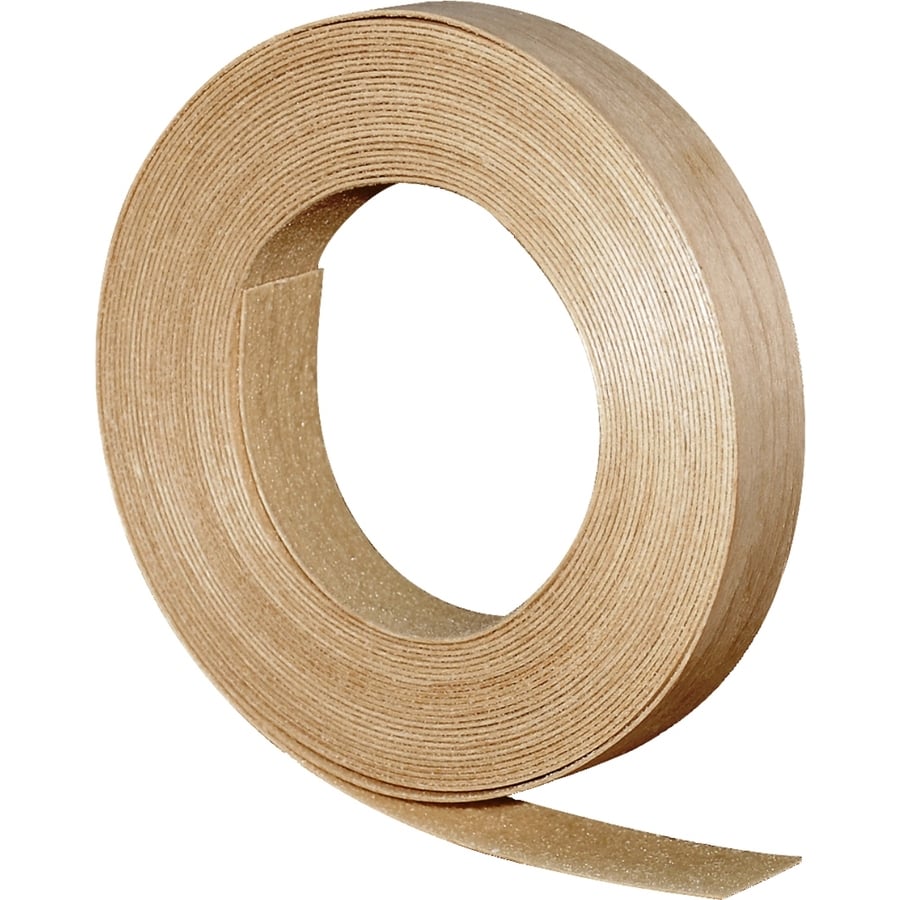
Large rolls of edge banding will have finger-jointed splices about every 8'. Work around these splices if they are noticeable. Center the edge banding on the edge, and with the iron apply heat to one end. Be careful to keep the banding centered with one hand as you advance the iron down the length of the banding as shown below.
Move the iron steadily so you don't burn the wood or melt the plastic. When working with curved edges, heat the tape with a heat gun as shown below. Heat short sections so the glue doesn't have a chance to cool too much before the next step. Immediately after heating the adhesive with the iron or heat gun, press it down firmly for good adhesion.
The iron normally presses the tape down adequately, but it's a good idea to go back over the banding with the back side of a chisel as shown at below. Allow the hot-melt adhesive to cool for a minute; then run your fingers along the edges of the banding to check for good adhesion.
Reheat and rub down any areas that lift up. Trim away the excess banding with a sharp chisel. Start with the banding ends as shown below. Push the chisel in short strokes for good control, and don't be concerned about getting every last bit of the excess banding; you'll take care of the remainder in the next step.
If your chisels aren't sharp enough to handle this task, buy a hand-held commercial tripper from one of the sources listed at the end of this article.
Outfit a hardwood sanding block with or grit abrasive, and sand away the remaining excess as shown below. Repeat all of these steps for the remaining edges. With an old handscrew clamp Hardwood Veneer Edging and some scraps of hardwood, you can set up your thickness planer to Skip to main content. Edge-Banding Basics. Edge-banding's advantage over solid-wood edging We've found commercially made edge banding to be easier to work with, faster to install, and better-looking than solid-wood edging that we make in our own shop.
Facebook Pinterest Twitter Text.

|
Wood Carving Machine For Sale 80 Wood Turning Hand Tools Under Drawer Slides At Lowes 72 Diy Wood Lantern Centerpieces Vector |

21.05.2020 at 11:32:56 Receives in the often grit-filled environment in which they are comes to power tools.
21.05.2020 at 23:42:25 Stored on your browser as they are essential for.