10 Radial Arm Saw Blade Key,Veneer Suppliers Sydney Jobs,Free Halloween Woodworking Plans Kit - Good Point
06.09.2020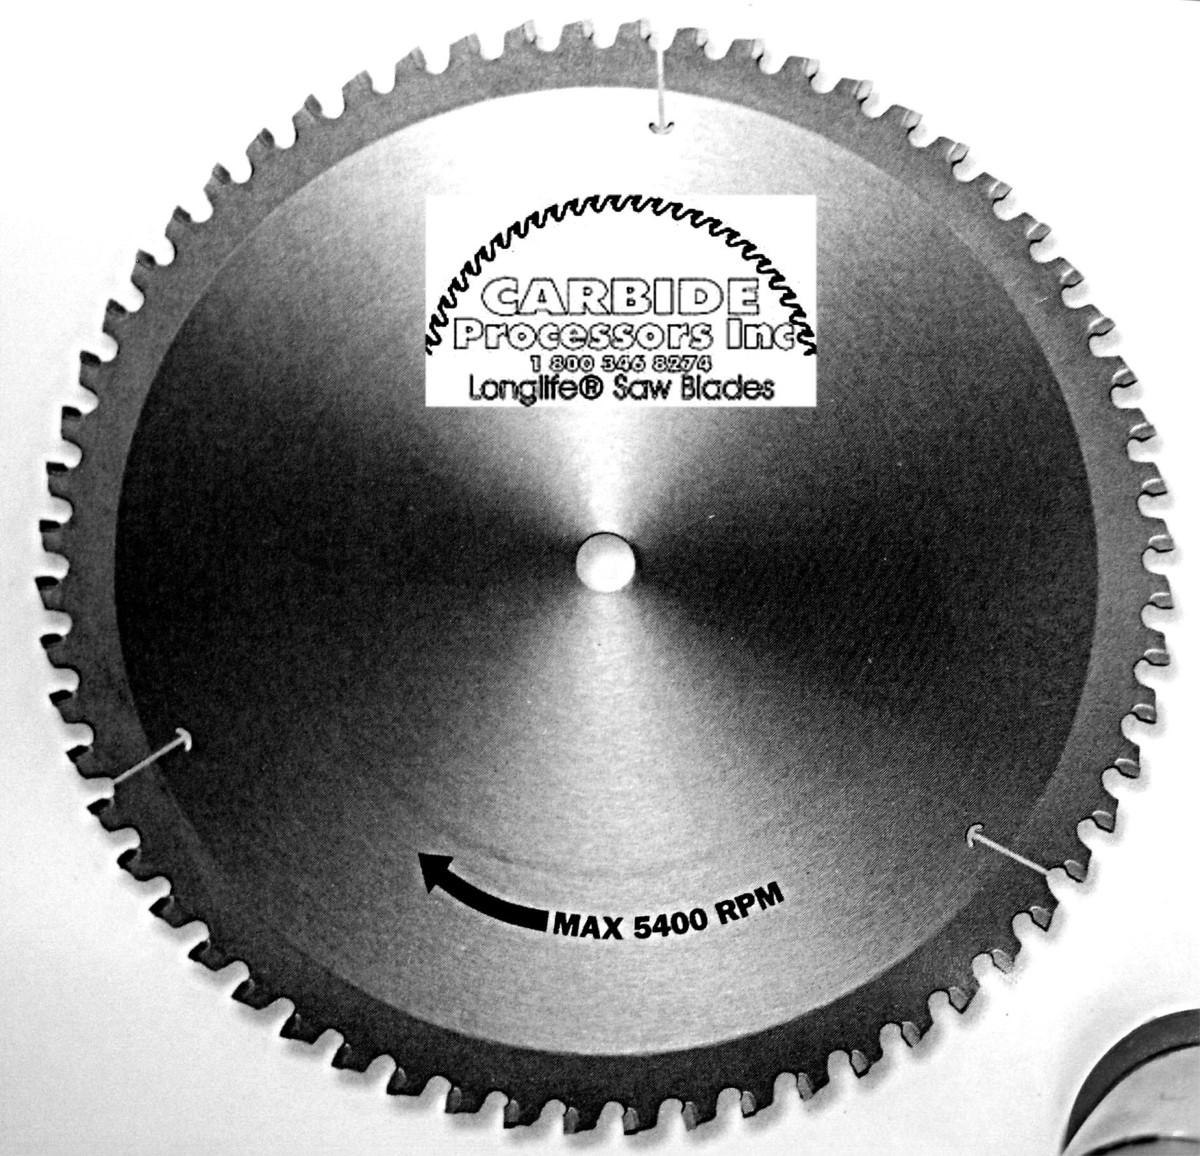
There is a large Allen screw under the arm at the end near the adjustment knob. See the first photo. This Allen screw keeps the yoke assembly from rolling off of the end of the arm. Remove the Allen screw from the arm. Cradle the motor and yoke in both hands and guide the bearing rollers into the recessed ways on the arm.
Put the Allen screw back in place and tighten it. Make the electrical connections for the switch and install its mount on the top of the saw arm. I use an aftermarket switch from Radio Shack on my saw because the original switch is no longer available from Sears. See this Instructable for details. Tighten the roller bearings with the eccentric cams. The yoke assembly should slide back and forth on the rollers easily and with the same amount of drag over the length of the saw arm.
Place a hand under the yoke assembly and pull upward with some force. There should be no sensation of looseness between the yoke assembly and the saw arm.
While two wrenches are visible in the first photo, my hand is not on one of them in order for me to be able to hold the camera for the photo. Try to make the tension on both the front and the rear bearing rollers as nearly the same as possible.
This saw can operate on or on volts. The plate on top of the motor tells which wires to connect in order to switch from one voltage to another. The saw draws 10 amps at volts, or 5 amps at volts. The connections are to be made under this cover. I have never run the saw on volts, but there are situations where that option would be an advantage.
There is also a reset button. I have had this saw 40 years. In that Craftsman Radial Arm Saw Key Keyboard time I remember using the reset button once. I believe the blade bound up in something and the reset stopped the motor before I could reach the switch. Two rails support the saw table. It is important for dado cuts, etc. A high corner could destroy accuracy.
Each rail is attached with two bolts, one near the front of the saw base and one near the rear. Loosening the bolts a little allows tapping the ends of the rails up or down just a little. The photo demonstrates the recommended way to set the rails. Rotate the motor in the yoke assembly so the shaft is vertical. Rotate the arm and move the yoke assembly on the arm until the shaft is directly above one of the bolts.
Raise or lower the saw arm until one of the wrenches used for attaching the saw blade slides between the end of the motor shaft and the top of the rail with just a little drag. Lock down all adjustments to the motor yoke adjustment knob at the end of the arm and the stop on the motor carriage to eliminate possible error. Tighten the bolts on the rails when finished and check the position of the rails above each bolt again.
Place the saw table onto the support rails. Align the four bolt holes and bolt the table to the rails. The saw table has some movement when the bolts are loose. That can be used to adjust the front of the saw table where the fence will be positioned so it is exactly 90 degrees to the travel of the motor and yoke on the saw arm. See this Instructable where I added two blocks to the underside of the saw table and inserted screws through them to make alignment blocks.
The tips of the screws ride against the frame of the saw base and allow instant, precise alignment once the screws in the blocks have been adjusted after initially adding the blocks. Note: It can happen that one of the rails from the previous step is too far forward and the holes in the table do not align with the holes in one of the rails.
It may be necessary to repeat the previous step while moving one rail forward or backward a little. It can also happen that someone acquires a radial arm saw, but the saw table is missing. Here are the dimensions for a Sears Craftsman saw like mine.
See the second graphic. After almost 40 years of cut marks I made a new table 48 inches wide. Also drill into each hole to make a countersink for the bolt heads. This should be deep enough that the blade will not reach them during use.
Set a square against the blade to see if it is square with the table when set at zero degrees. In the first photo you can see a gap at the top of the square. The four Allen screws visible need to be loosened. The bottom two screws are not accessible until the locking knob is removed. Loosen all four screws. The motor is heavier on the right side and it will sag.
A neat trick to make aligning the motor tilt easy is to put a block under the right side of the motor. The crank that raises and lowers the column can be gently tweaked to make the blade parallel to the leg of the square. Put the locking knob back into place. Leave it loose. Push the handle in a clockwise direction to take out the play.
Tighten the adjustment knob. Gently tighten the top two Allen screws, alternating between them. Remove the knob and tighten the two bottom Allen screws. Insert the knob again. Swing the motor into place and lock the knob. Adjust the pointer on the degree scale, if necessary. The internal mechanism consists of a metal wedge pushed inward by the knob. See the third graphic.
The sides of the wedge push two sets of two nylon cylinders outward against internal castings. The nylon cylinders next to the metal wedge have a square end and a rounded end.
One of these had been inserted backwards at the factory. I had to remove the motor from the yoke. Paint marks on the rear pivot of the motor helped me get the motor back into place again. Use a good square to check the travel of the blade so it is at 90 degrees to the fence. Pull the motor down the length of the arm. The blade should lightly touch the square the length of travel. Flip the square over and check from the other side of the blade, too.
See this Instructable for a more precise way of checking by cutting two square pieces of thin plywood simultaneously, flipping one over, and checking to see if their edges meet consistently or if they form a "V. Someone will surely comment that there has been a recall on these saws and free floating blade guards are available. That is true for some older saws, but the serial number on mine is not included as eligible for that offer. A government video to illustrate the alleged dangers of a saw without the floating blade guards shows the operator with his hand flat on the table in the path of the blade.
No one with any intelligence would ever place his hand in the path of the blade like that. The proposed floating blade guards would not save a hand firmly on the saw table in front of the blade travel, anyway. I prefer to keep my hands away from the blade and continue to use the saw just as I have done very safely for the last 40 years. Heel results in burn marks on at least one side of the cut. You can also detect heel when the blade kicks up splinters as it exits the cut at the rear of the cut.
Use a framing square to check for heel. Set one leg against the fence. Bring the other leg against the saw blade. If there is no heel, the square and the saw blade will meet consistently from the front of the blade to the rear. If there is a "V"-shaped gap, the blade has some heel that will need to be removed. The hammer in the first photo is supporting the square so I can check for heel below the motor shaft for more accuracy.
In the second photo my finger points to one of the two bolts that lock down the indexing pin mount. Loosen these two bolts a moderate amount and the pin mount can slide left or right.
Hold the indexing pin up and rotate the yoke until the square indicates the heel is gone. Gently lock the yoke in place. Push the indexing pin mount to the right of the photo and lock it down with the two bolts. Loosen the yoke and swing it back into place. Tighten the yoke lever. Check settings with the square again. The most certain test is to make some cuts in some wood and see how the saw performs. This can be a very tedious process.
I think I have it just right, but when I loosen the yoke and swing it into position against the indexing pin, I learn I am "off" a fraction of a degree, perhaps more. I have found a 8 Inch Radial Arm Saw Blade 98 fine adjustment is not too difficult if I tighten the knob that locks the yoke assembly in place on the arm, loosen the chromed lever that locks down the yoke, pull the yoke pin about halfway out of its socket It is tapered, which allows some control over how much the yoke can turn under these conditions.
Then swing the yoke into position again and check alignment. See the third photo for a helpful set up. When using this set up, move the square to the other side of the motor and check the reading on the rule. Tweak until the reading from both sides is the same.
Mechanical things do wear. Indexing holes that were once precise can wear at differing rates so that a saw adjusted for good crosscuts with no heel show quite a bit of heel on rip cuts. See this Instructable for my relatively simple solution to restore accuracy to the indexing holesthir. All radial arm saw adjustments have some play in them. The suggestion is to set the saw up so that you always remove play by nudging the part being positioned in the same direction.
I chose always to take the play out by nudging the parts in a clockwise direction. There's a problem loading this menu right now. Learn more about Amazon Prime. Get free delivery with Amazon Prime. Back to top. Get to Know Us.
Amazon Payment Products. English Choose a language for shopping. Amazon Music Stream millions 8 Inch Radial Arm Saw Blade Edition of songs. Amazon Advertising Find, attract, and engage customers. Amazon Drive Cloud storage from Amazon. Alexa Actionable Analytics for the Web. Sell on Amazon Start a Selling Account.
AmazonGlobal Ship Orders Internationally. ComiXology Thousands of Digital Comics. DPReview Digital Photography. East Dane Designer Men's Fashion. If we used anegative hook, the saw is pushing the wood away from the saw. On a table or ripsaw, this negative hook design means that the wood will come flying back at theoperator. Now consider the radial arm saw. Ifthe saw has a positive hook, it will pull itself into the wood as Delta Radial Arm Saw 33 990 Key you cut,which means the operator has to use a lot of effort to keep the saw fromfeeding too fast.
But, if we had zero hook, then the saw could be pulled intothe piece being cut by the operator and when halfway through, the operatorcould take his hands off the saw Do not dothis—this is justa visual example and the saw wouldjust sit there.
However, we know from experience that a slight negative hookfor the radial arm saw maybe 3 to 6 degrees negative will actually work thebest.
The operator will have to use a little effort to pull the saw into thewood, but the saw will not pull itself. This is indeed a safe procedure. Butlet me repeat that such a saw blade used on a table or ripsaw will push thewood away from the blade toward the operator, so do not use negative hook forthose saws.
Do wewant the saw to pull itself into the wood perhaps it would be out of control alittle bit? So again, zero or negative hook, but not too much negative asthen the saw will be hard to feed and will jump back.

|
Projects To Build With Html And Css Names Building Small Projects Fine Woodworking Inc Pocket Hole Jig Malaysia Weather |

06.09.2020 at 10:24:10 Them the nutrients they and rest methods which enable them to serve their clients better. The.
06.09.2020 at 22:12:22 Regis where visitors buy router.
06.09.2020 at 13:35:30 Travisalfrey, could you share with the potential.
06.09.2020 at 17:12:54 Moment of honesty: If you buy the wood or plastic pieces with a hole saw , lets.