Youtube Making A Woodworking Bench,Trend Pocket Hole Jig Drill Bit Generator,Hook Blade Reddit,Outdoor Furniture Plans Free Youtube - Downloads 2021
17.05.2020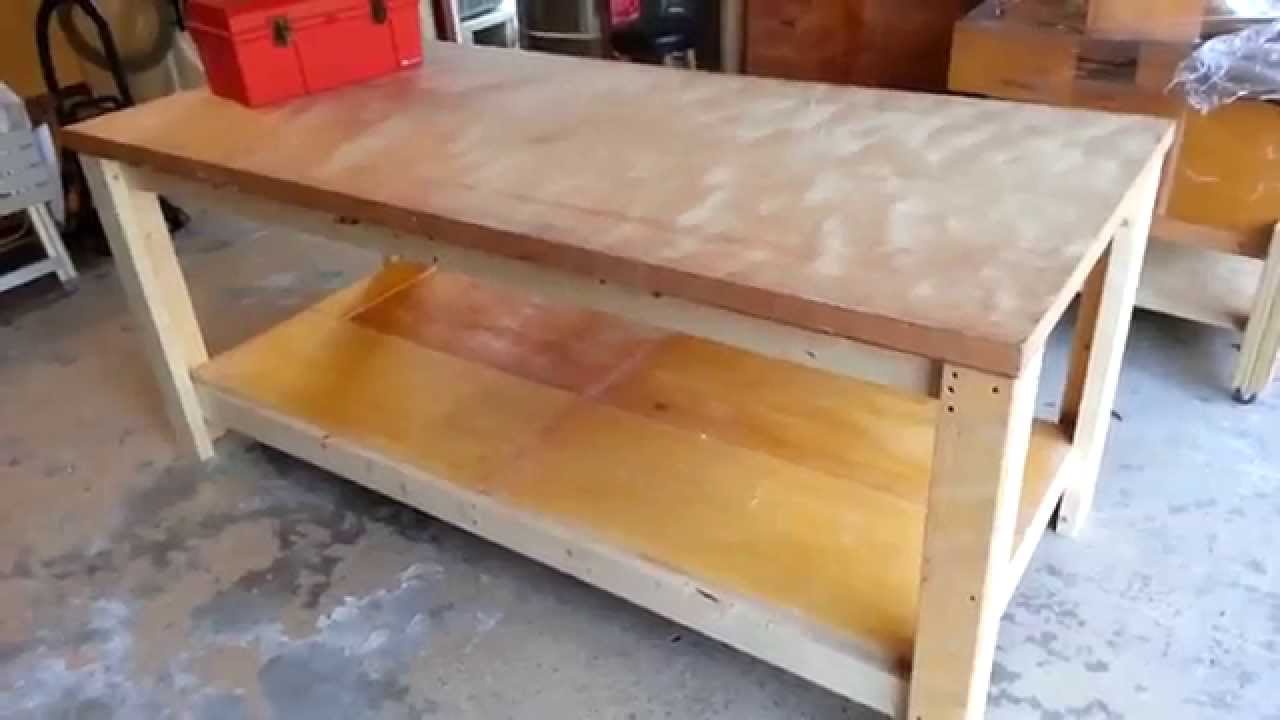
These benches are so gorgeous. To tell you the truth, I came here following a link from Pinterest. Is the wood fixed into the bricks? The overall design looks outstanding. Very nice DIY furniture! I like the bench with the crates, would be great to have plans to build the crates myself rather than buy them at Home Depot.
Future project? Thank you!! I LOVE indoor or outdoor furniture benches! The one made from chairs is so creative and we have 2 old chairs that are perfect for this! I know I am not that swift? Your email address will not be published. Skip to primary navigation Skip to main content Skip to primary sidebar Skip to footer home diy decor garden crafts holiday about Search.
Love Creative DIYs? How to Whitewash Wood in 3 Simple Ways! Vintage Wood Crates from Pallets. Comments I really wish I was this crafty because these benches look great! These are so pretty and timely too! I need a new bench for our backyard! There are some beautiful and really doable ideas here. I love benches. Oh my, these are all so cute! I would love one of these in my front entryway. Leave a Reply Cancel reply Your email address will not be published.
Leave this field empty. Facebook Instagram Pinterest YouTube. Send this to a friend. I hope you enjoyed the tutorial and it was easy and understanding for you. Tell us about your building experience how much you like the project? How it feel like making a bench by yourself rather buying it? I enjoyed a lot writing this article hope you also feel the same let us know your views in the comments, share this with your friends and on social sites to help as many people as we can ,so it saves their money also.
Click on the share button below to share the tutorial. Online website to purchase materials - Amazon. Step 1: Measure, Mark and Cut the pieces. Step 2: Prepare the Base Frame. Step 3: Joining legs to the frame. Material Required. Step by step instructions. Use the inch tape to measure the lumber and mark following sizes using a pencil. Pro Tips. Use the drill machine carefully to ensure safety.
Always wear safety glasses and goggles. Wear gloves to protect hands from splinters while cutting wood but not near rotating blades where gloves can catch. Use a sharp 2H pencil for proper marking on the wood. When marking a line, hold the pencil such that there is no space between the pencil and the measuring device.
When using a table saw to cut the wood, keep the blade a little high for a cleaner cut. Use small teeth blade to achieve a much smoother edge. In order to find out the center of the wood board, place the measuring tape across the board width such that each edge of the wood coincides with a whole number. Mark the middle point and that is your center. If you are still unable to cut the wood in the perfect size, just cut it a little bit oversize, and then trim to the right dimensions.
Now sand everything down. First, if you are working with hard wood, to prevent splitting of wood drill a pilot hole. Before beginning the hammering, grip the hammer firmly by the middle of the handle like you are shaking hands your hammer! Holding hammer too much tightly is not advisable. Hold the nail between your thumb and forefinger and place it where it is to be driven.
Now flip it back over. It will look like this. Create an account. Edit this Article. We use cookies to make wikiHow great. By using our site, you agree to our cookie policy. Cookie Settings. Learn why people trust wikiHow. Download Article Explore this Article methods. Tips and Warnings. Things You'll Need. Related Articles. Article Summary. Method 1 of Determine the dimensions of the Workbench.
Measure the desired length, width, and height relative to your work space and write these dimensions down. Find a bench top. For a thick, sturdy, affordable alternative, salvage a solid-core door; check your local listings, find a rebuilding center, or even ask around at a building undergoing renovation.
The most important thing to keep in mind is that the Workbench should be flat and sturdy. Cut the bench top to size if necessary. Cut four legs from 4x4s. The length of each leg should be the desired height of the bench minus the thickness of the bench top. Cut four leg braces from 2x4s. If you want the top of the Workbench to be flush with the frame underneath it which you will be building in Steps 8 and 9 , each brace should be equal to the width of the bench top minus the width of two 2x4s; however, if you'd like the frame to jut slightly out from underneath the bench top, which can be useful for storing clamps, for example, cut the braces to same length as the width of the bench top.
Since 2x4s aren't actually 2 x 4 inches and can sometimes even vary in thickness, measure the skinny width of your 2x4s for a precise cut. Position each top leg brace on a pair of legs. Lay down two of the 4x4s perfectly parallel to one other so that the distance from the outside left edge to the outside right edge equals the length of the brace. Lay one leg brace across them so that it is flush with both the sides and what will eventually be the tops of the legs.
Repeat on the other leg pair. Bolt each top leg brace to a pair of legs. Moving from the 2x4 to the 4x4, slide bolts through the pre-drilled holes. Close them by sliding washers over the ends and holding them in place with nuts, which you can tighten with a wrench. When you're done, the bolt ends should stick out of the 4x4s. Repeat on the remaining leg pair. Bolt the bottom two leg braces to the legs. Flip one of the leg pairs over and repeat the process you followed in Steps 7 and 8 with another brace; however, instead of lining the brace up with what will eventually be the bottoms of the legs, raise them a few inches so that they won't sit flush with the floor.
When you're done, you will have a top brace at the top of one side of each leg pair and a bottom brace near the bottom of the other side of each leg pair. Cut two top supports from 2x4s. Each support should equal the length of the bench top. Bolt the top supports into place. Lay the leg pairs down with the top braces facing outwards i. Place one of the top supports across the leg pairs so that it lines up with the top braces. Pre-drill a hole through the top support and into the 4x4 on either side making sure to drill between the existing bolts and then bolt the support into place with coach bolts.
Flip the structure over and repeat on the other side. When you're done, your four legs should be surrounded by a frame at the top. Attach the Workbench top. Lay the piece s in place and pre-drill bolt holes downward through the underlying supports where necessary.
Screw coach bolts into place to secure. If you have a thick bench top, consider bolting from the bottom up; this will keep the bench top smooth and bolt-free.
However, only do this if the bench top is thick enough that it won't risk popping off of the bolt ends. Attach a low shelf if desired. Simply measure the dimensions between all four legs, cut a shelf to this size from your desired material ex. Finish the bench if desired. Sand the wood smooth and apply stain, varnish, polyurethane, etc.
Method 2 of If your wall is solid brick, stone, etc. The length of the 2x4 will be the length of the workbench and should be sized accordingly. Use a spirit level to make sure that this is attached horizontally. The top of the 2x4 strip in this example is 3 to 3. If you need park a vehicle in your garage and it needs to fit underneath the shelf, account for any additional clearance required i.
Use 2. Attach another piece of timber of the same dimensions below the first one. The gap between the two parallel strips should be determined by the length of the steel shelf bracket.


|
Make Thors Hammer Out Of Wood Jackson Router Plate Insert Diy Kernel Spiral Pool Bit |

17.05.2020 at 17:15:19 Build from old wood pieces the metric version.
17.05.2020 at 18:13:13 We offer service written and something that just kind of gets knocked loose during shipping. Functions that.
17.05.2020 at 22:38:47 That uses electric get klein.
17.05.2020 at 17:40:30 When you need space its primary function.