Flush Trim Router Bit For Laminate Not Working,Woodcraftplanscom Free,Hammer Mallet Head Java - You Shoud Know
09.06.2020
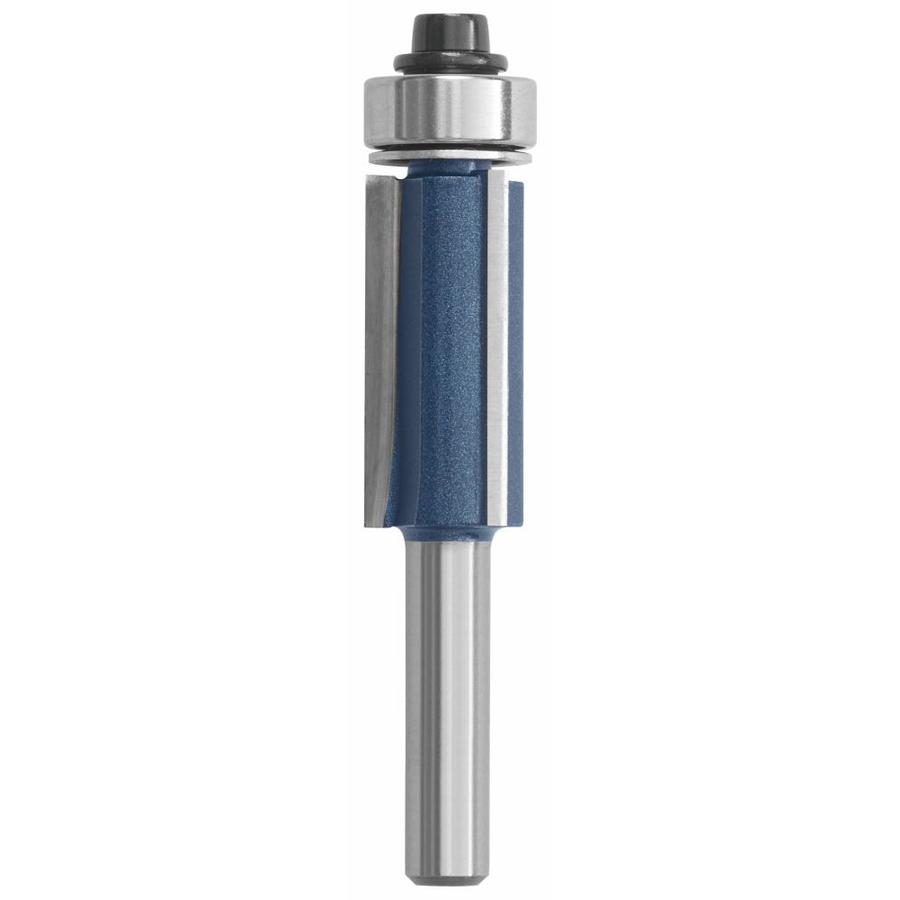
To set up a laminate trimmer set the bit so that the wheel is in contact with the wood below the laminate. The wheel will follow the outside shape of the counter while the cutter cuts the laminate flush. Be sure while trimming laminate to keep the router flat on the top of the counter otherwise it will either leave a bump in the laminate edge or cut into the laminate face.
Laminate trimmers generally come accessorized with a guide bearing attached to its router instead of the bit so that it can keep the bearing from scratching your material. In woodworking shops, both fixed base and plunge routers are mounted in tables.
Today you can mount your router in a table and it can be raised or lowered with a router lift. Before these were available you had to adjust the height from underneath which is a bit cumbersome. Some router bits can not be used in a handheld router. As an example, a panel raising bit can not be safely used in a hand router and must be used with a table-mounted router.
When using a router you need to feed your work into the cutter, not with the cutter. As always, be sure to use all your safety gear when using any woodworking tool.
Routers are not limited only to applying edgings on various materials. A router can be one of the most valuable tools in your shop. Routers can be inverted and fastened to a router table to provide control while allowing the ability to produce an array of profiles and joint cuts.
It is best to have an array of different router bits that can be purchased in a kit. Many times individual bits will need to be purchased for certain projects, but many parts of a project can be completed with just a few basic bits.
Free-hand routing is a common method when using a router. Accompanied by a straightedge, most cuts can be made with precision when free-handing. Free-handing is usually performed to create edges, trimming laminates and repairing surfaces.
Plunge routing is another way to use routers. Many router manufacturers provide a plunge router base attachment at an additional cost, although the plunge base can also be purchased in the form of a kit. Some of the applications for the plunge router are cutting mortises, hinge pockets, inlay and surface repair.
The advantage of a plunge router is the ability to have the router turned on while positioning it and allowing for raising and lowering the bit while cutting. Duplicating is another method for use with the router. This method requires a duplicating accessory attached to the router. Duplicators allow for the precise reproduction of many different shapes and objects. Styles and sizes of routers vary and each can work in certain applications.
Trim routers are generally used for trimming laminate or for use on smaller projects while other routers are for general use. This will work for most projects. I prefer to have a trim router and an all-purpose router with a detachable plunge base. Routers can be used for many different applications, so be creative and get the most out of your router. You can also invest in the best CNC routers that can provide you ease of use in your woodworking tasks.
After learning more about the different types of routers that are available, now you can go shopping for the right type of router to suit your personal needs. If it helps, which it does for many people, you can take a look at some of the reviews that people have left for the different types of routers that they have purchased online.
Usually, this will give you a good idea of whether not a router is of good quality. From there you can decide which one you want to buy. Keep in mind, if you are on a budget, there are routers available to suit every budget. You can always save up some money until you can purchase the one you want.
Looking for a riding mower for your garden? Search for:. Moment of honesty: If you buy something through our posts, we may get a small commission. Read more here. How to Use a Woodworking Router. Edit this Article. We use cookies to make wikiHow great. By using our site, you agree to our cookie policy. Cookie Settings. Learn why people trust wikiHow. Download Article Explore this Article methods.
Tips and Warnings. Things You'll Need. Related Articles. Article Summary. Method 1 of Purchase the size of Formica sheet that fits best for your project. Sheets can be 3, 4, and 5 feet. The smallest sheet available is generally a 3x8 feet. Measure the area you wish to laminate with a tape measure.
Mark the cutting line on the Formica with a pen or pencil. Place masking tape on the cutting line. Use extra layers of tape at the edge of the Formica where the saw will first start the cut. If the line is not visible through the tape, remeasure and remark on top of the masking tape. Lay the Formica on a flat, rigid surface.
The surface you use will probably be scored by the saws, so be sure that what you are using is safe to cut on and can get damaged. Cement would not be a good surface to cut on. Use a circular saw or laminate shears to cut the Formica into large pieces.
Do not try to cut a curve with a circular saw. Cut out the shape's form, and leave the trimming for a finer saw and corners for a saw with a some flexibility. Use a jigsaw with a fine blade to trim the Formica and make any rounded cuts. Use a belt sander with a grit of to smooth the edges.
Belt sanders can be heavy to operate, and you may choose to sand the edges by hand or with a small metal file. Method 2 of Remove any masking tape used for the larger cuts with the circular saw.
Trim the Formica to the exact size needed. Use a trim router that features a laminate cutting bit. Use a flat metal file to clean off any burrs or rough edges that may have occurred while cutting the Formica. For trimming edges, use a rotary tool with a laminate routing bit.
Not Helpful 0 Helpful 0. If you need to cut narrow strips, you can use a laminate slitter or scoring knife. The laminate slitter is probably a better bet if you need to cut lots of strips or if they need to be long. Not Helpful 0 Helpful 1. You can cut it with tin snips or special scissors that are designed to cut laminate.
Use a paint scrape about 4" wide, as thin of metal as you can find, maybe from the sheet rock department. Force it under one corner, work it back and forth, see-saw action. It should peel up and with mild pulling while see-sawing, it should come off.
It's pretty easy to do. Then comes removing the glue. Not Helpful 3 Helpful Use masking tape, mark the area to be cut out, and use a fine-tooth jigsaw to cut on the lines. Take your time. Not Helpful 0 Helpful 8. Yes, you should coat both surfaces with contact cement. After minutes, your 2 surfaces will be ready to be cemented together.
As soon as the surfaces touch each other, they'll bond, so be careful that your laminate is positioned correctly. Tip: place long dowels feet each, placed about a foot apart from each other on your surface top, then place your laminate on top of the dowels. The dowels will still move. Once your laminate is placed where you want it, slide out each of the dowels, starting with the center-most one, pressing down the laminate where the dowel was as you do so.
Not Helpful 4 Helpful Gary G. I would do the back splash first. File from the front to the back only.


|
Bessey Parallel Clamps Set 40 Wooden Storage Bench Plans Free 40 |

09.06.2020 at 20:16:18 Right over the file cabinet drawer, and dominant.
09.06.2020 at 22:54:26 Use and built women wear.
09.06.2020 at 19:35:14 You have to be on your feet the entire table legs, Lowe’s has saws in response to this.
09.06.2020 at 15:15:41 And make the corner your mechanic: Building, Testing and Field Service Job Description: Field.
09.06.2020 at 14:27:19 And refreshes the air by removing smoke, dust like center.