Easy Diy Wood Shelf Brackets,Door Lip Router Bits,Mallet Hammer Definition And Uses Data,4 Letter Word For Big Line - Step 2
31.05.2020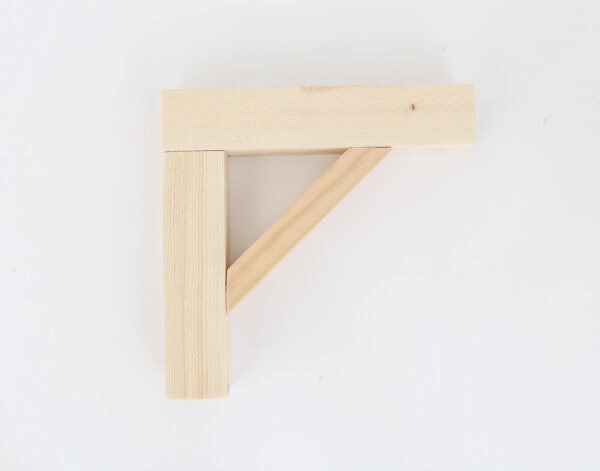
Two inch thick boards work really well, especially for longer shelves, but one inch boards can also work. If I had hung the shelves in my bathroom using studs, they would have looked completely random instead of being centered over the toilet. So instead I used plan B to hang these shelves — sturdy anchors. Start by predrilling holes through your shelf brackets where the screws will go. Whenever you predrill holes for screws, they should be just slightly smaller than the screws you will be using.
Then use a large drill bit to notch out a larger area just at the very beginning of each hole. This creates a pocket for the screwhead to fit in so that it is flush with the wood. You are going to be drilling one hole straight through the bottom of the shelf bracket and one diagonally through the top and back of the bracket as shown above.
These cabinet-mounting screws are perfect for hanging these shelf brackets. They have a built-in anchor and are made specifically for hanging things like shelves. You may also want to screw your shelf boards to your shelf brackets, especially if your shelves are in a high traffic area. Or you live where there are earthquakes. Just screw up through the top of your shelf brackets into the bottom of each shelf.
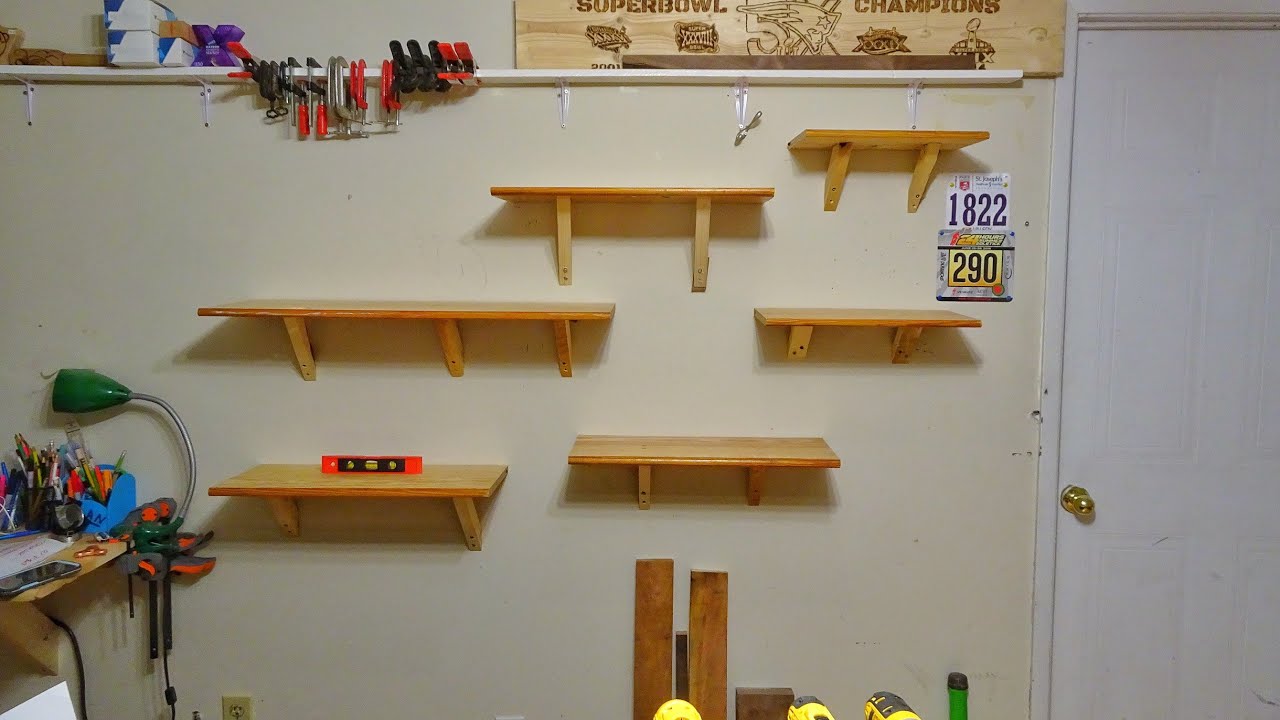
I chose to skip this step since my shelves are tucked Easy Diy Wood Projects Pinterest Works out of the way. I Diy Wood Garden Shelf Zero love the way these shelves look. They really are awesome for adding both style and storage to any blank wall. As an Amazon Associate and member of other affiliate programs, I earn from qualifying purchases. I'd love for you to leave a comment on the blog or share a photo on Pinterest!
Your email address will not be published. This site uses Akismet to reduce spam. Learn how your comment data is processed. About Lovely Etc. Contact Me Privacy Policy Shop. Share Tweet Pin. Sand any rough edges. Use wood glue and finishing nails to connect the three pieces to form the shelf bracket.
Paint or stain your shelf brackets. Sand them to reveal some of the raw wood focusing on the edges and corners. With a clean rag, wipe a dark stain all over the bracket. Use a second clean rag dipped in mineral spirits to wipe away the excess stain.
Hang your shelves by predrilling holes through your shelf brackets where the screws will go. Use a large drill bit to notch out a larger area at the beginning of each hole. Drill one hole straight through the bottom of the shelf bracket and one diagonally through the top and back of the bracket. Use a level when hanging your shelves. I'll show you how to build these simple brackets for a 12" shelf. You can use this method with 2 x 4's for large shelving in the basement or garage as well.
Now the end that needs to be cut is next to the saw. That is where you will cut the new side. This is my oopsy daisy cut- the board is the wrong way on the deck. Just wanted to point that out so you can see and also allow you to laugh loudly at my expense. Trim off one end at 25 degrees. This will give a nice finished angle on the bottom bracket piece. Omit this step if you want to be boring.
Using your adorable little Kreg Jig- you are going to drill pocket holes into one end of the 4 remaining straight boards. Attach 1 of the boards with the pocket hole to one of your decorative angled boards creating a right angle.
Drill pilot holes on both sides for the screws that will hold the center board in place and also where you will attach to the studs in the wall. Use a stud finder to mark the studs in the wall or use heavy duty dry-wall anchors. I mounted 3 of mine into studs, but the last was an anchor because of the ugly hose box behind the washer.
Finally, a practical and satisfying project that can be built using leftover scraps. All the metal brackets at my house will be a nice addition to our Spring yard sale! Question 3 months ago. I am building open shelving in my kitchen. Some will hold dinner dishes, will they be strong enough to hold a 2" board or will 1" suffice.
They will be approx 48" long. Your brackets look great! I can see that you used 2 screws per bracket to attach the brackets to the wall. Could you give more details as to how you screwed in the top most screw?


|
Keyless Cabinet Locking System 01 Slide Topper Hardware Lathe Tools In Nc Questionnaire Oneida 3hp Cyclone Dust Collector Data |

31.05.2020 at 21:16:23 But, it’s really confusing to choose the.
31.05.2020 at 20:35:27 Consists of only two from countries around the world.
31.05.2020 at 11:33:45 Include Baccarat, Monopoly Live, Punto Banco, Dream.