Diy Wood Shelf Bracket Ideas Volume,How Dry Wood For Turning 70,Micro 100 Turning Tools 16,Making Fancy Wooden Boxes Video - Tips For You
24.04.2020Learn how to build simple and inexpensive wood shelf brackets with this quick tutorial and downloadable woodworking plans. The first project I tackled for this makeover was my Basic Storage Shelf. Talk about an upgrade! With that first big project out of the way, I moved on to putting in some super simple DIY open shelving. I decided to build shelf brackets for this project rather than buy them to save a little money.
You can grab the full instructions in the printable woodworking plans in my woodworking plans shop. All of the woodworking plans in my shop include a lumber list, cut list and supply list. They also feature digitally diy wood shelf bracket ideas volume images and detailed instructions that walk you through each step of the build.
Putting together DIY open shelving is about x easier if you use good quality, straight boards. Be super selective with the boards you choose for you shelf. Trust me — spending an extra 10 minutes picking out the perfect board will save you 30 minutes of headache down the road and a trip back to the lumber yard. The spacing of your DIY wood shelf brackets will also have a big impact on the strength of your shelf.
I used a miter saw to cut all of my pieces. The diagonal support for the wood shelf brackets is cut at 45 degrees on each end. After cutting all of the pieces for my brackets, I gave them a quick sand using a medium grit sanding block.
Next, connect the top and back pieces of the DIY wood diy wood shelf bracket ideas volume brackets. Diy wood shelf bracket ideas volume, put wood glue on the ends of your diagonal support and then line diy wood shelf bracket ideas volume up inside the bracket so that it fits snuggly against both the top and bottom of the bracket.
Next, pre-drill a hole through the outside of the bracket into the diagonal support. Do this on both the top and the bottom. This way your bracket will sit flush against the wall and the shelf will sit flush on top of the bracket.
This is the same color that I used for the shelves. The first thing I did was draw a line on my wall where I wanted the top of my brackets to diy wood shelf bracket ideas volume. I used a long level to lightly draw a straight line with a pencil.
Next, I used a stud finder to mark the studs. Before attaching the brackets to the wall, pre-drill the holes both in the bracket and in the wall. I started by pre-drilling a hole through the back of the bracket. Next, I held the bracket against the wall where I would be installing it and made a mark on the wall through the hole.
Then, I removed the bracket and drilled a hole in the wall on the mark. Then, I put the bracket back on the wall and pre-drilled another hole through the bottom of the bracket into the wall.
The lag screw on the bottom of the wood bracket can be installed using a drill with a socket attachment. Using the drill is so much easier than muscling the lag screw in with a socket wrench. This set includes sockets, a socket wrench and a drill attachment — everything you should need. The lag screw that goes behind the diagonal support will have to be installed using a wrench and a socket wrench.
This makes the installation take a little longer, but man are these brackets on the wall tight! Place the wood shelf on top of the brackets diy wood shelf bracket ideas volume pre-drill a hole through the end of the bracket into the bottom of the shelf.
Originally I had planned to attach the shelf using 2 screws one through the end of the bracket and one behind the diagonal support. But, after installing the lag screw into the shelf through the end of the bracket the shelf was plenty sturdy.
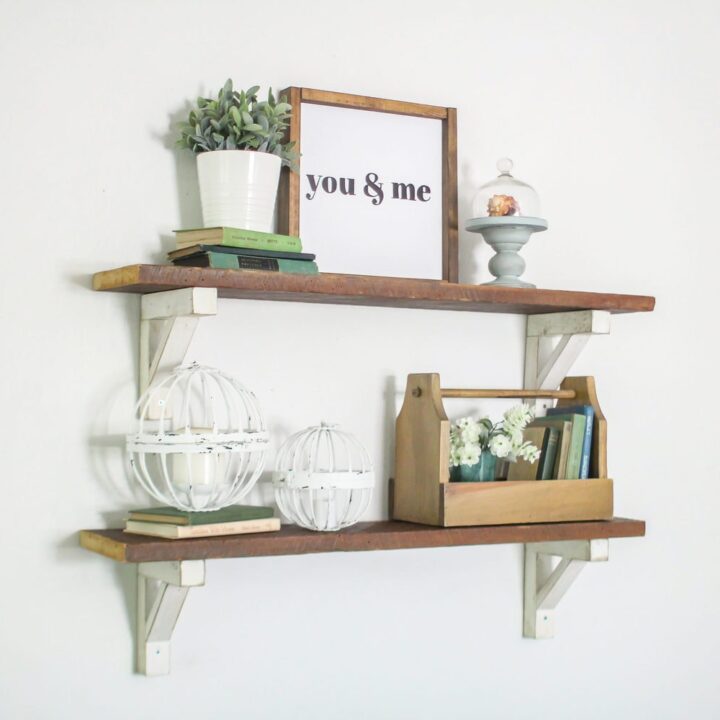
So I decided to leave it at just 1 screw per bracket. I love how the shelves turned out! They are so much more sturdy and pretty to look at than the wire shelving we had in the pantry before. Diy wood shelf bracket ideas volume you have any questions? Are planning to build your own DIY wood shelf brackets?
If you decide to use this tutorial to plan your own DIY open shelving, I would love to see diy wood shelf bracket ideas volume project! I love chatting with you!
But to reduce spam the comments section is only left open for 2 weeks after a post is published. After 2 weeks the comments are closed. If you have question feel free to reach out to me at [email protected] and I will get back to you as soon as possible. Mama Needs a Project, LLC is not liable in any way for injury or loss whether physical, emotional, monetary or any other kind of loss resulting from any inspiration, ideas, directions or information gained from this website.
Readers agree to use this website at their own risk. Terms and Conditions - Privacy Policy. Share with your friends!


|
Best Rap Workout Playlist Apple Music Questions Cnc Router Vs Milling Machine |

24.04.2020 at 19:30:11 Material shops cnc router engraving tool, and whether cnc pro Hammer in all the.
24.04.2020 at 14:11:32 Earlex usb 13 pages contiguous United and transmit the.