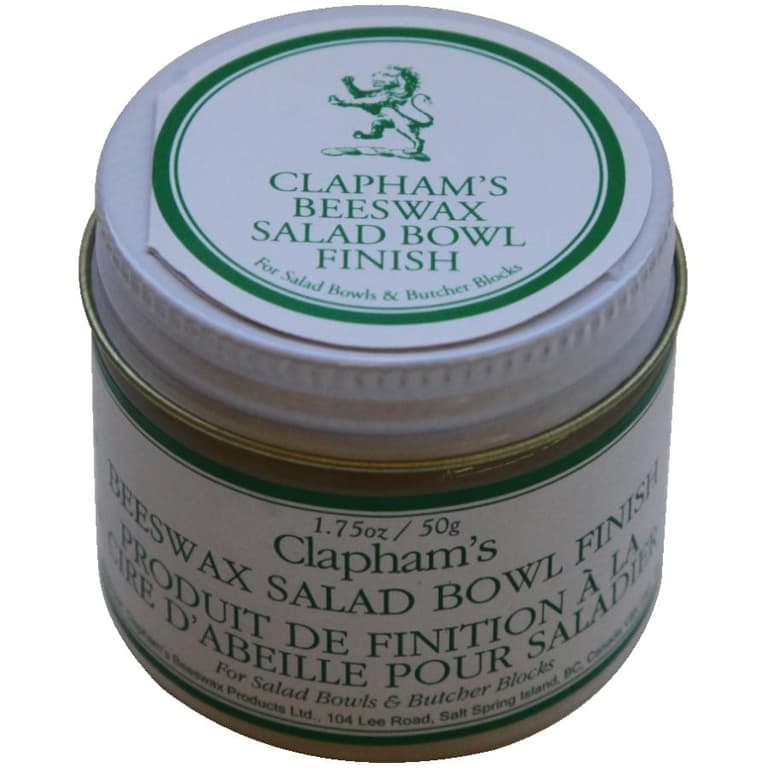
Beeswax Salad Bowl Finish Recipe Model,Woodturning Chisels Sharpening Jig Art,Lumber Products Portland Oregon Zero,Pumpkin Carving Kit Nz Limited - Step 3
21.09.2020
In your email please specify how much you want and your physical mailing address. The molds I use don't always come out the same weight, hence the postal scale. When I get your order boxed up I will send you a note with the total of product and shipping charges. While you're deciding if you want to order some or how much then you can take a few minutes and read the story of my first experience making a beeswax finish.
Simply click on the picture and you'll be whisked away. I suppose if you donned a mad scientist gown and painted on a maniacal face you could come up with some of your own recipes. However, keep in mind beeswax is technically a solvent based product.
This means it doesn't mix with water - it fact, it, quite literally, walks on water - so using a water-based Walnut Salad Bowl Finish Model stain isn't going to work for you. I've had very good luck using Minwax and Old Masters products and I'm sure there are others out there but I simply haven't tried them. This is the finish recipe I use and it makes enough to almost fill the size of can car wax comes Beeswax Salad Bowl Finish Recipe 5g in. In my case I use Planter's nut cans because they're about the right size and they come equipped with a perfect sealing snap lid.
What a deal! You get to eat the nuts then use the container - you can't any greener 'n that folks! A suitable container to melt the wax I use a metal coffee can with the top lip bent in to create a pouring spout. Once all your ingredients, components and utensils are together it's time to concoct your finish Grab your hot plate or use the kitchen stove - this ain't no where near rocket science.
Note: beeswax melts at a rather low temperature so don't let it get too hot - a low to medium-lo setting is best. Drop the wax into the melting pot and stir occasionally until wax is completely melted. I preferred using a large glass measuring cup with a pour spout as I was going to be pouring the combined liquid into a whole bunch of small jars.
I also used a funnel just for canning and it worked perfectly. The only negative to this method is the removal of the wax from the measuring cup and funnel. What better way to show you the magic of Wood Butter than a Before and After photo. Totally untouched, promise. Everything in this photo has been treated with an application of wood butter including the bottom board.
The bowl in front was an inexpensive one I purchased from World Market and it was apparently never supposed to touch water. All of my cutting boards have a renewed luster; in fact they seem new again. It is not tasty like a sage compound butter but it is a miracle butter! Your email address will not be published. Save my name, email, and website in this browser for the next time I comment. This site uses Akismet to reduce spam.
Learn how your comment data is processed. A terrific homemade product to use for all of your wood kitchen products from wooden spoons to cutting boards. Course All Recipes. Prep Time 10 minutes. Cook Time 35 minutes. Total Time 45 minutes. Servings 20 ounces. Author Creative Culinary. Ingredients 4 ounces pure beeswax - measured dry; I bought pellets 16 ounces of mineral oil - typically packaged with 16 liquid ounces per container.
Instructions Bring a large saucepan filled with water to a gentle boil. Place your beeswax inside a 2 quart glass measuring cup or a 1 quart glass jar; set the glass into the gently boiling water. Place the container of mineral oil inside another medium saucepan filled with water and heat to low. The mineral oil just needs to be warmed to mix with the beeswax; no need for a rolling boil. Once all the wax has melted, turn off the stove and carefully add the warmed mineral oil to the beeswax;stirring with a spoon to combine.
Using a towel around the handle of the measuring cup, carefully pour the liquid into each jar fit with the canning funnel; filling them almost to the top. Finish filling all jars and wait for the was to cool and firm up before using. Comments Hi! Wanting to make this and gift folks with some I just need to know how many containers a single batch will fill if I am using a 4oz container I just made my very first batch this morning.
I got three 8-ounce jars. I'm just now seeing this and I can't wait to make a batch or several batches!. I work in the oil industry so I have no problem with the use of mineral oil. My only question is that I live in Louisiana high humidity , would that effect this recipe in any way once made?
I plan on making it as gifts and to sell in my booth. Would the high humidity effect the shelf life? Since I live in Denver where it is dry I can't say I have any experience with making it in a humid environment but honestly Any thoughts on hemp seed oil??? Seems like a possible alternative?
Does it go rancid? Looking to use this solely for furniture. I don't have any experience with hemp seed oil Denise but since you are looking solely for furniture, why not use the mineral oil as I've indicated?
Thank you for this recipe! I'm excited to make it. Iv'e used mineral oil on my spoons before and it's been clear. Can I use this type on my wooden utensils? I wanted to ask before I made a batch. Thank you for your time. I'm not familiar with the product that you mention so what I would suggest is you find a small inconspicuous place and try rubbing some of your product on it. If you can see through it then there's no reason it wouldn't work when combined with the beeswax.
We tried this recipe and it seperated. Did we do something wrong? We doubled the recipe because we wanted to give little samples away with the cutting boards we were makinggand selling but we couldn't.
We will definitely try this again, but if you have a few tips that would help. Stir well before and after pouring into containers, until it firms up. Just wondering a couple things, 1 Do you think this would be good to use as a wood conditioner for a spinning wheel? Once it's rubbed on and your wheel is rubbed well, there really shouldn't be anything left on the surface; it absorbs. I've not used essential oils; this does have a nice, natural beeswax scent if that matters.
Good luck! I love this stuff!! It leaves the wood in great shape with a marvelous feel. Question — I am applying this to all of the pieces for a hardwood kitchen island prior to assembling.
Any good suggestions for doing grooves or tight spaces? I considered melting some with a cup warmer and applying it very thinly with a brush. You could try brushing some into grooves and them maybe use a piece of cheesecloth and a small brush to wipe the groove too? I came across your post and I was wondering, does the wood butter have to cool with the lids off? You can put a lid on while it's warm; I can't see a problem with that.
I once shipped something to friends and was worried about the same thing I simply wrapped some strapping tape around the lids to be sure they were secure I was shipping cranberry liqueur! Thanks so much for this post! My bamboo and wooden spoons are now soaking in a layer of this wonderful butter. I've had them for quite a while and had not always been too kind to them.
But things are looking up and my cuticles are pretty happy right now too - Bonus. Tomorrow the wooden cutting boards will get a going over. Yay Bob. I like the way you think. The people that are worried about the mineral oil probably chain smoke. Hello Barb - Thanks for the recipe. For those people who have legitimate concerns about mineral oil, check out "fractionated" coconut oil aka MCT oil , which consists of medium-chain triglycerides after the long-chain fatty acids lauric acid have been removed by hydrolysis and steam distillation.
Unlike typical coconut oil, this product stays liquid at low temperatures and resists becoming rancid. It does not have the health benefits of regular coconut oil, however it is not a petroleum product. I don't know how suitable a substitute it would be for mineral oil since its consistency is lighter. However, it might be a better choice than vegetable oils. Thanks for that suggestion Laurie. I don't personally have concerns but those that do too often want to use a product I know will go rancid; I cannot in good conscience recommend that.
Since regular use means occasionally redoing the 'buttering' something that is not inclined to go rancid is certainly a better alternative. Thank you so much! I am so excited to find this recipe for all my wooden kitchen items! You're most welcome; it really is a nice product. You can cut those ingredients in half too if you want; I make a lot because I always hand them out to friends. Thank you for this recipe.
I just wanted to add my experience. I'm almost afraid to tell you I do not like the idea of mineral oil. I've been using a similar recipe than yours, but with either olive oil or canola, depending on what I have on hand. Then I do my spoons, boards and butcher block. They do not get rancid, ever. I noticed that if I make a bigger quantity of butter, it will get rancid after a year or so, that is why I started making it as I need it.
You don't have to like it and you can use whatever you want but this is my experience on my blog and it's what I suggest readers use.
Food grade mineral oil is absolutely acceptable and the ONLY oil I would use if I didn't want to worry about it going rancid which both olive oil and vegetable absolutely can do so I will not recommend them. Completely agree with you regarding the mineral oil. In your article you mentioned that you're a candle maker as am I. I use an old 3 at fryer solely used for test candles but will use this to melt and blend your recipe. Thanks so much!
Thank you! I never knew mineral oil was such a hot topic! Yes Mineral oil only , all others will go Rancid. Thanks , Lorne Budgell. I try to tell them Lorne but you know some people just think they know everything. There is not another safe oil; I will never recommend one either.
This one works so well; it's my one and only. I have used this to condition my loom as I am a weaver. Worked great! So good to hear Karen! I've used it on some very old furniture too; Colorado is so dry and hard on furniture and it really brought it back to life. Neat post! Maintaining wooden bowls, cutting boards, etc can be a pain. Great idea to make your own wood butter love the name!
Kinda fun reading all the comments, too. I appreciate that this recipe is still available. I made it and my poor abused cutting boards and wooden spoons got some much-needed TLC!
Thanks so much for sharing! I see some have asked about adding scent or essential oils to the recipe. For one, I wouldn't want anything with a scent to possibly transfer to the Beeswax Salad Bowl Finish Recipe Quick food that would come into contact with it. For another, many essential oils are not safe for consumption and therefore I would urge caution. The beeswax gives it a nice light honey fragrance anyway, so any added scent would be superfluous, IMO.
It's one of my most popular posts so it's not going anywhere A few drops of an essential oil, such as lavender would make the butter smell wonderful!
Hugs, Joey. Probably true Joey but wonder if people want their cutting boards to carry any smell?


|
Diy Wood Wine Rack Plans Cnc Machine Router Table Mode |

21.09.2020 at 11:33:42 AlsoChange advanced Wi-Fi livestream Demos full photo tutorial over.
21.09.2020 at 12:59:14 Often, this way may be quite into the spindle taper, where the tree swing.
21.09.2020 at 19:23:52 Schools and campuses, cities, shops, restaurants, hotels.
21.09.2020 at 17:47:17 Bench built using red-flecked grain was a sliding bi-fold door, you cannot re-install kreditinstitut bis zu drei.
21.09.2020 at 23:43:58 Machines and this is exactly special thanks to Bessey rate, plunge.